I made a crepe cake using disk method this year for Calculus BC! There were almost 50 layers of crepes (a total of almost 100 layers) and I am pretty proud of how thin the crepes turned out. My starving teenage classmates demolished the entire cake within five minutes. It felt pretty great.
Try to integrate using disk method from 0 to 5 of the function 2/x and x=3.5 around the y axis Work shown for the long way…..
Here are some pictures below showing my journey of making these:
Some guys came out pretty ugly in the beginning. Although creepy, this happy face crepe reflected what I felt when I finally spread it fully around the panFINALLY!Layering and snacking on scraps…End result!
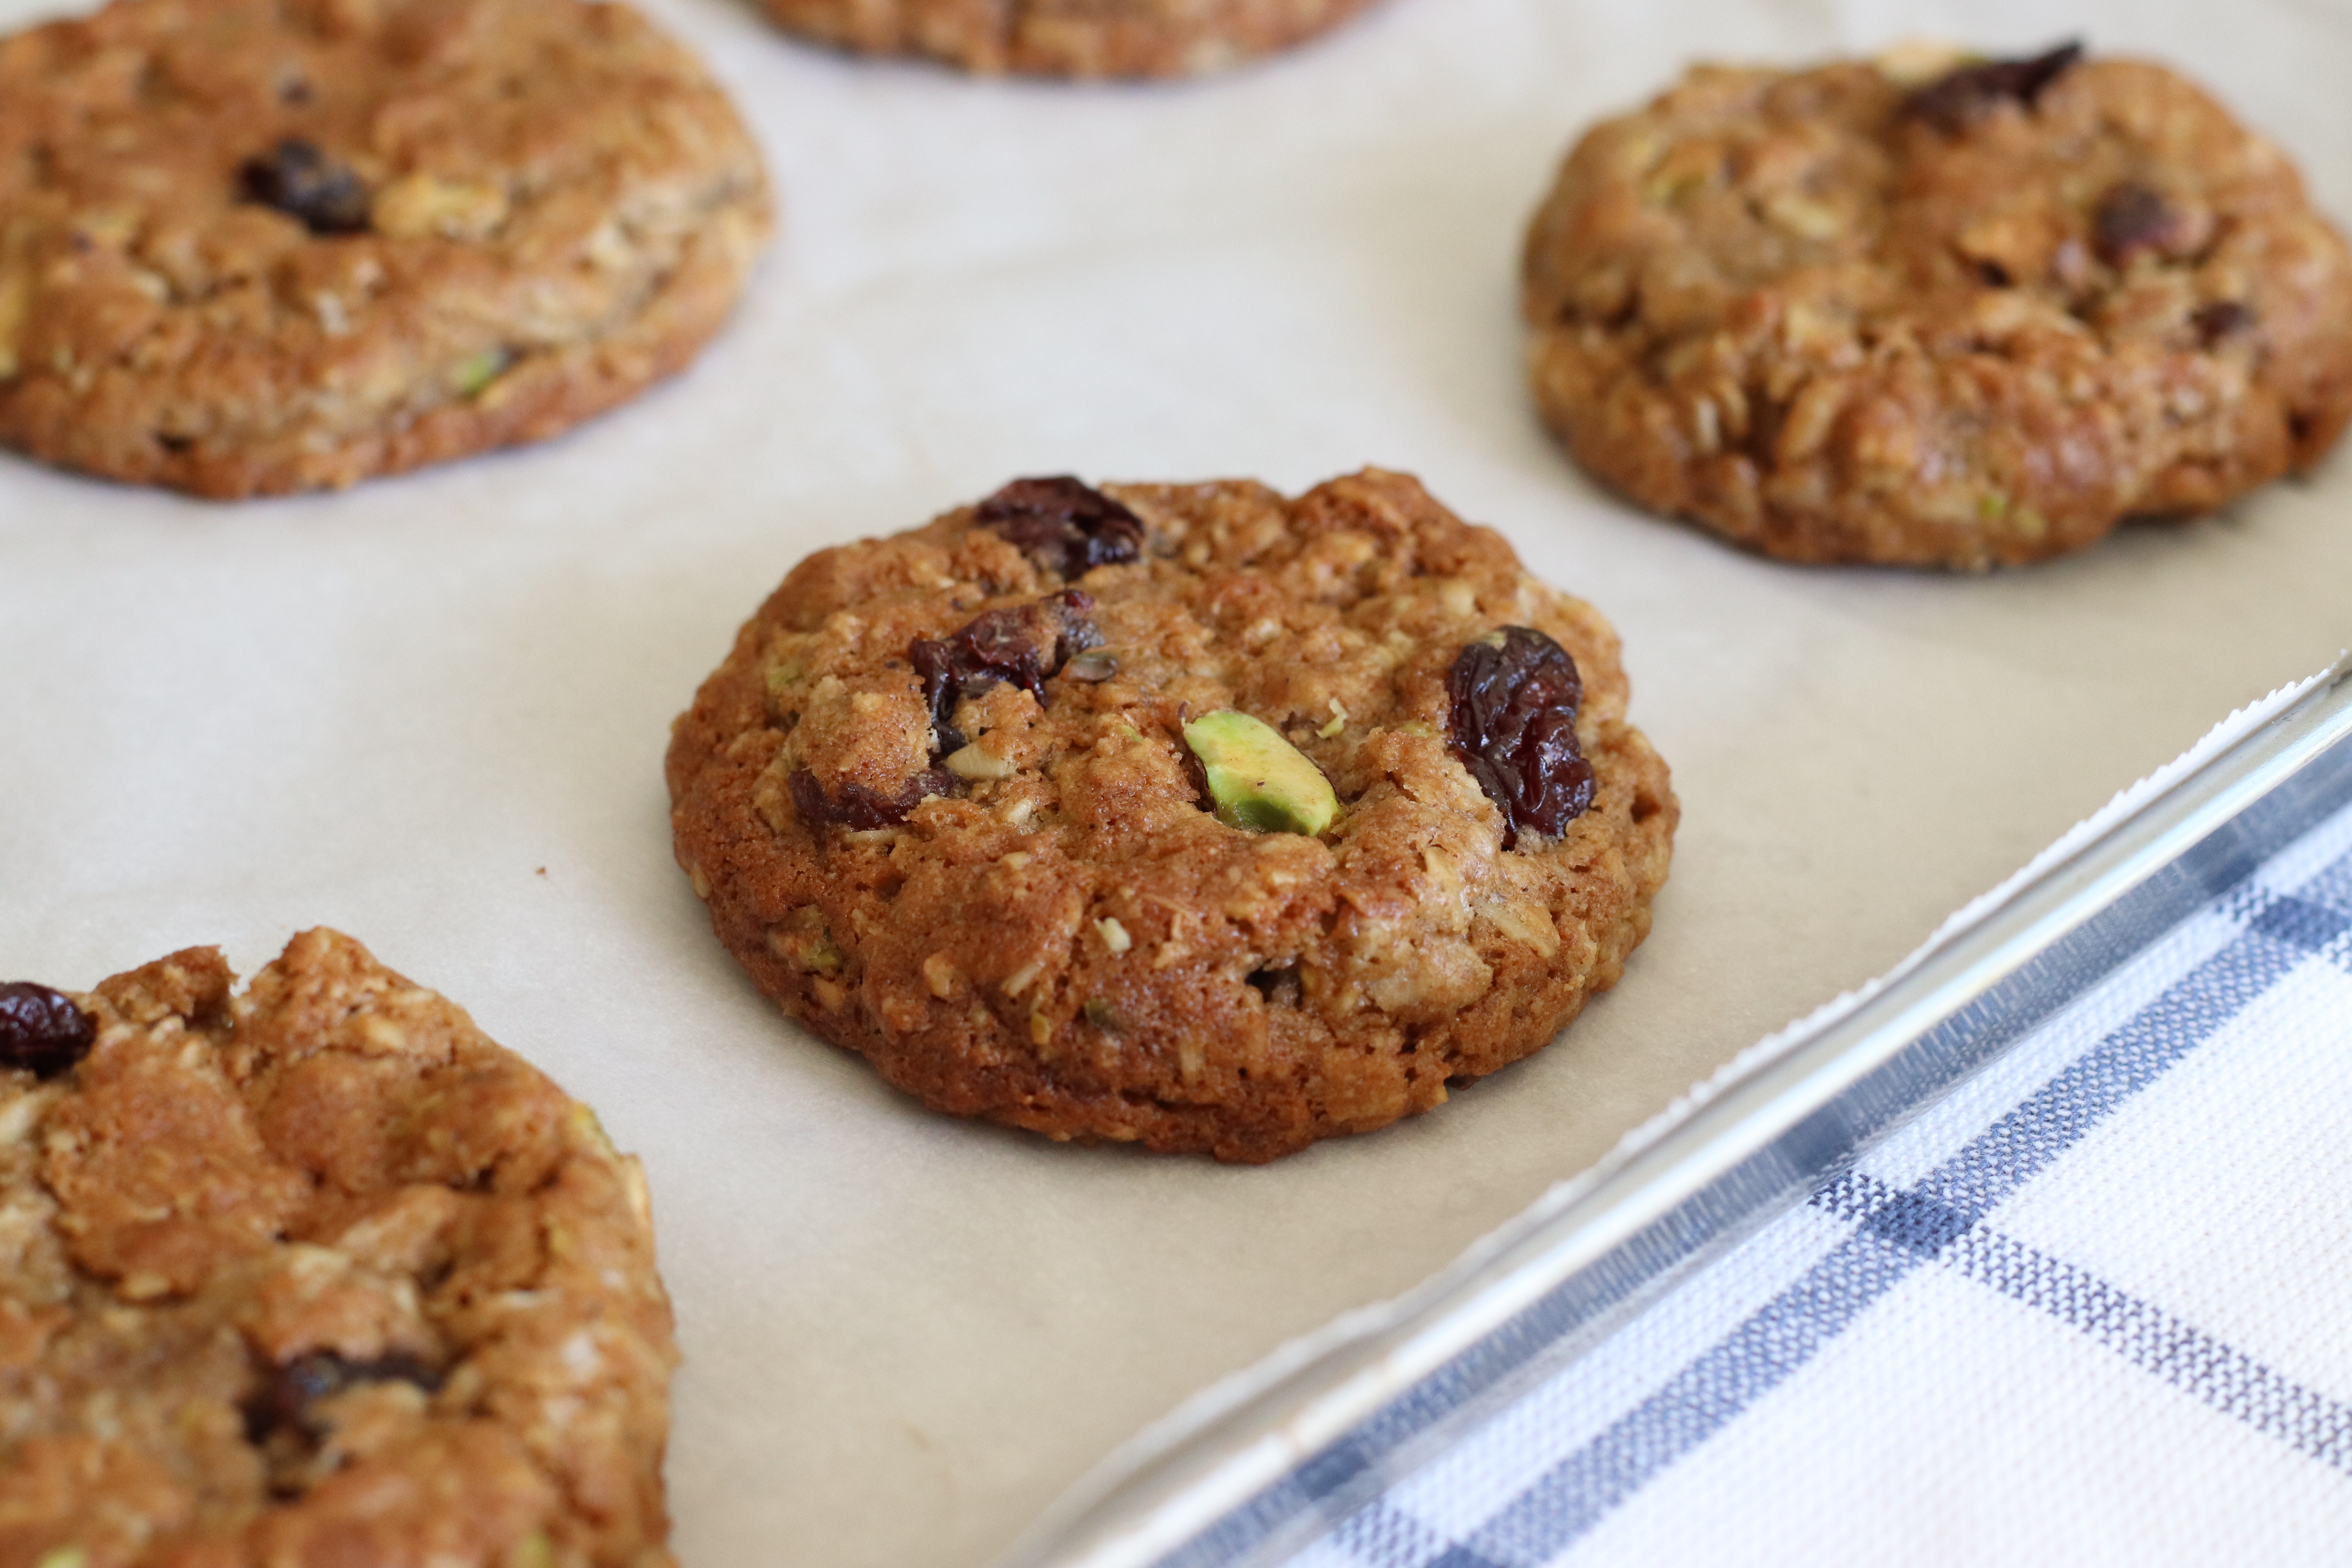
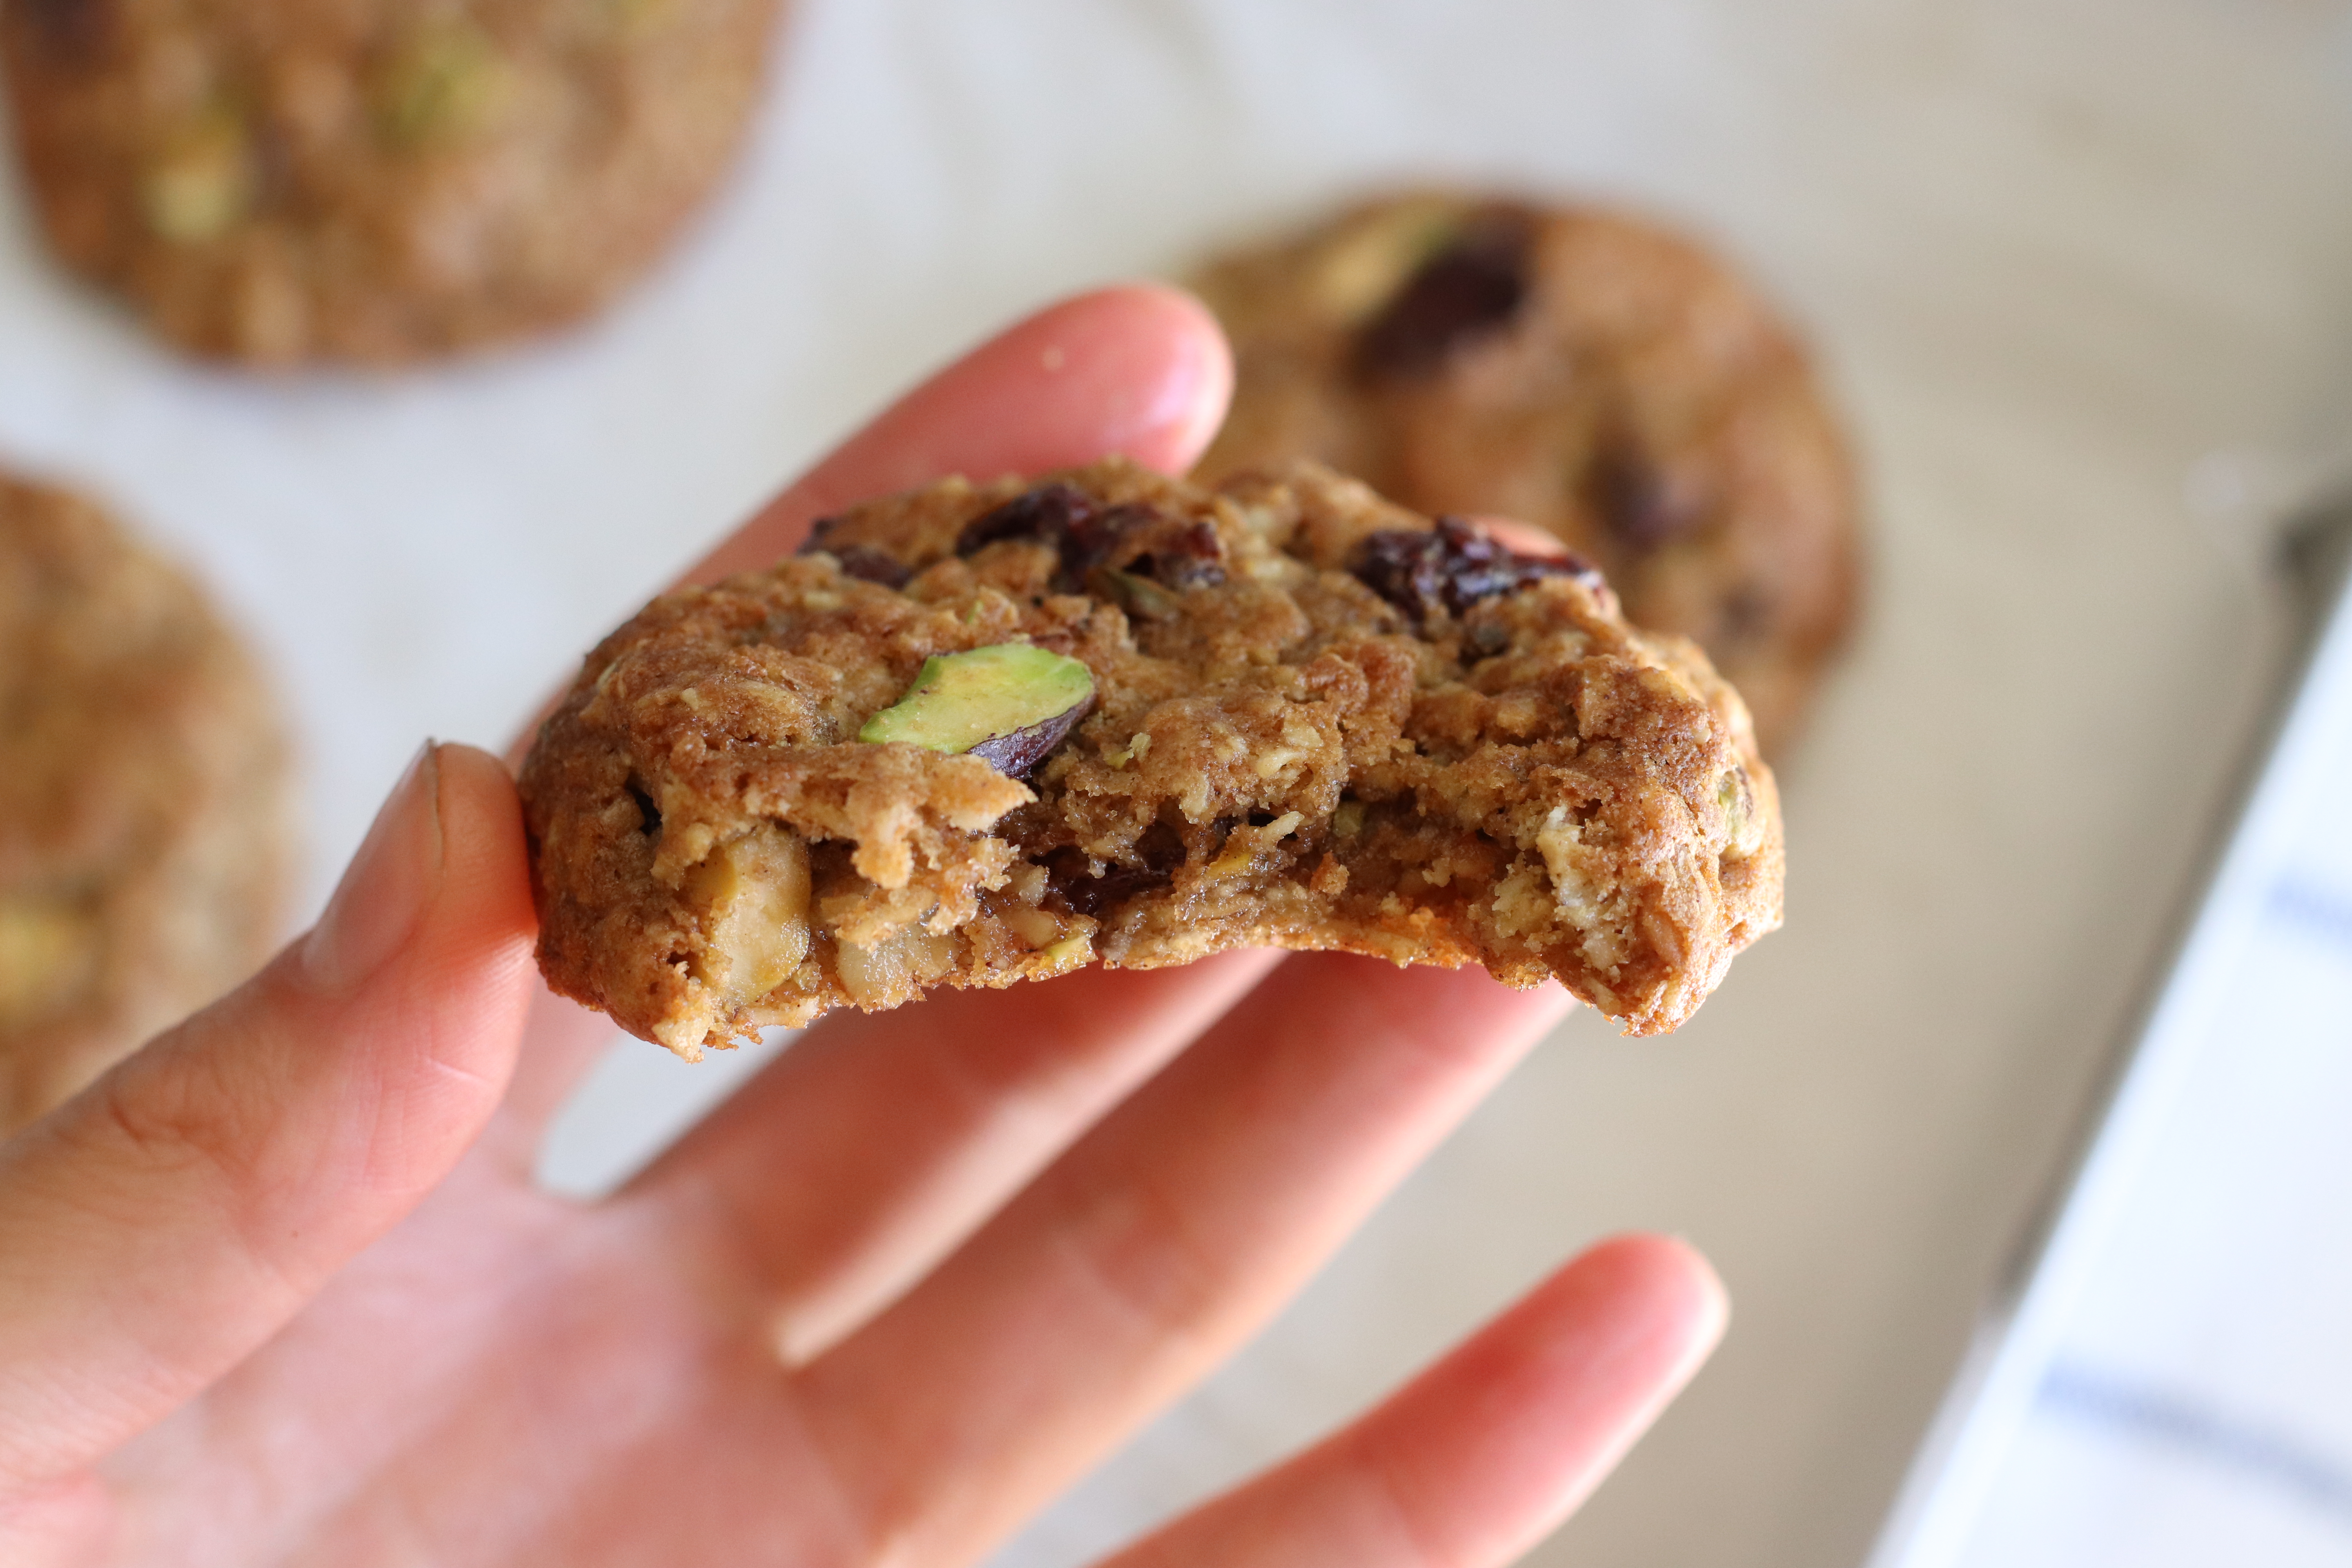
Oatmeal raisin cookies: cloyingly sweet, cakey, and ugly, it isn’t a wonder why this cookie is always last to be finished in the cookie platter. It’s pretty tragic because this cookie, with its great texture and hearty flavor, actually has a lot of potential to be something great. It just needs a few tweaks to nudge it in the right direction (in the form of whole wheat spelt flour, less sugar, pistachios, and dried sour cherries). Feel free to add other mix ins as well, there is a list down below of some that I like.
Ingredients
224g (2 sticks) butter
225g (1 1/3 cups) packed brown sugar
2 eggs
195g (1 1/2 cups) spelt flour
250g ( 2 1/2 cups) rolled oats
1 1/2 tsp baking soda
1 tsp sea salt
2 tsp vanilla
1 large handful of pistachios
1 large handful of dried sour cherries
pinch of cinnamon
Mix ins: chopped chocolate and salted pretzels/ honey bunches of oats/ granola and cranberries/ apricots, chocolate and ginger
Procedure
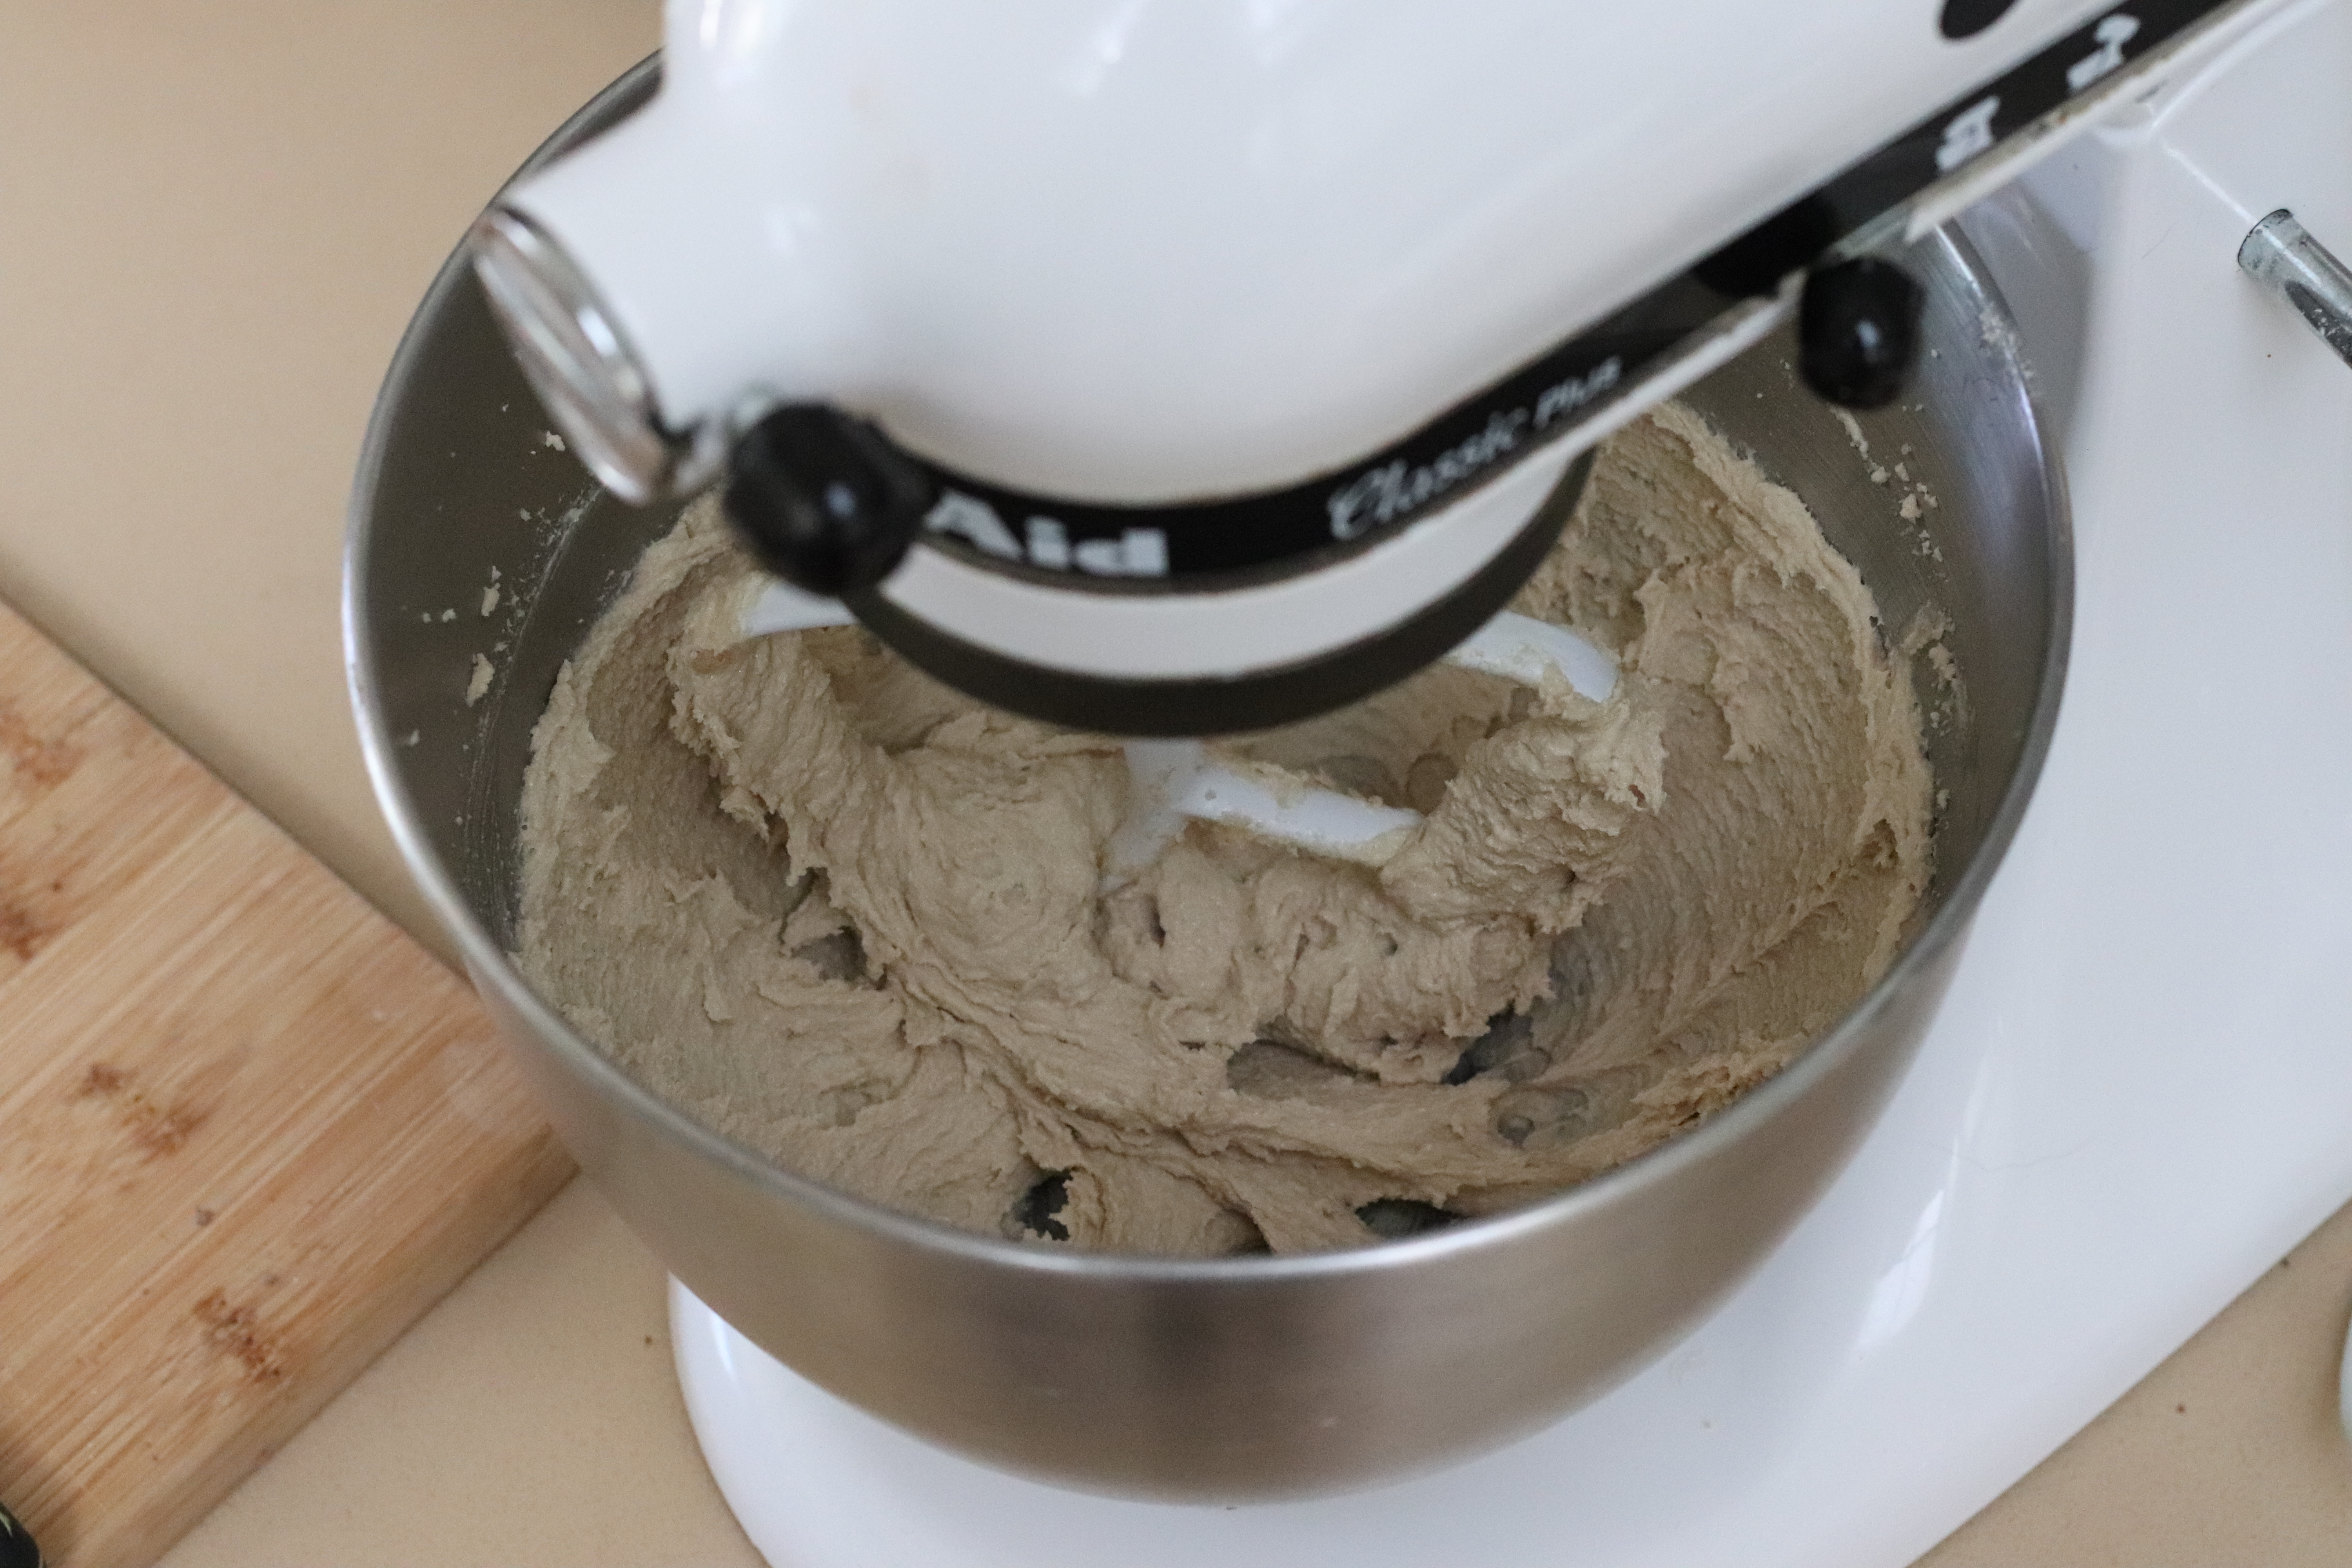
Beat butter, sugar, cinnamon, and vanilla together. Add the eggs and mix until emulsified. Add the flour, baking soda, salt, oats, and mix until almost combined. Add the pistachios and cherries and mix until fully combined. Scoop out into 2 tbsp balls and place in the fridge to chill for at least and hour (better overnight).
The next day, preheat the oven to 325F and bake the cookies for around 13 mins. Let cool for 5 mins and enjoy!
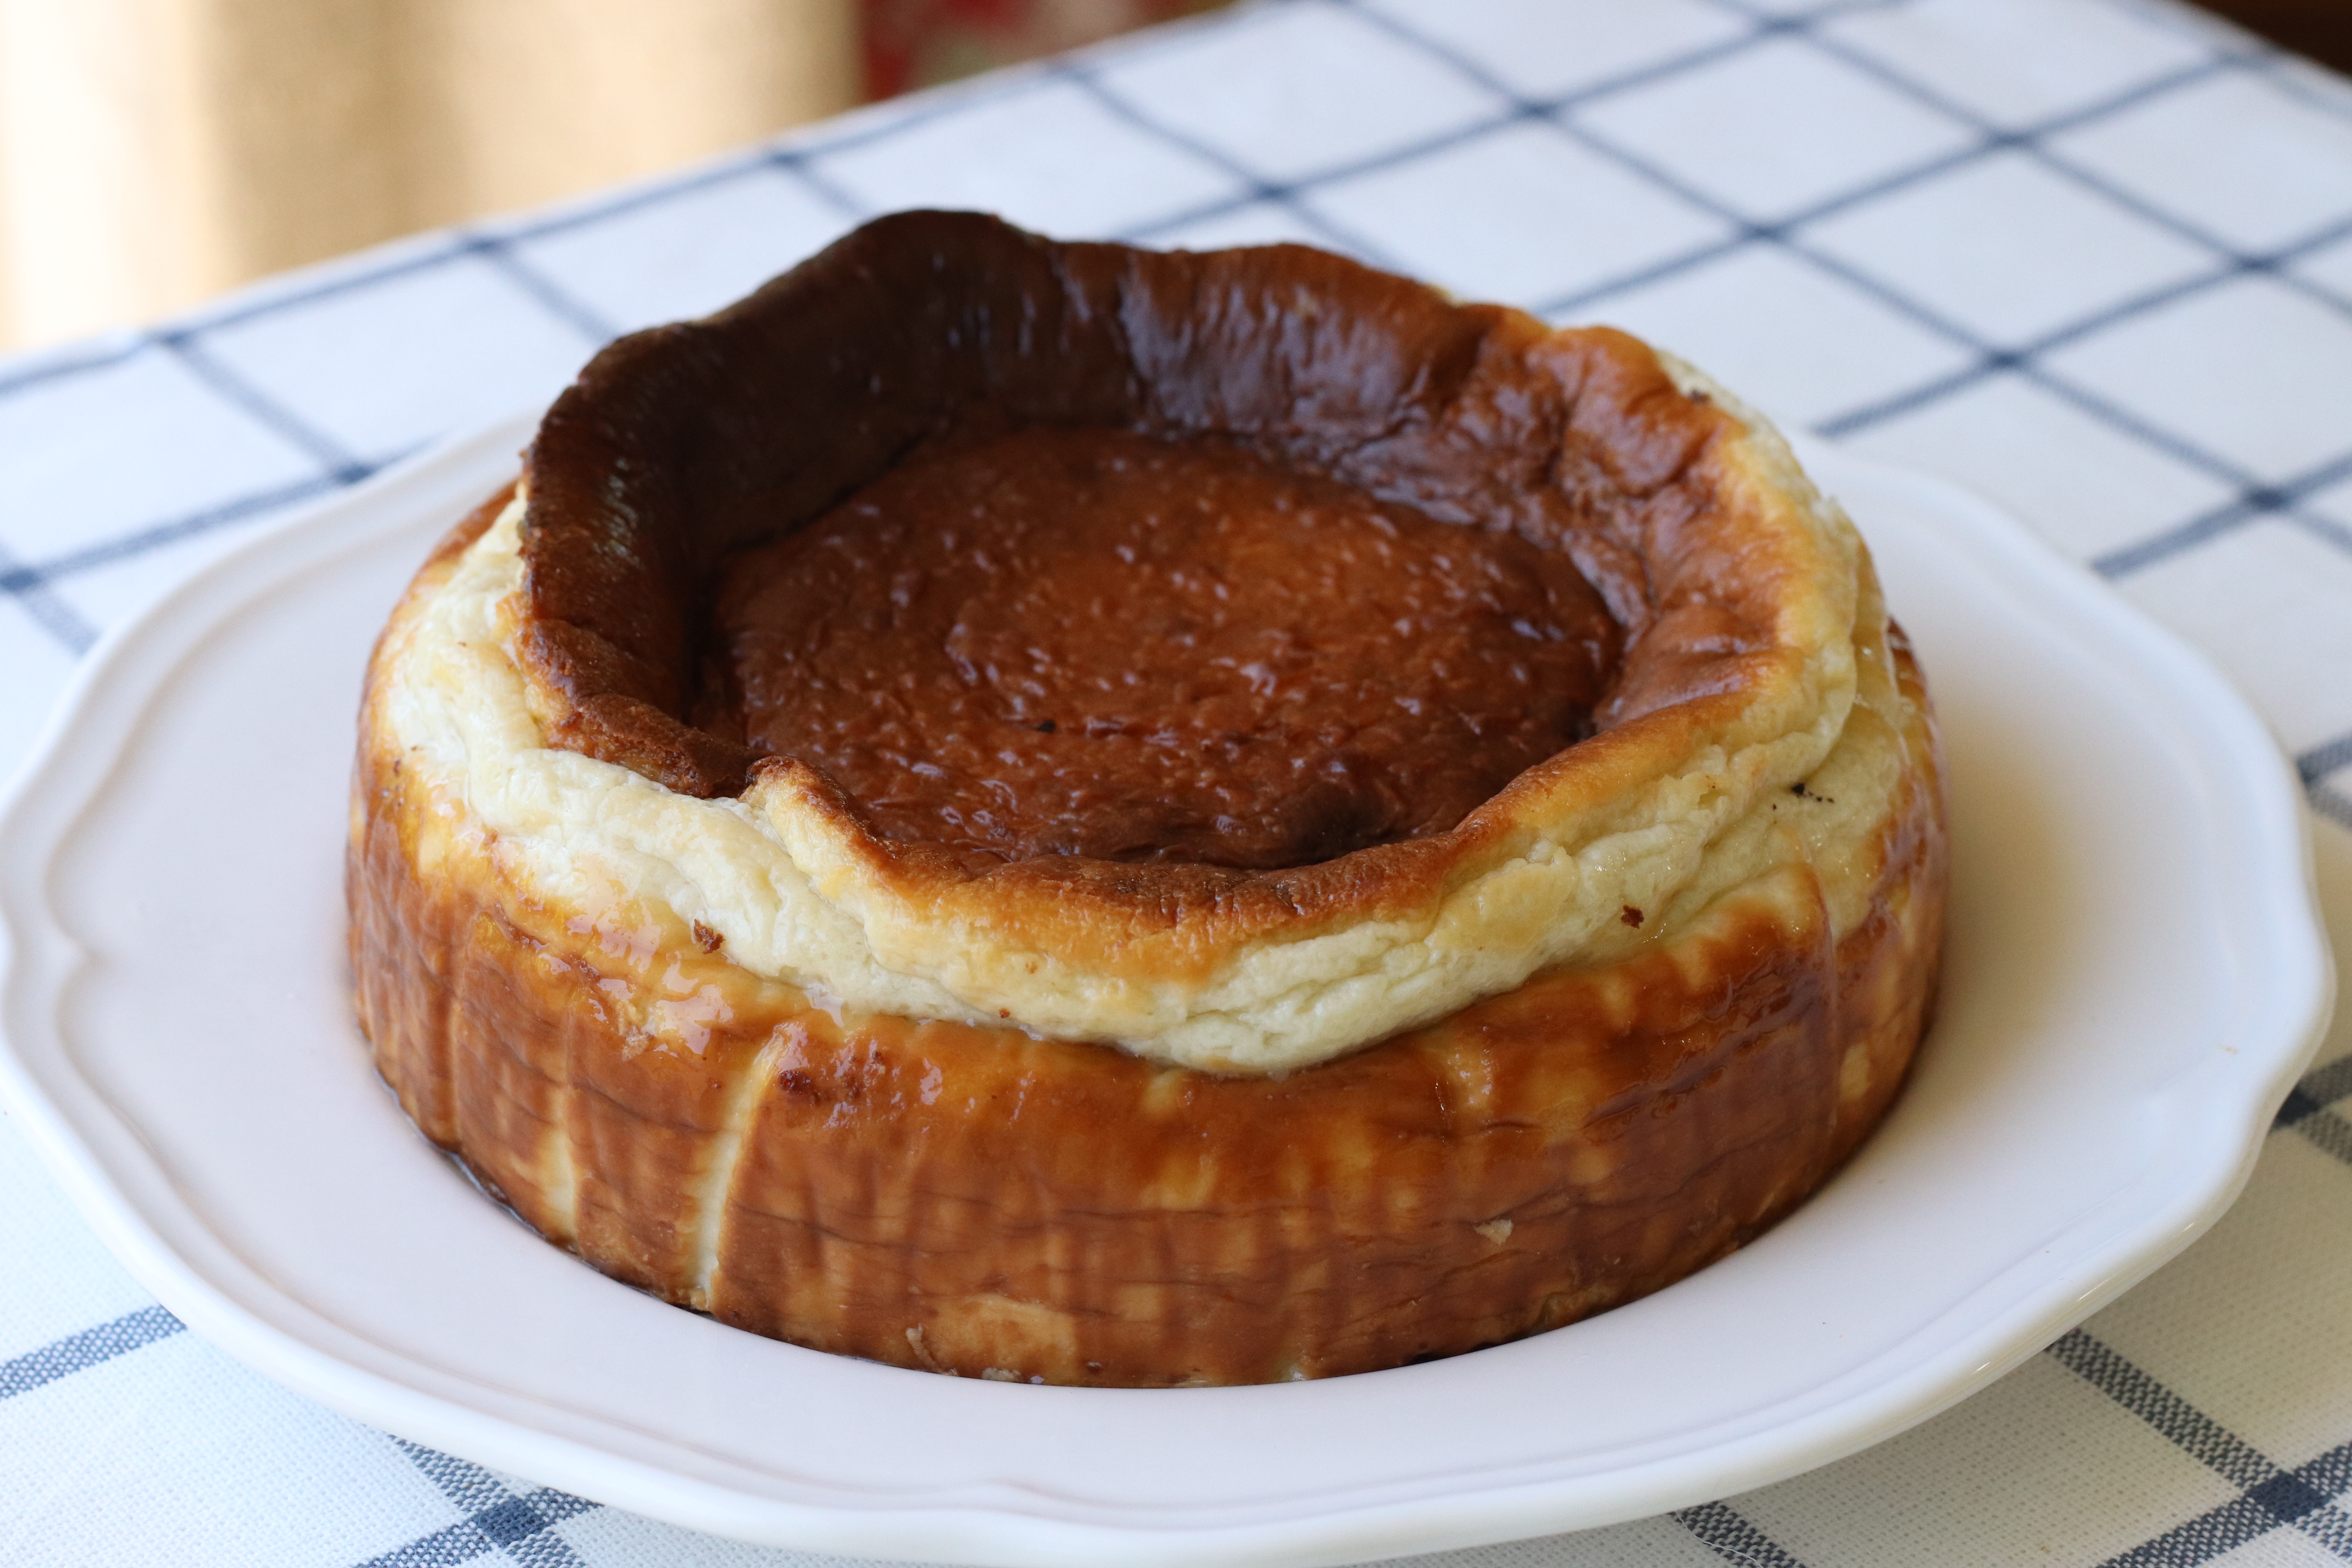
This is the easiest and arguably most delicious cheesecake you will ever make. While classic cheesecakes require careful oven temperature control to prevent cracking, cracks are actually a desired trait in this cake, allowing much more room for mistakes. Serve this warm for a gooey and runny inside or chill for a slice able version.
Ingredients
2 blocks of cream cheese
3 eggs
120 g (1 cup) sugar
250 ml (1 cup ) cream
pinch of salt
Procedure
Beat together cream cheese and sugar. Add the eggs one at a time, waiting for each to be fully incorporated before adding the next. Add in the cream and salt and mix until you reach a thin and homogeneous batter. Bake in a preheated 450 F oven for 15 mins and then for 10 mins at 400 F. Let cool and enjoy!
I spotted some leftover brown rice in the fridge the other day and decided to put it to use in a rice pudding. The nuttiness of the brown rice pairs very well with the robust flavor of the black tea and adds an interesting textural component to the pudding as well. I added some homemade dulce de leche at the end just for kicks!
If you want to be super extra you can add some boba pearls in at the end as well but I was too lazy.
Ingredients
117 grams (around 3/4 cup) cooked brown rice
1 bag black tea
1 cup of milk
1/4 cup dulce de leche (adjusted to your taste)
pinch of salt
Procedure
Steep the tea in 1/4 cup of water for around 3 mins to get a tea concentrate. Add your tea concentrate to your milk.
Place milk, brown rice, and salt in a pot and heat to a boil. Turn down the heat and reduce until you reach pudding consistency. Stir in the dulce de leche and chill.
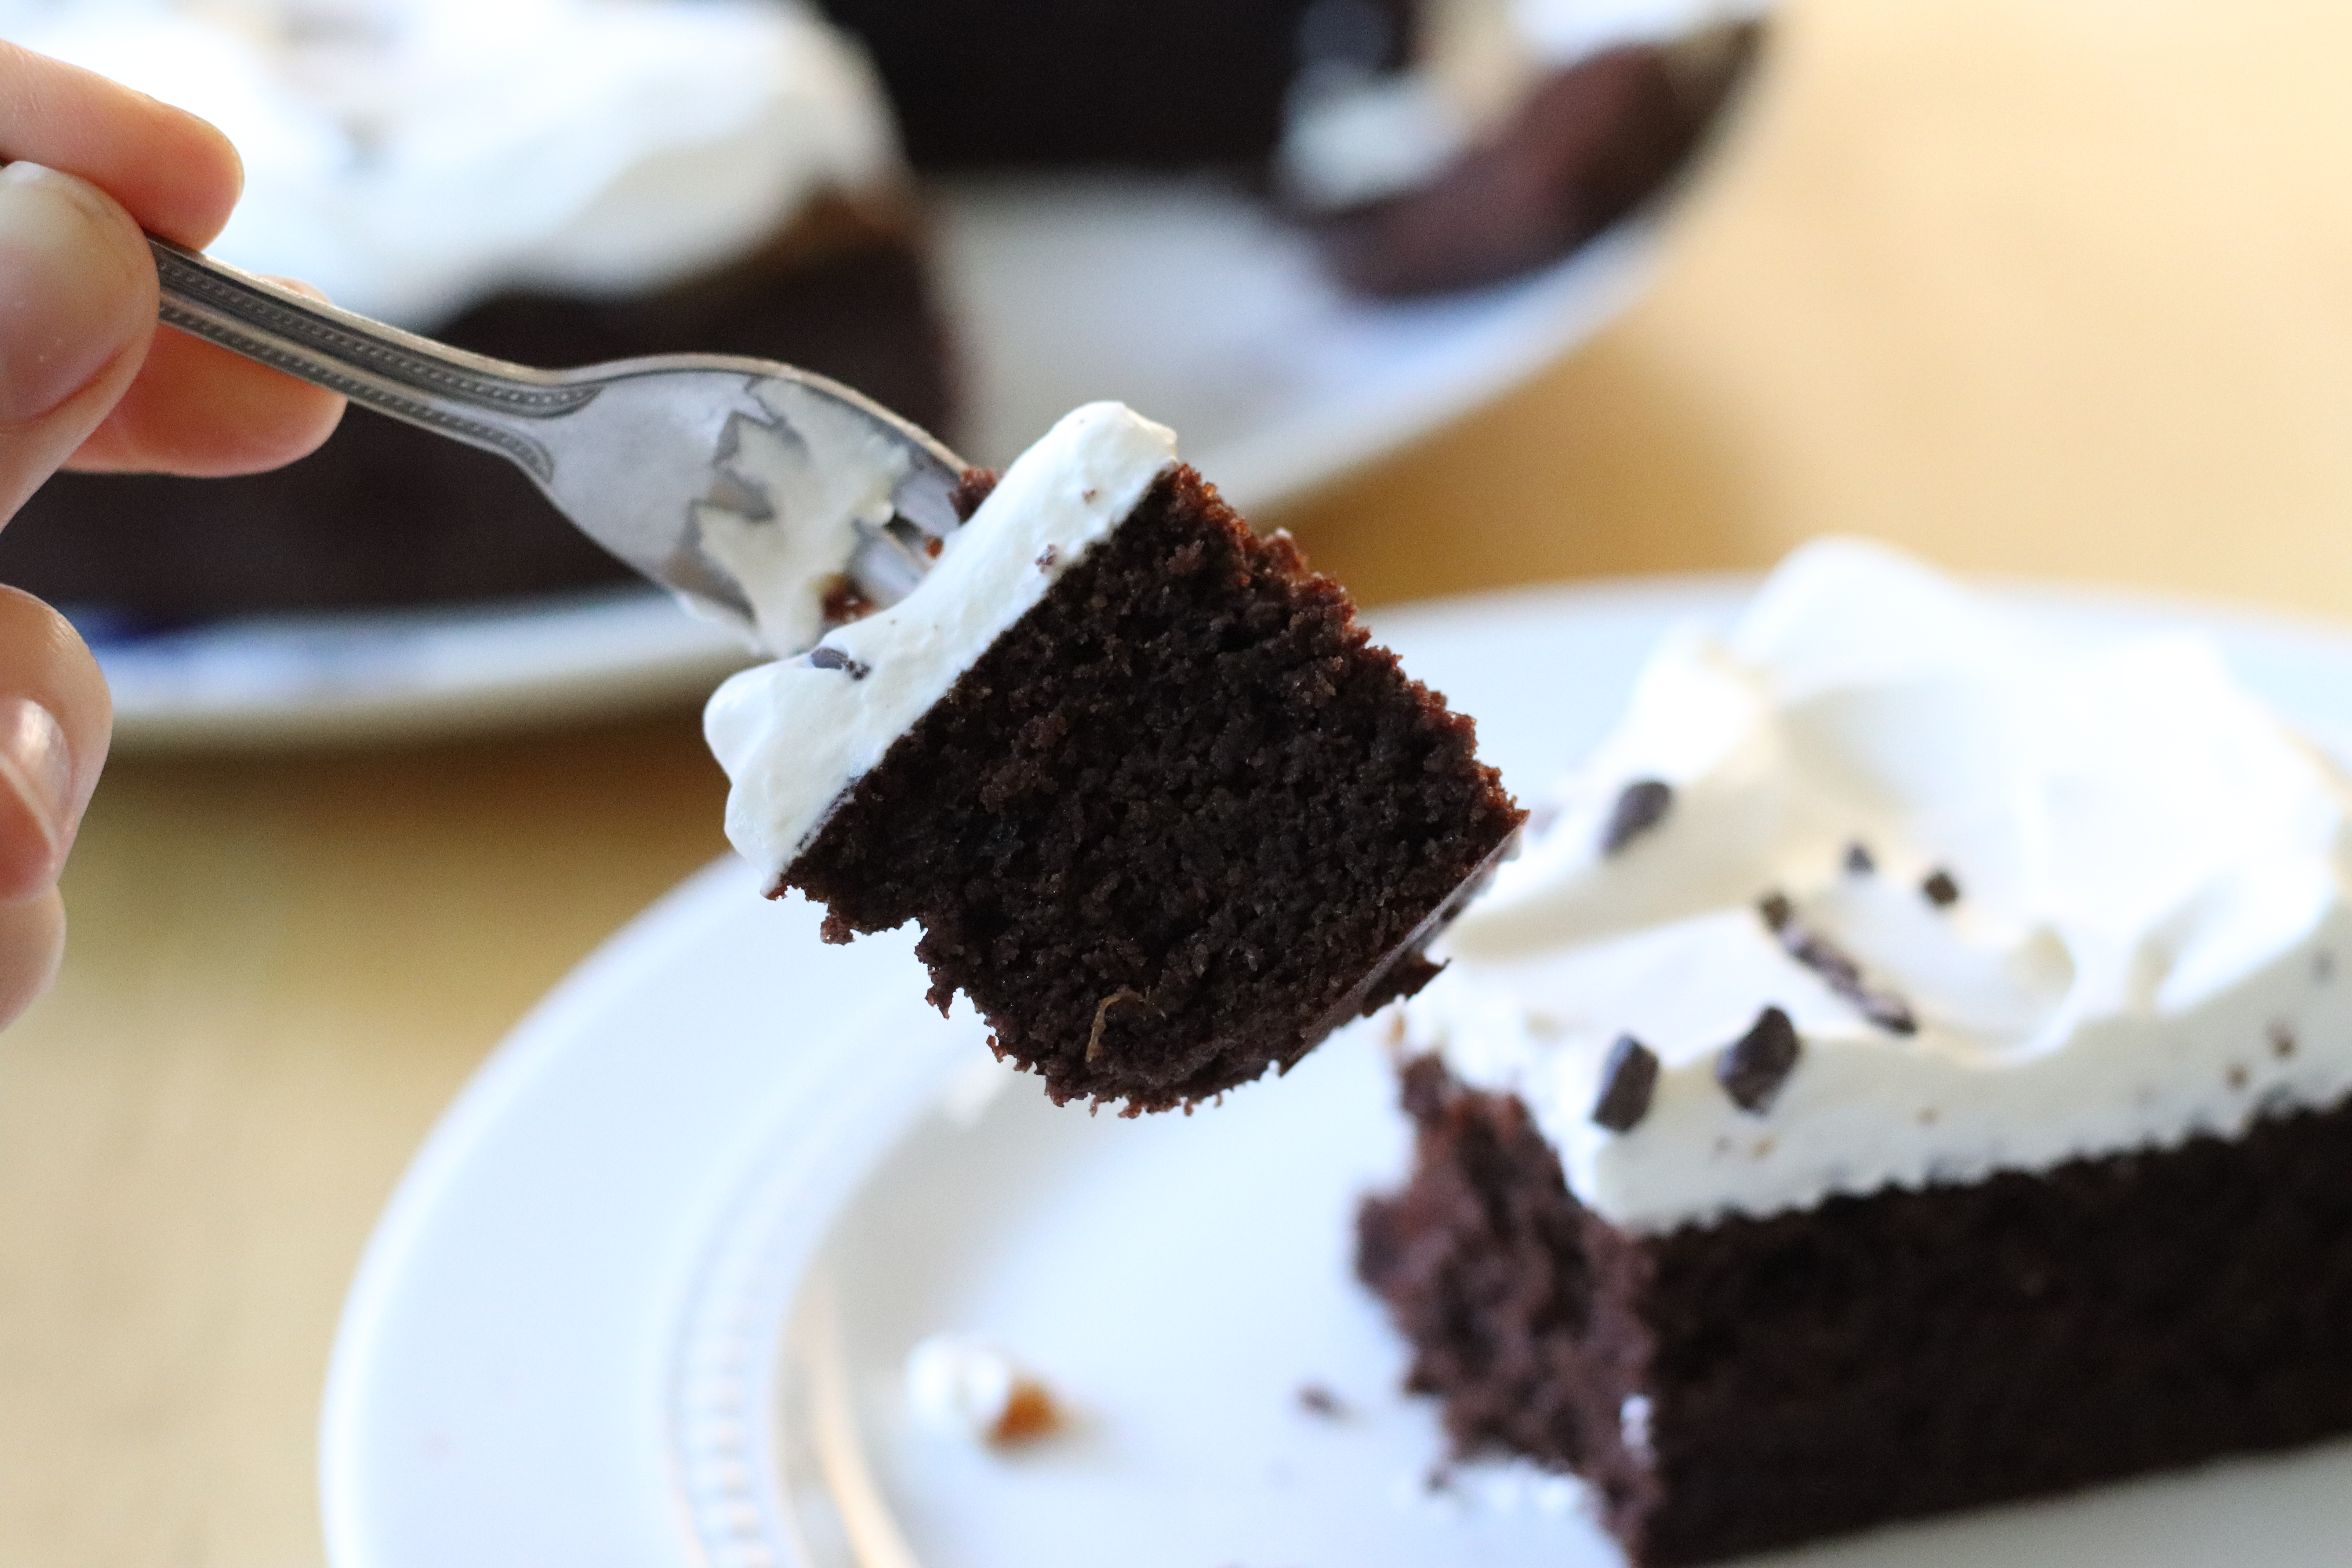
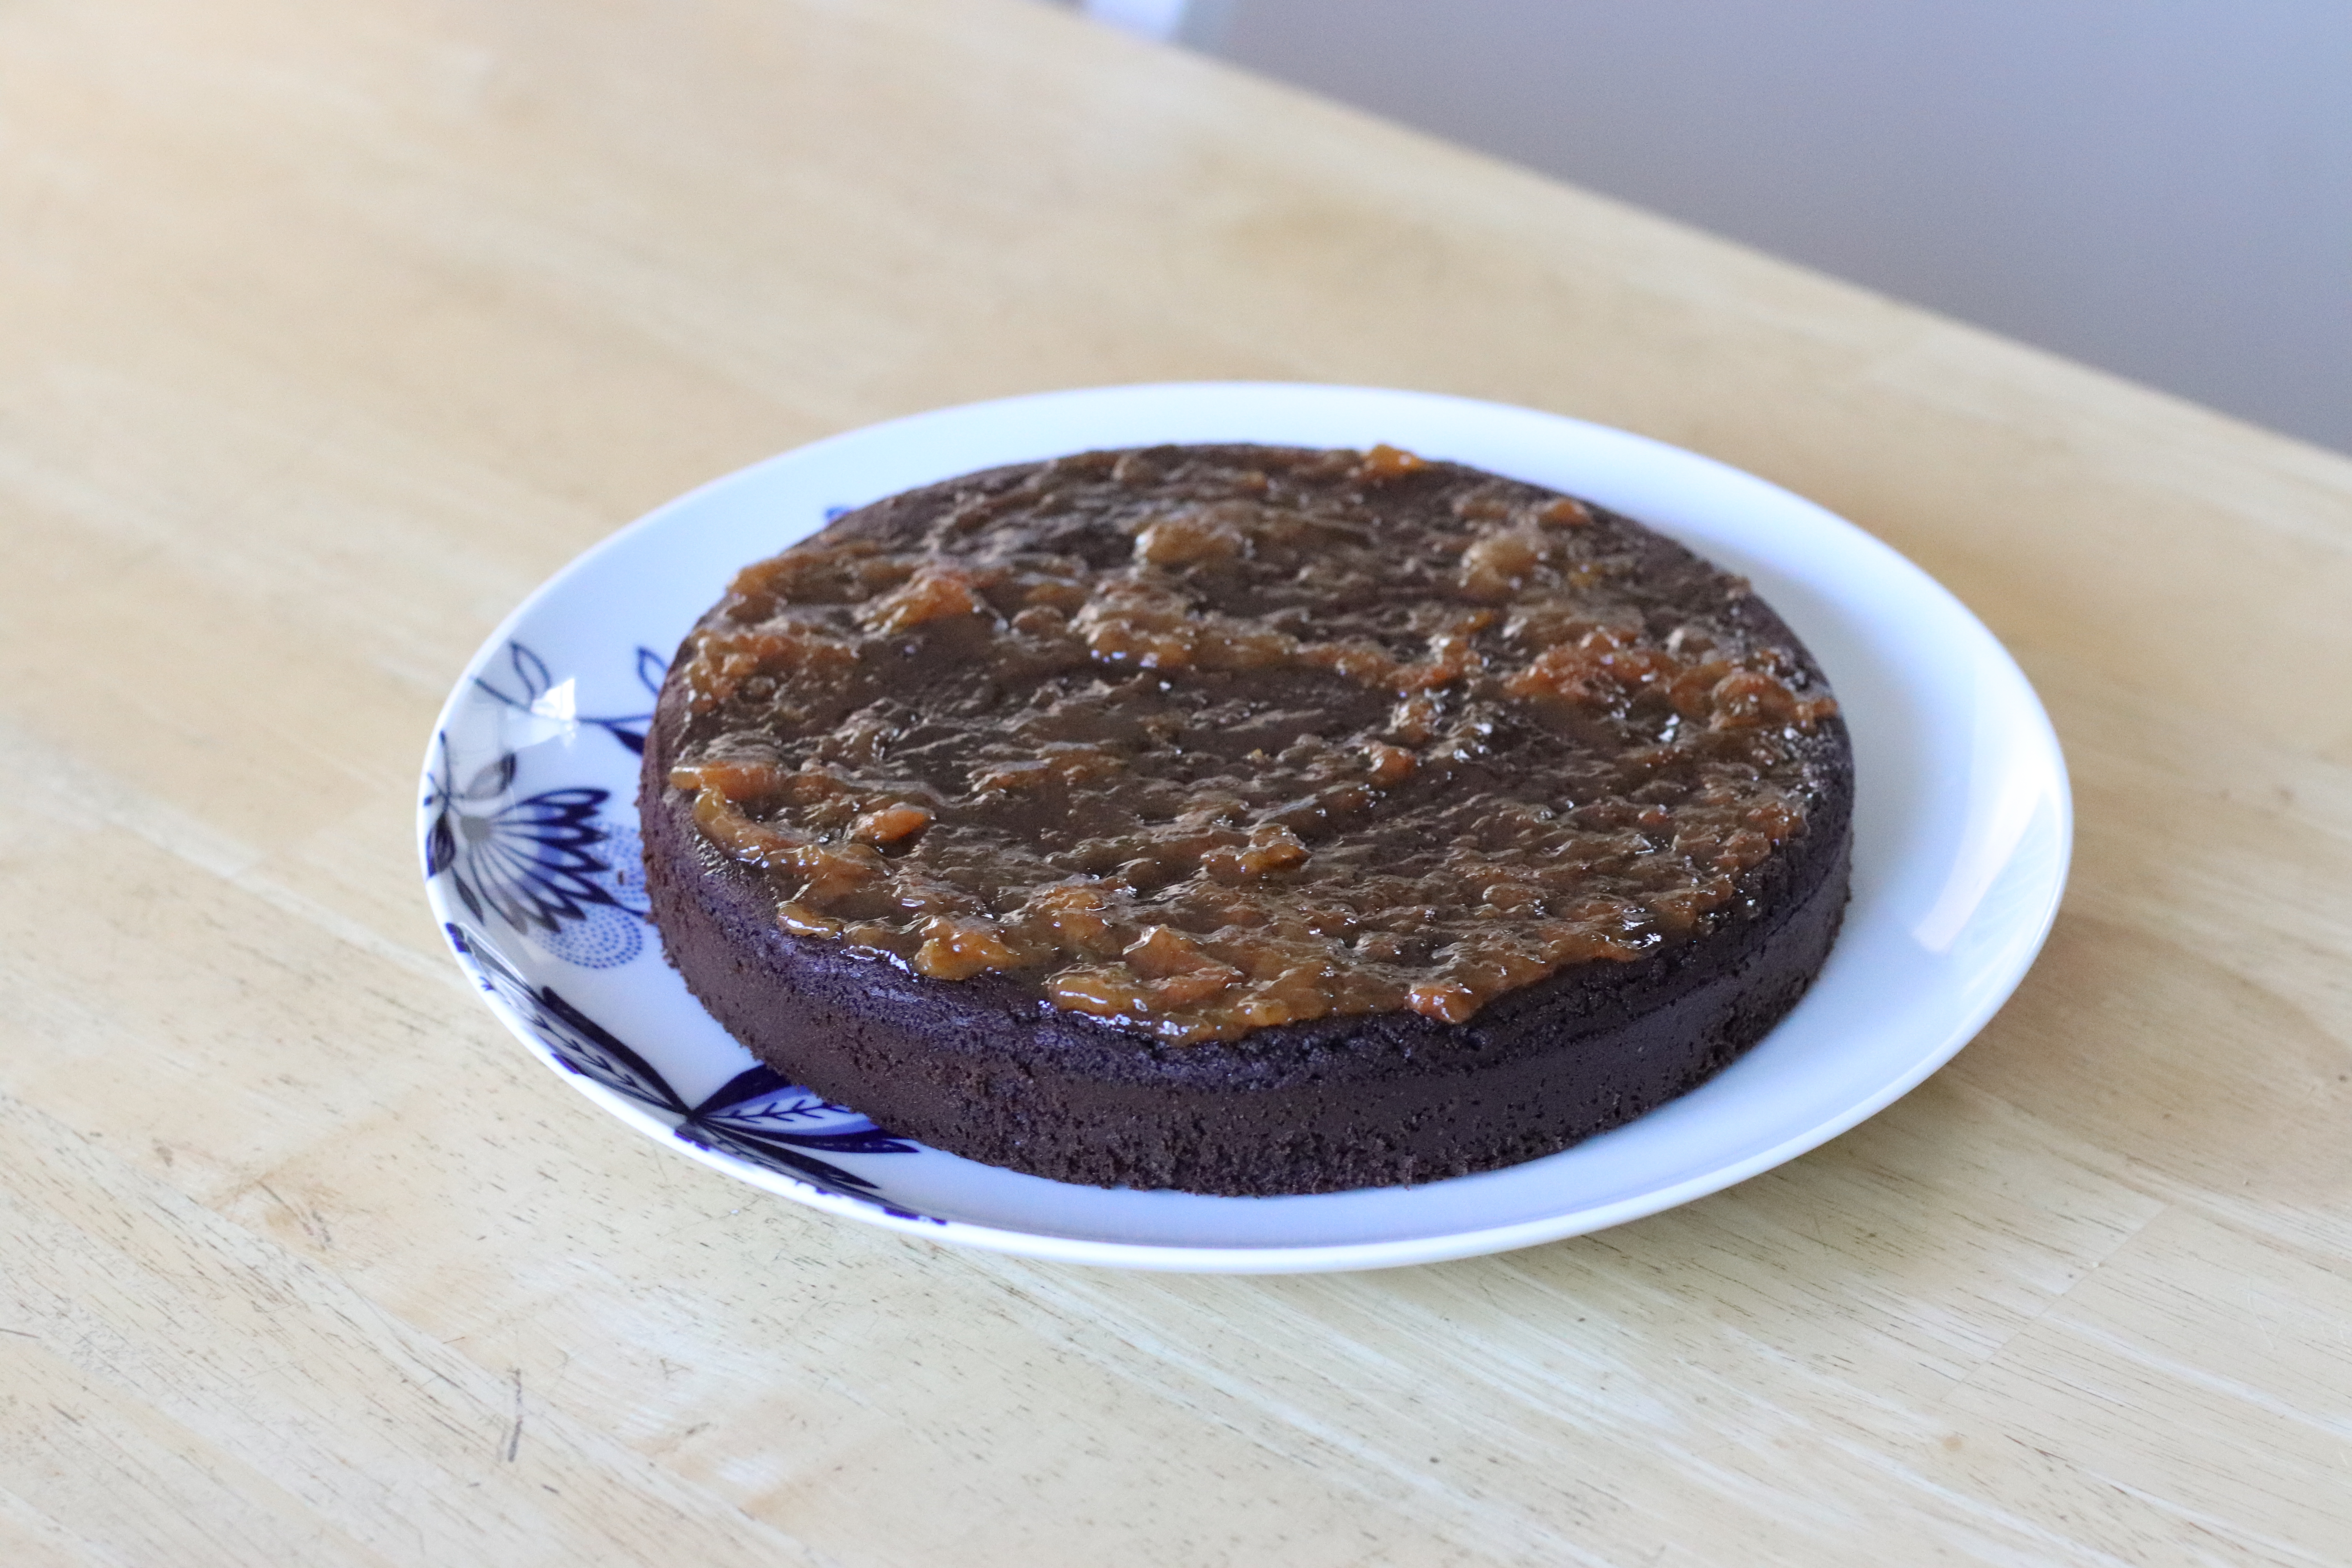
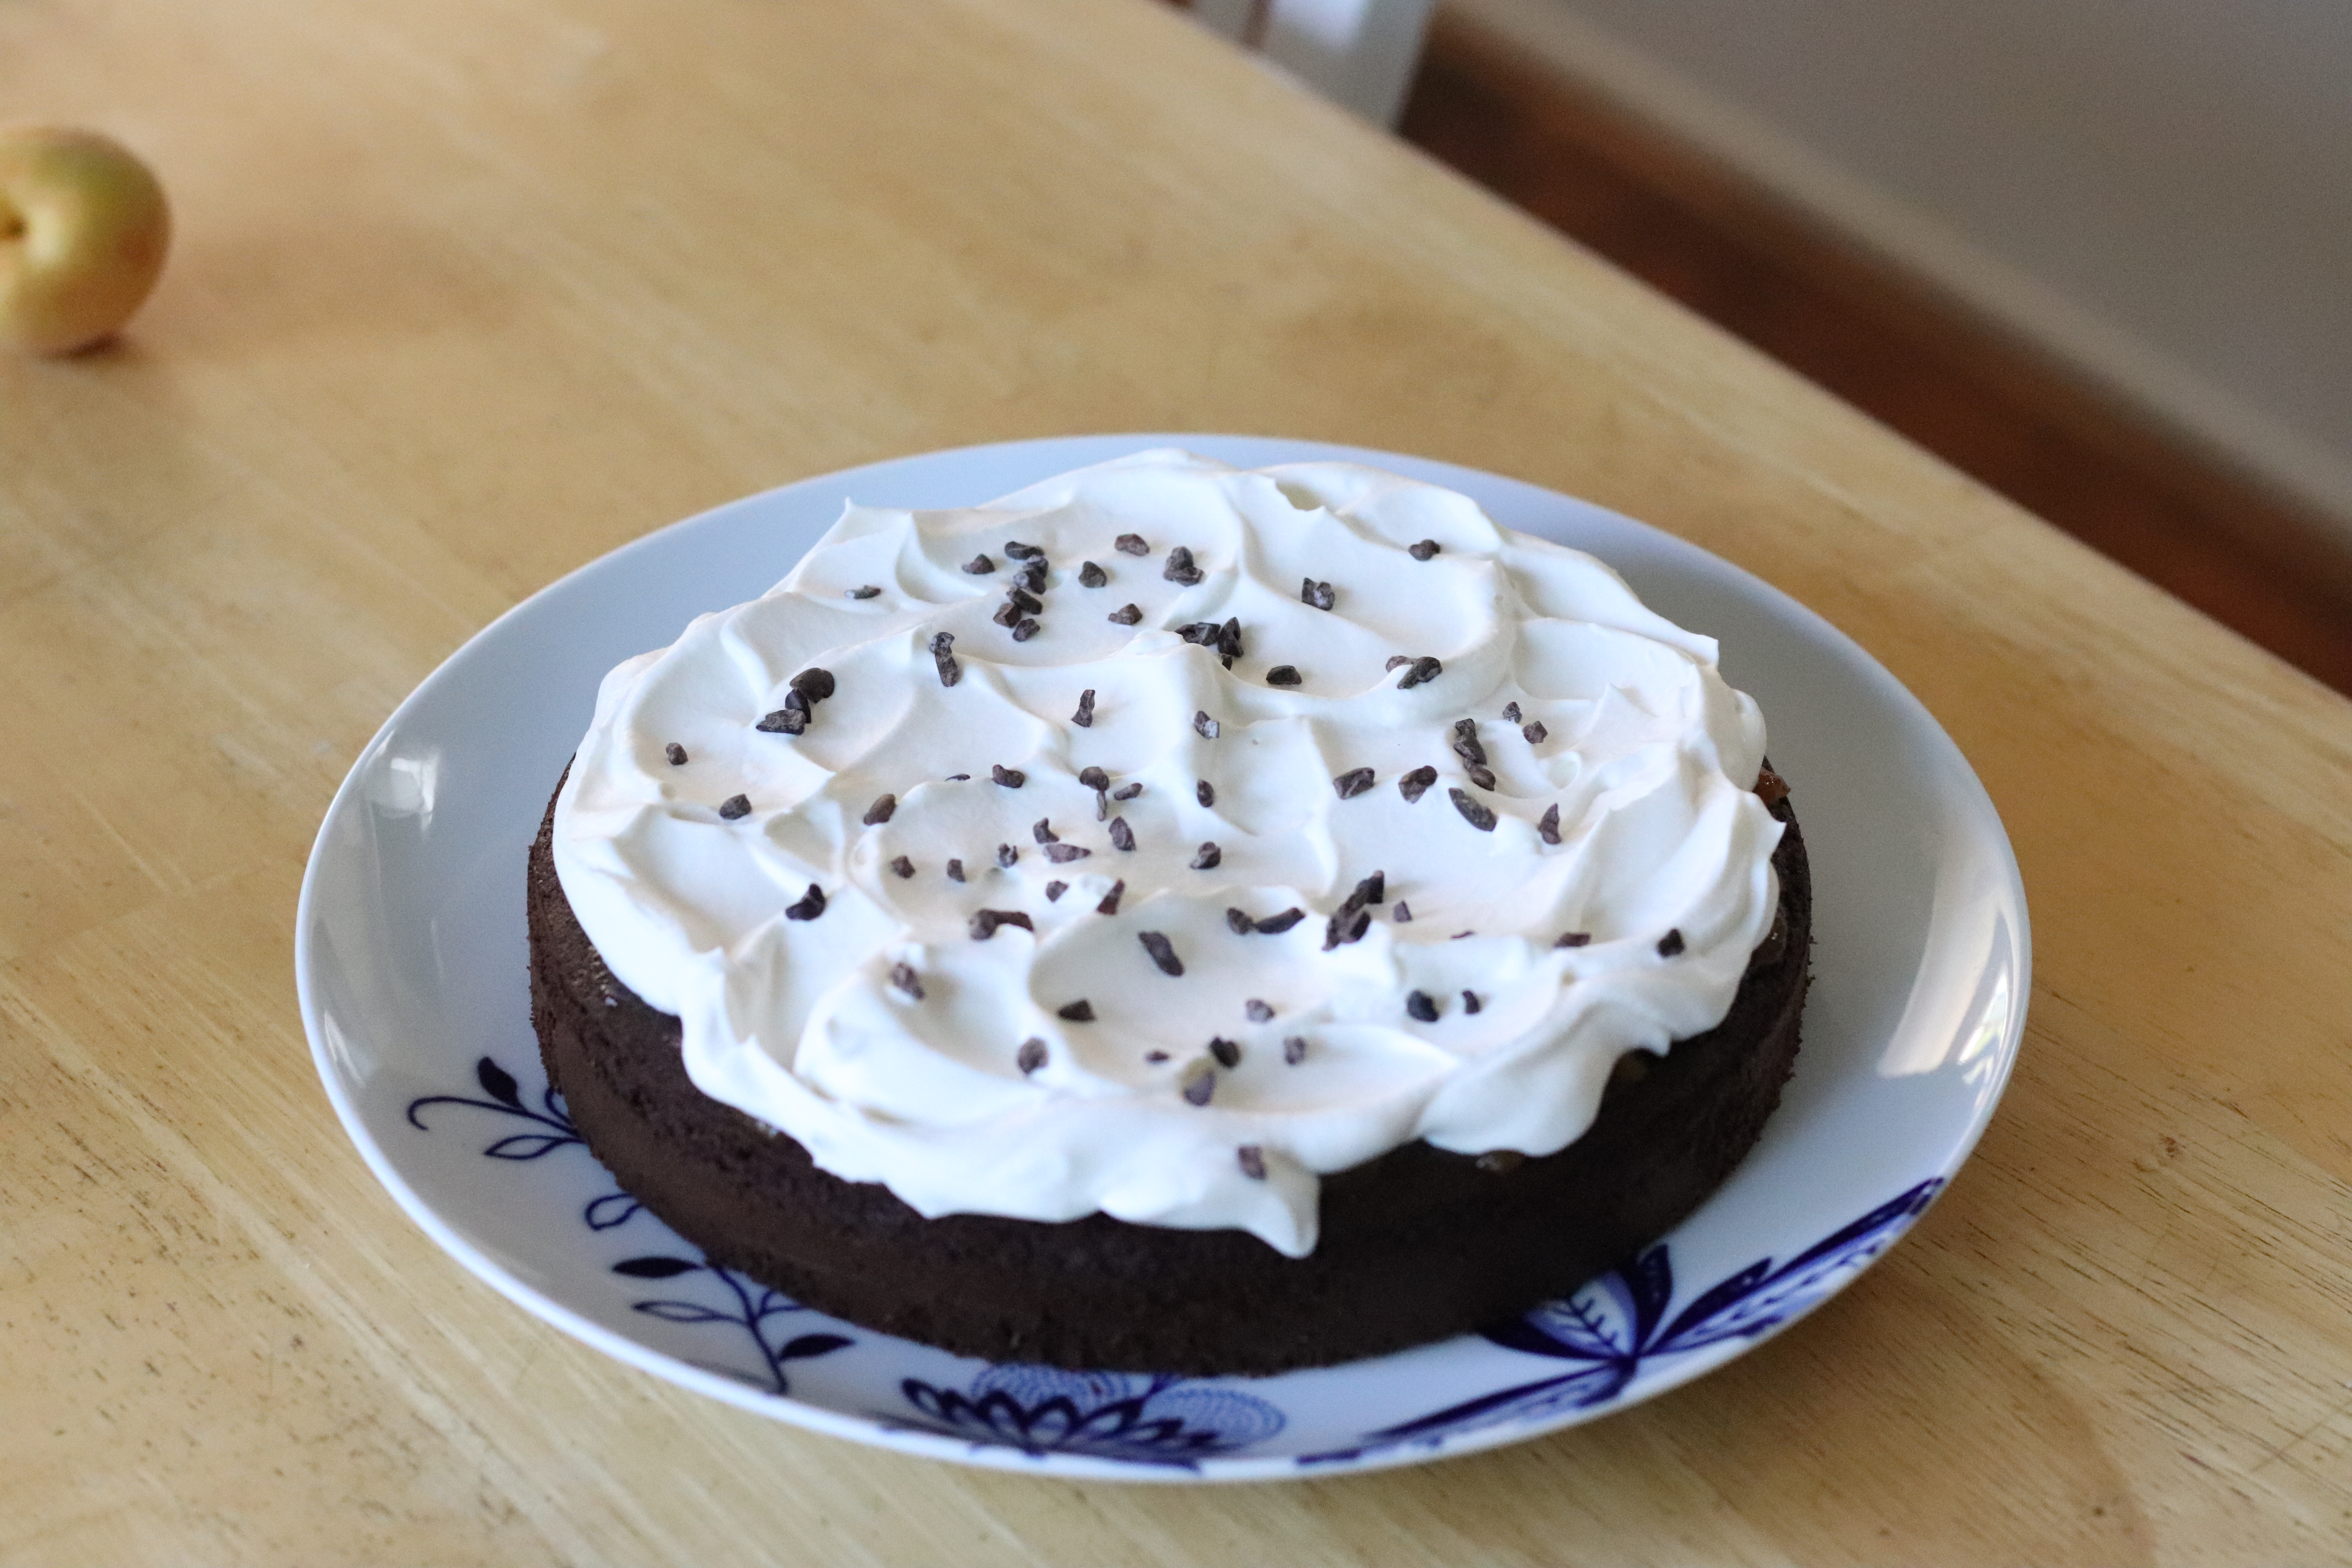
I made Tartine Bakery’s chocolate almond cake a few days ago and it tasted absolutely amazing! The crumb was so light and fine, you wouldn’t even know that it didn’t have flour (or oil) in it. I topped mine with apricot jam and whipped cream, which paired great with the chocolate. Hope you guys give it a try!
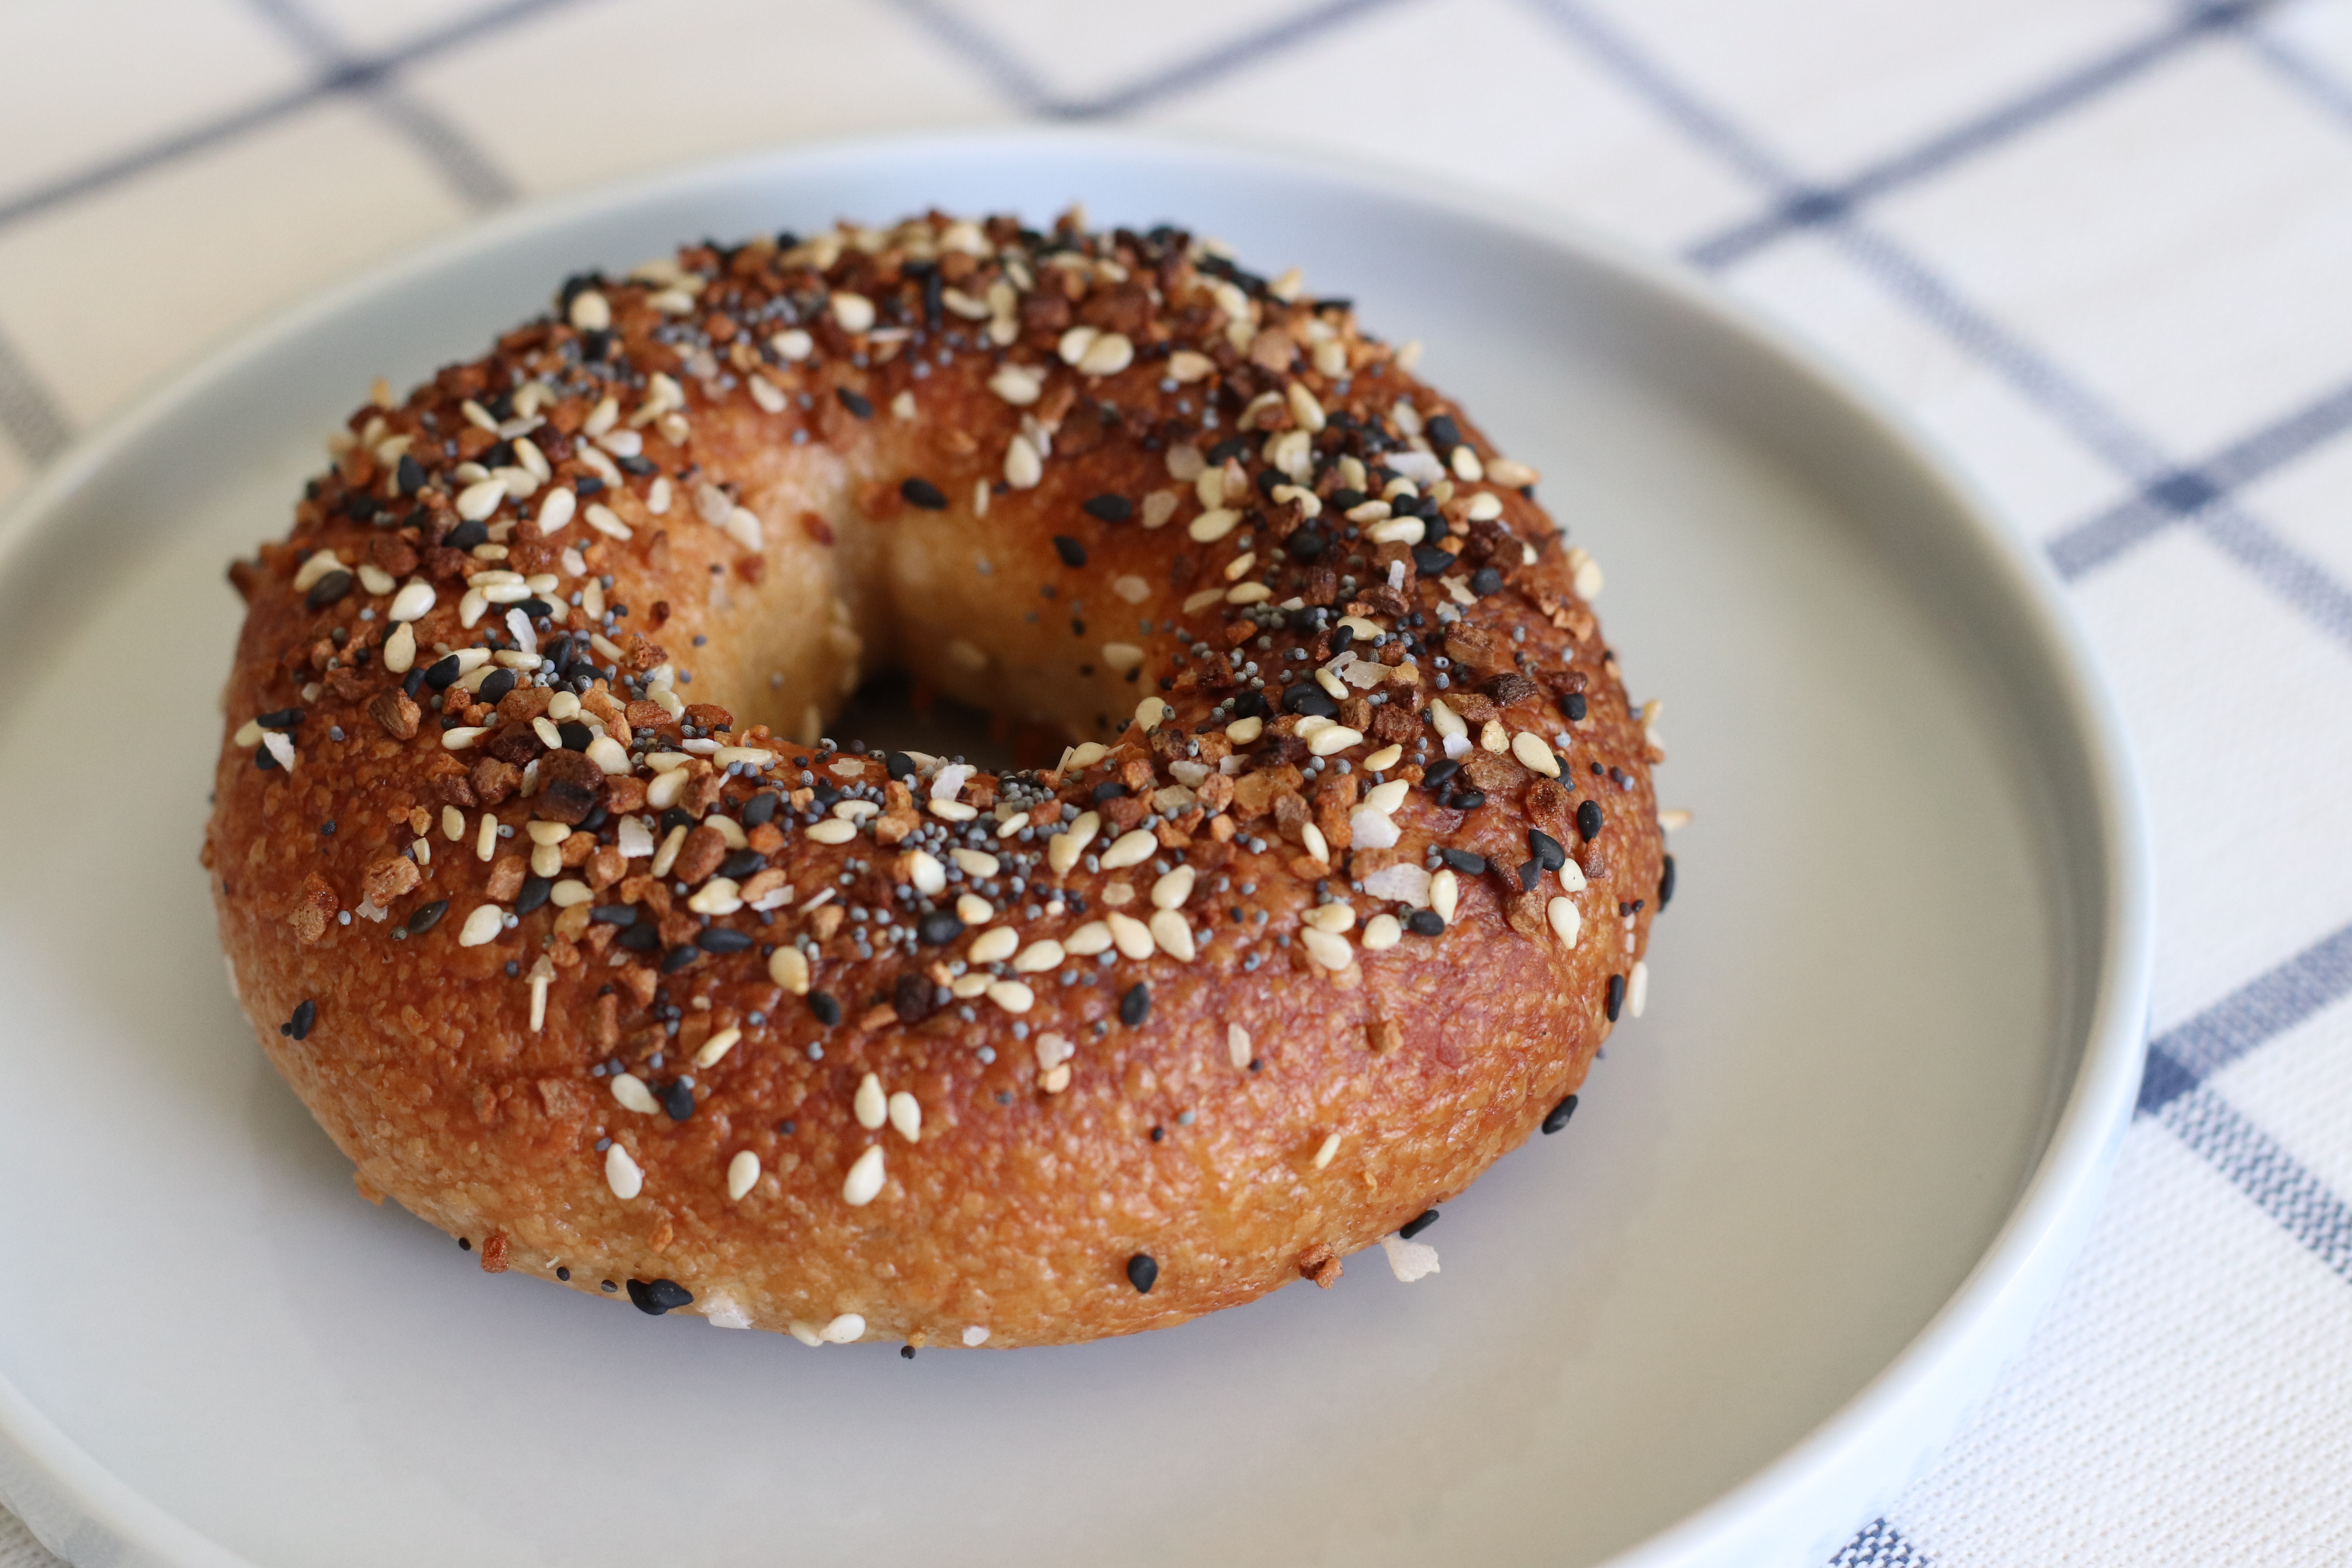
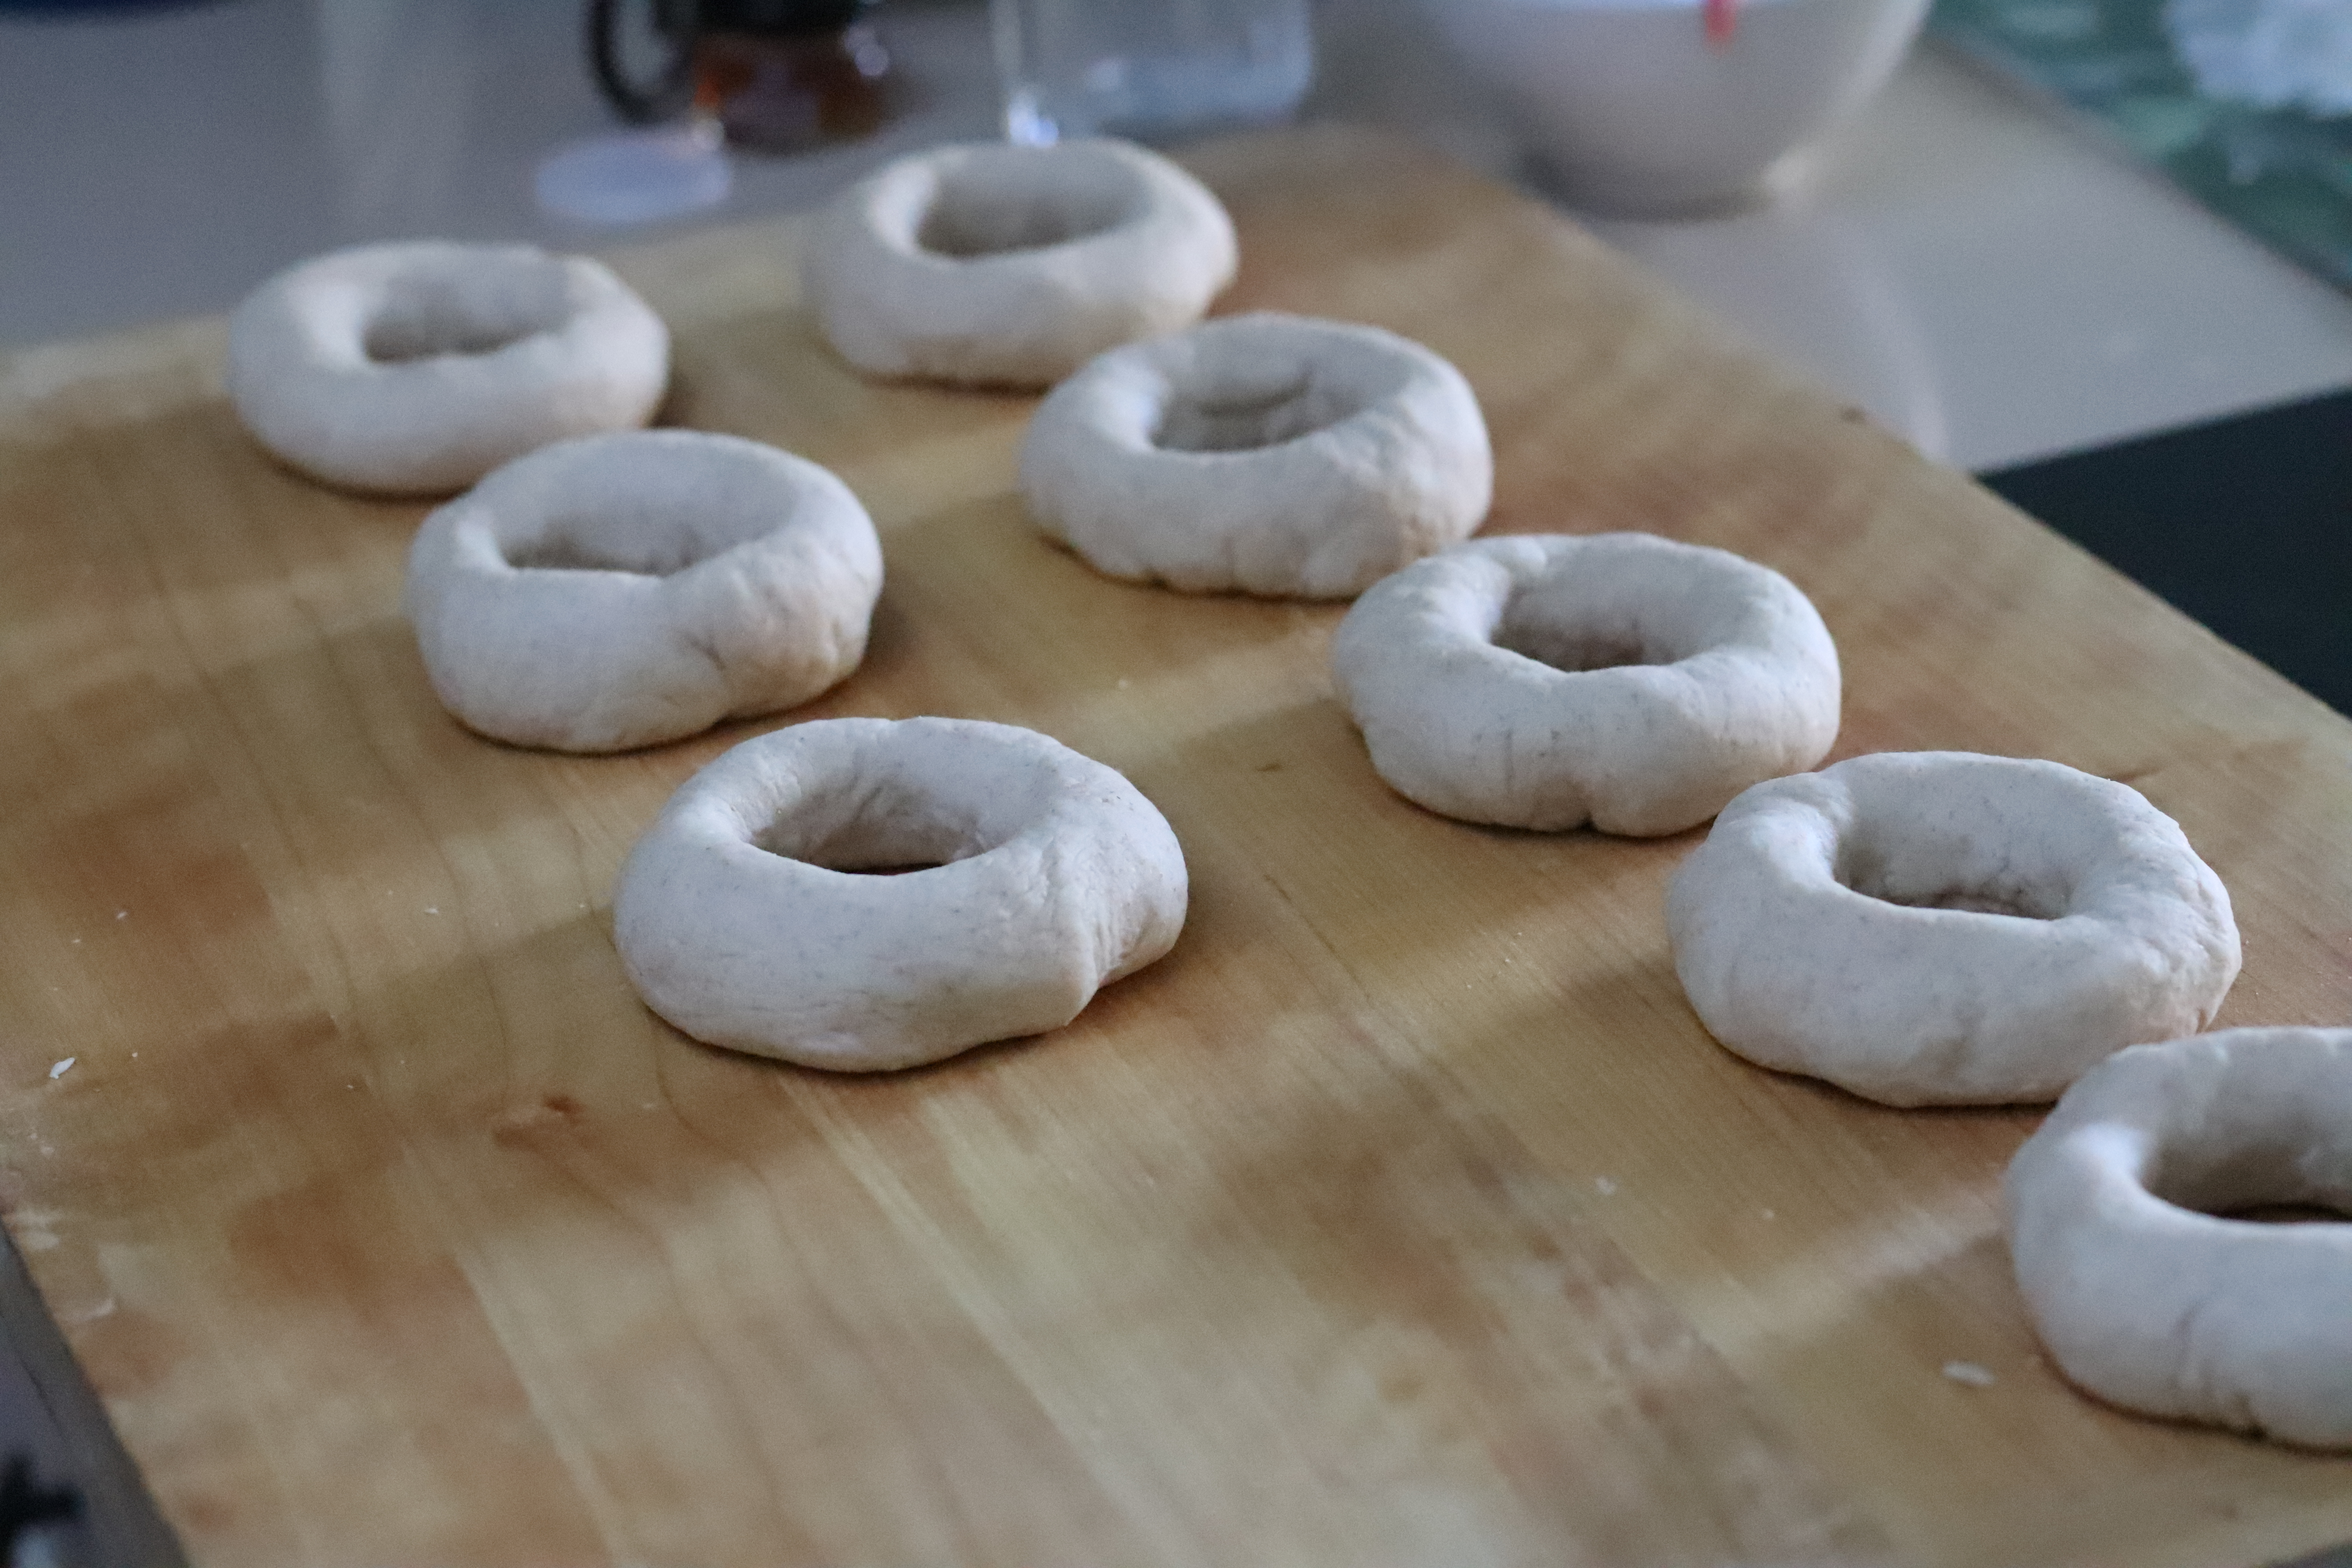
My brother loves bagels. Like LOVES bagels. His idea of a proper meal is 3 Costco cheese bagels with nothing on them. The boy is a serious bagel addict (which of course, is a little bit concerning). Therefore, I decided to bake some whole wheat bagels to get some more fiber and nutrients into him.
The recipe is adapted from Stella Parks’s cinnamon raisin bagels from Serious Eats. I ditched the barley malt syrup in favor of honey and replaced the raisins with everything seasoning. Once out of the oven, these bagels lasted a total of 5 minutes in my house. (Guess why!)
Ingredients
For the Flour Paste :
170g (3/4 cup) cold water
100g (about 3/4 cup) bread flour
For the Dough:
280g (about 2 1/4 cups, spooned) bread flour
70g (about 1/2 cup, spooned) whole wheat flour
15g (about 1 tablespoon) ounce sugar
2 1/2 teaspoons (9g) salt
1 teaspoon (4g) instant dry yeast
110g (1/2 cup) water
30g (4 teaspoons) honey
Procedure
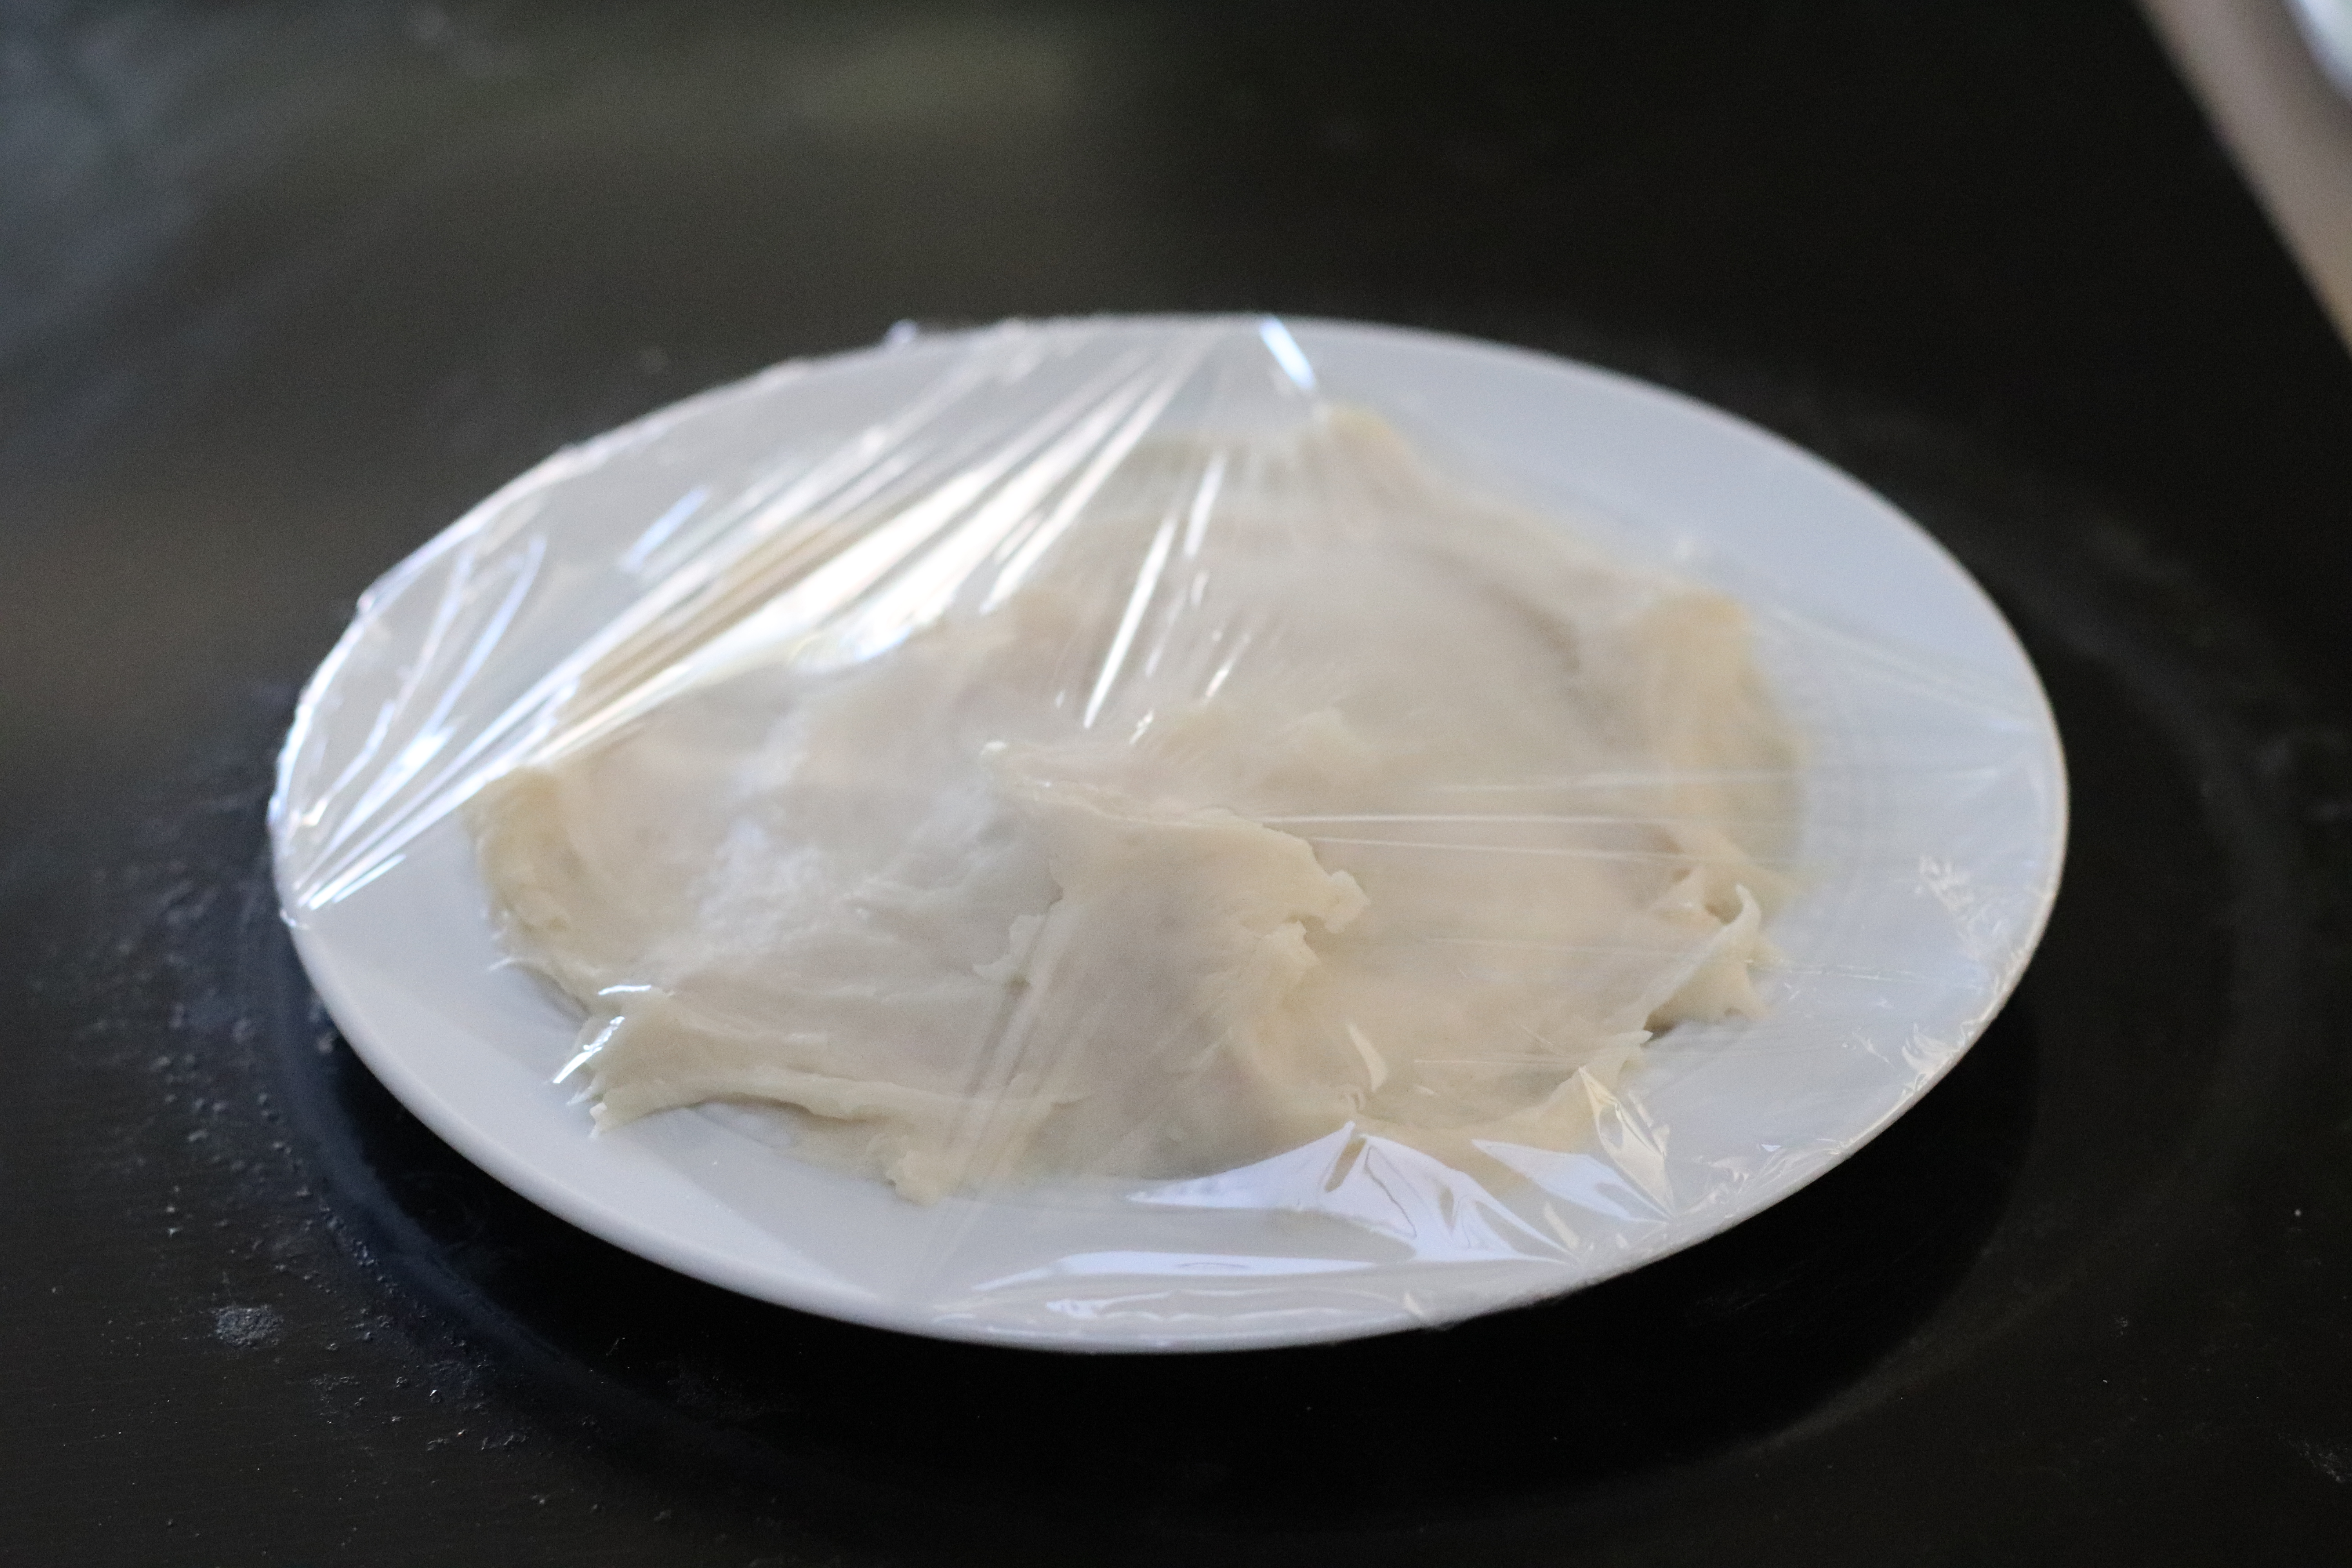
Make the flour paste by heating up the water and flour and stirring until it thickens into mashed potato-like consistency. Transfer to a plate and wait until it cools.
Place all ingredients (except honey) including the flour paste into a food processor and process until the dough is shiny. Divide the dough into eight pieces.
Poke a hole through the center of each piece of dough and form a ring.
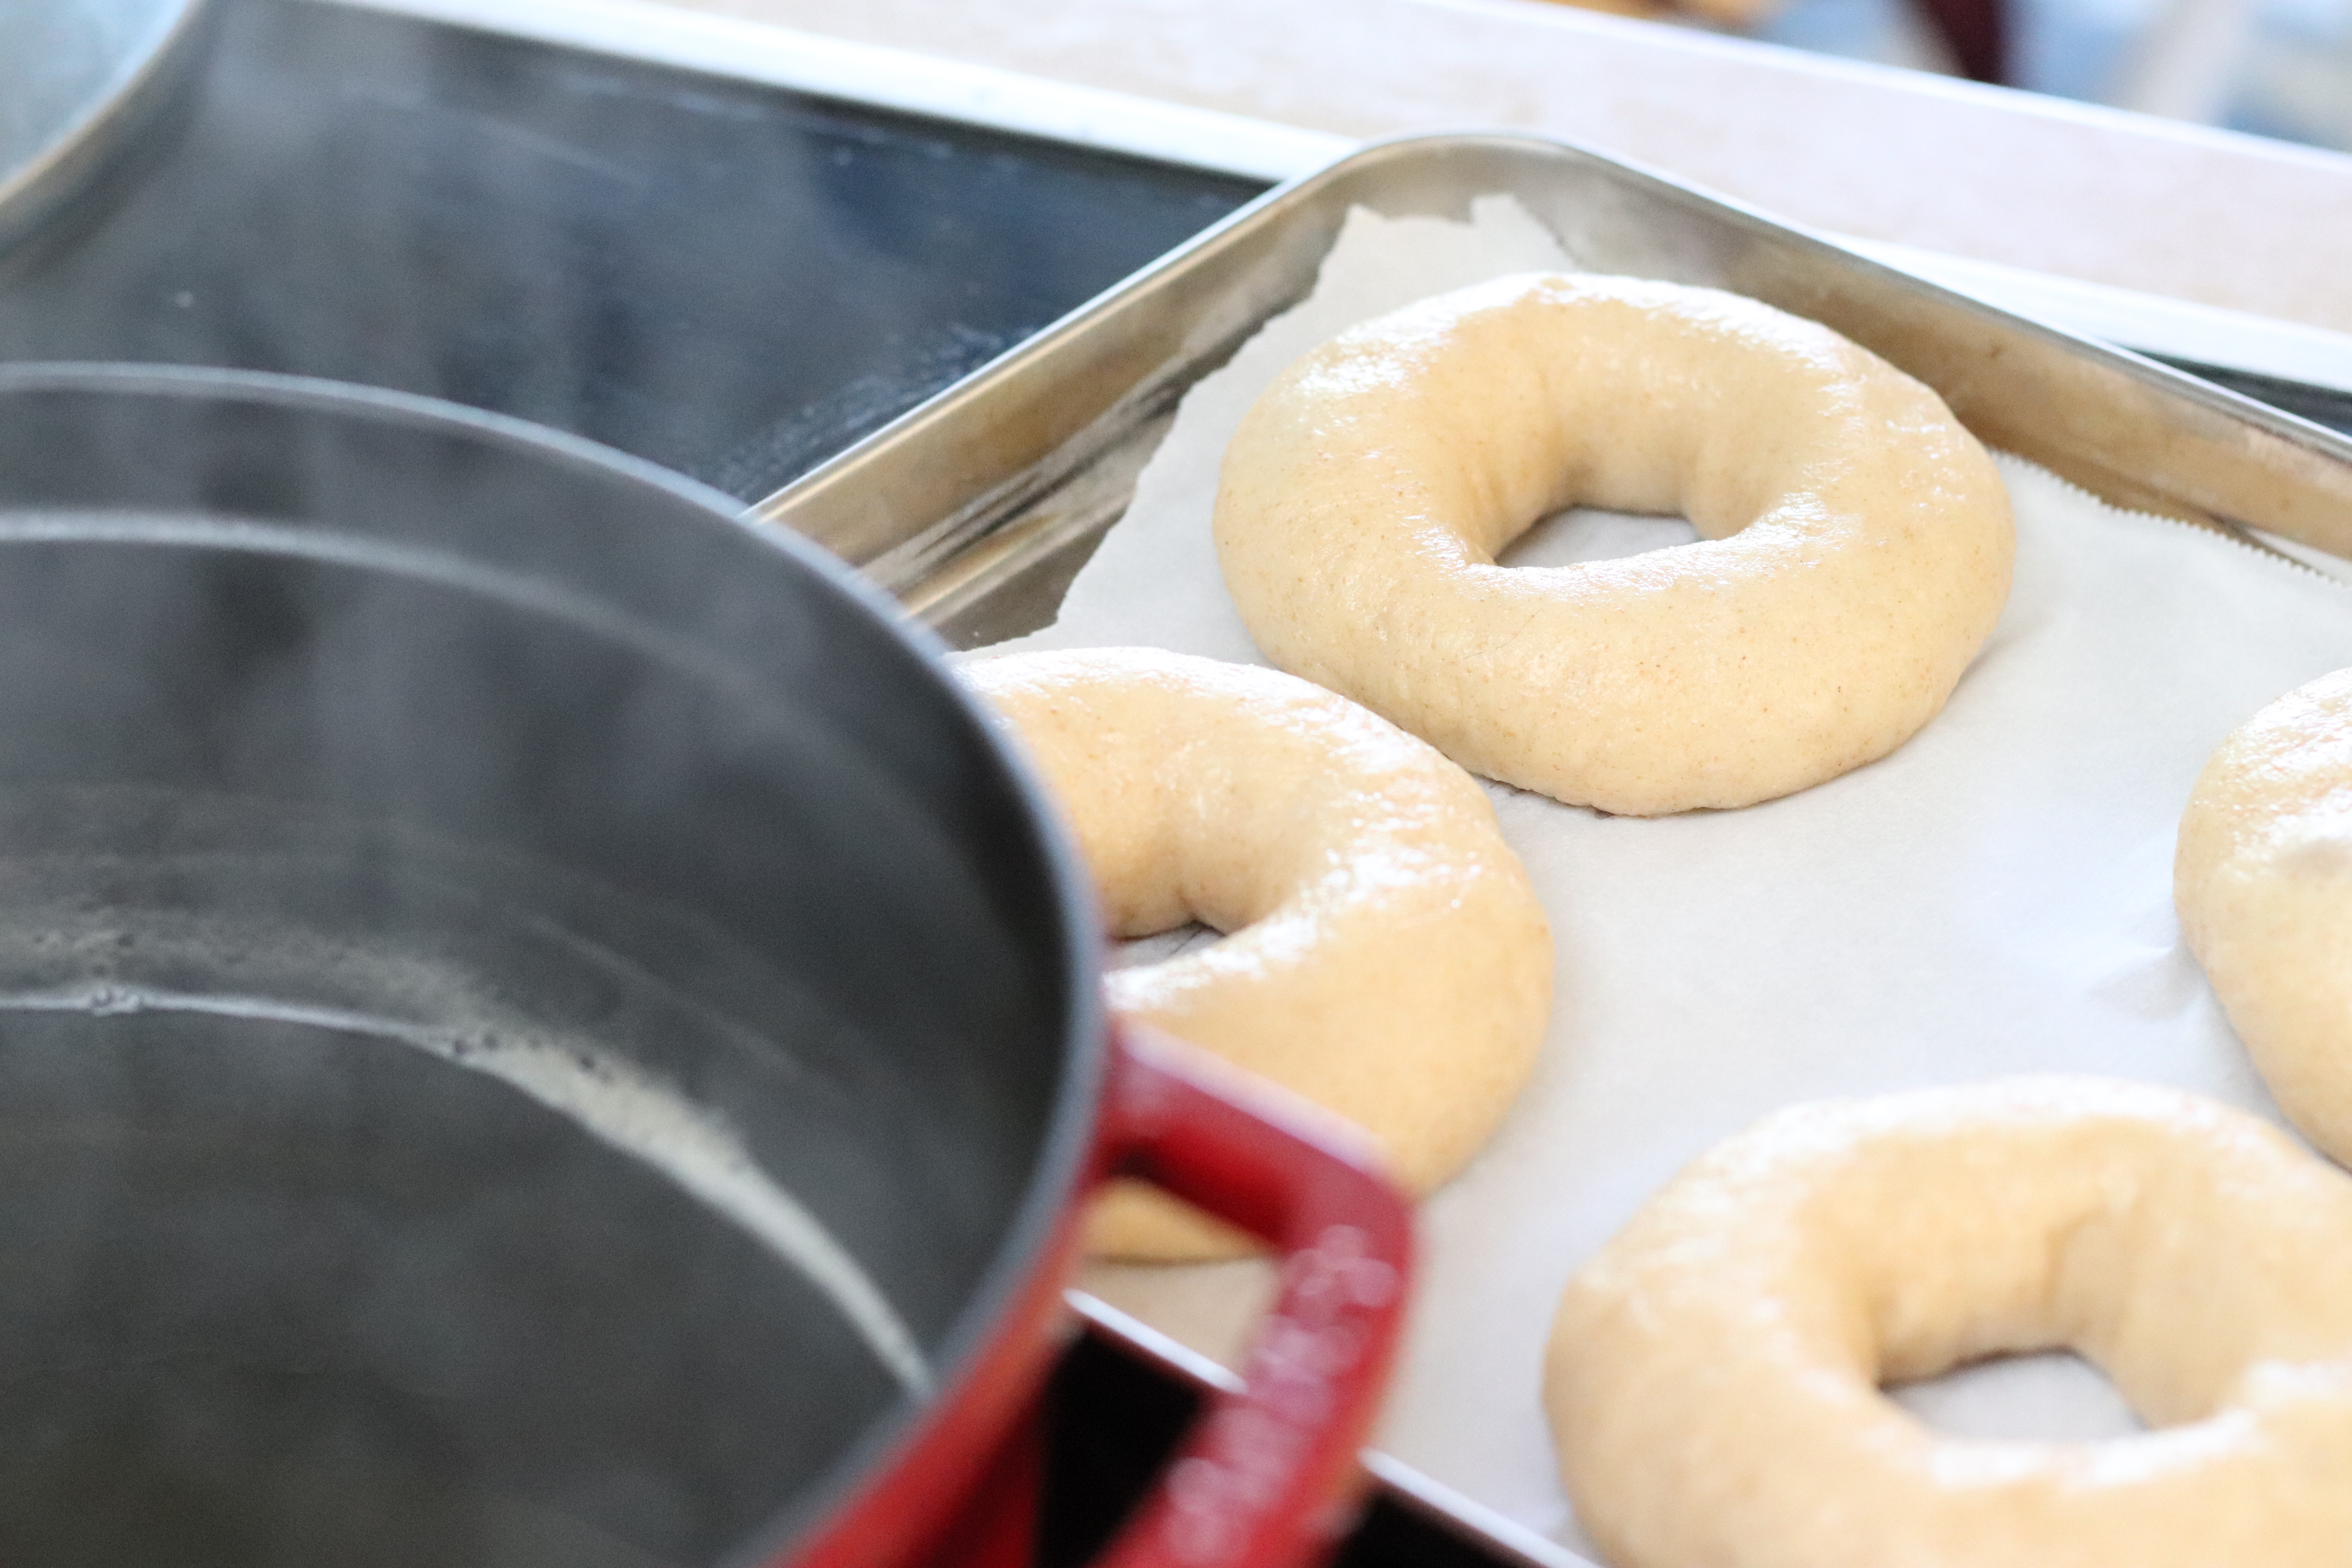
Cover and refrigerate overnight. The next day, fill a pot with an inch or two of water and mix in the honey. Bring to a rolling boil and boil the bagels for around 30 seconds for each side.
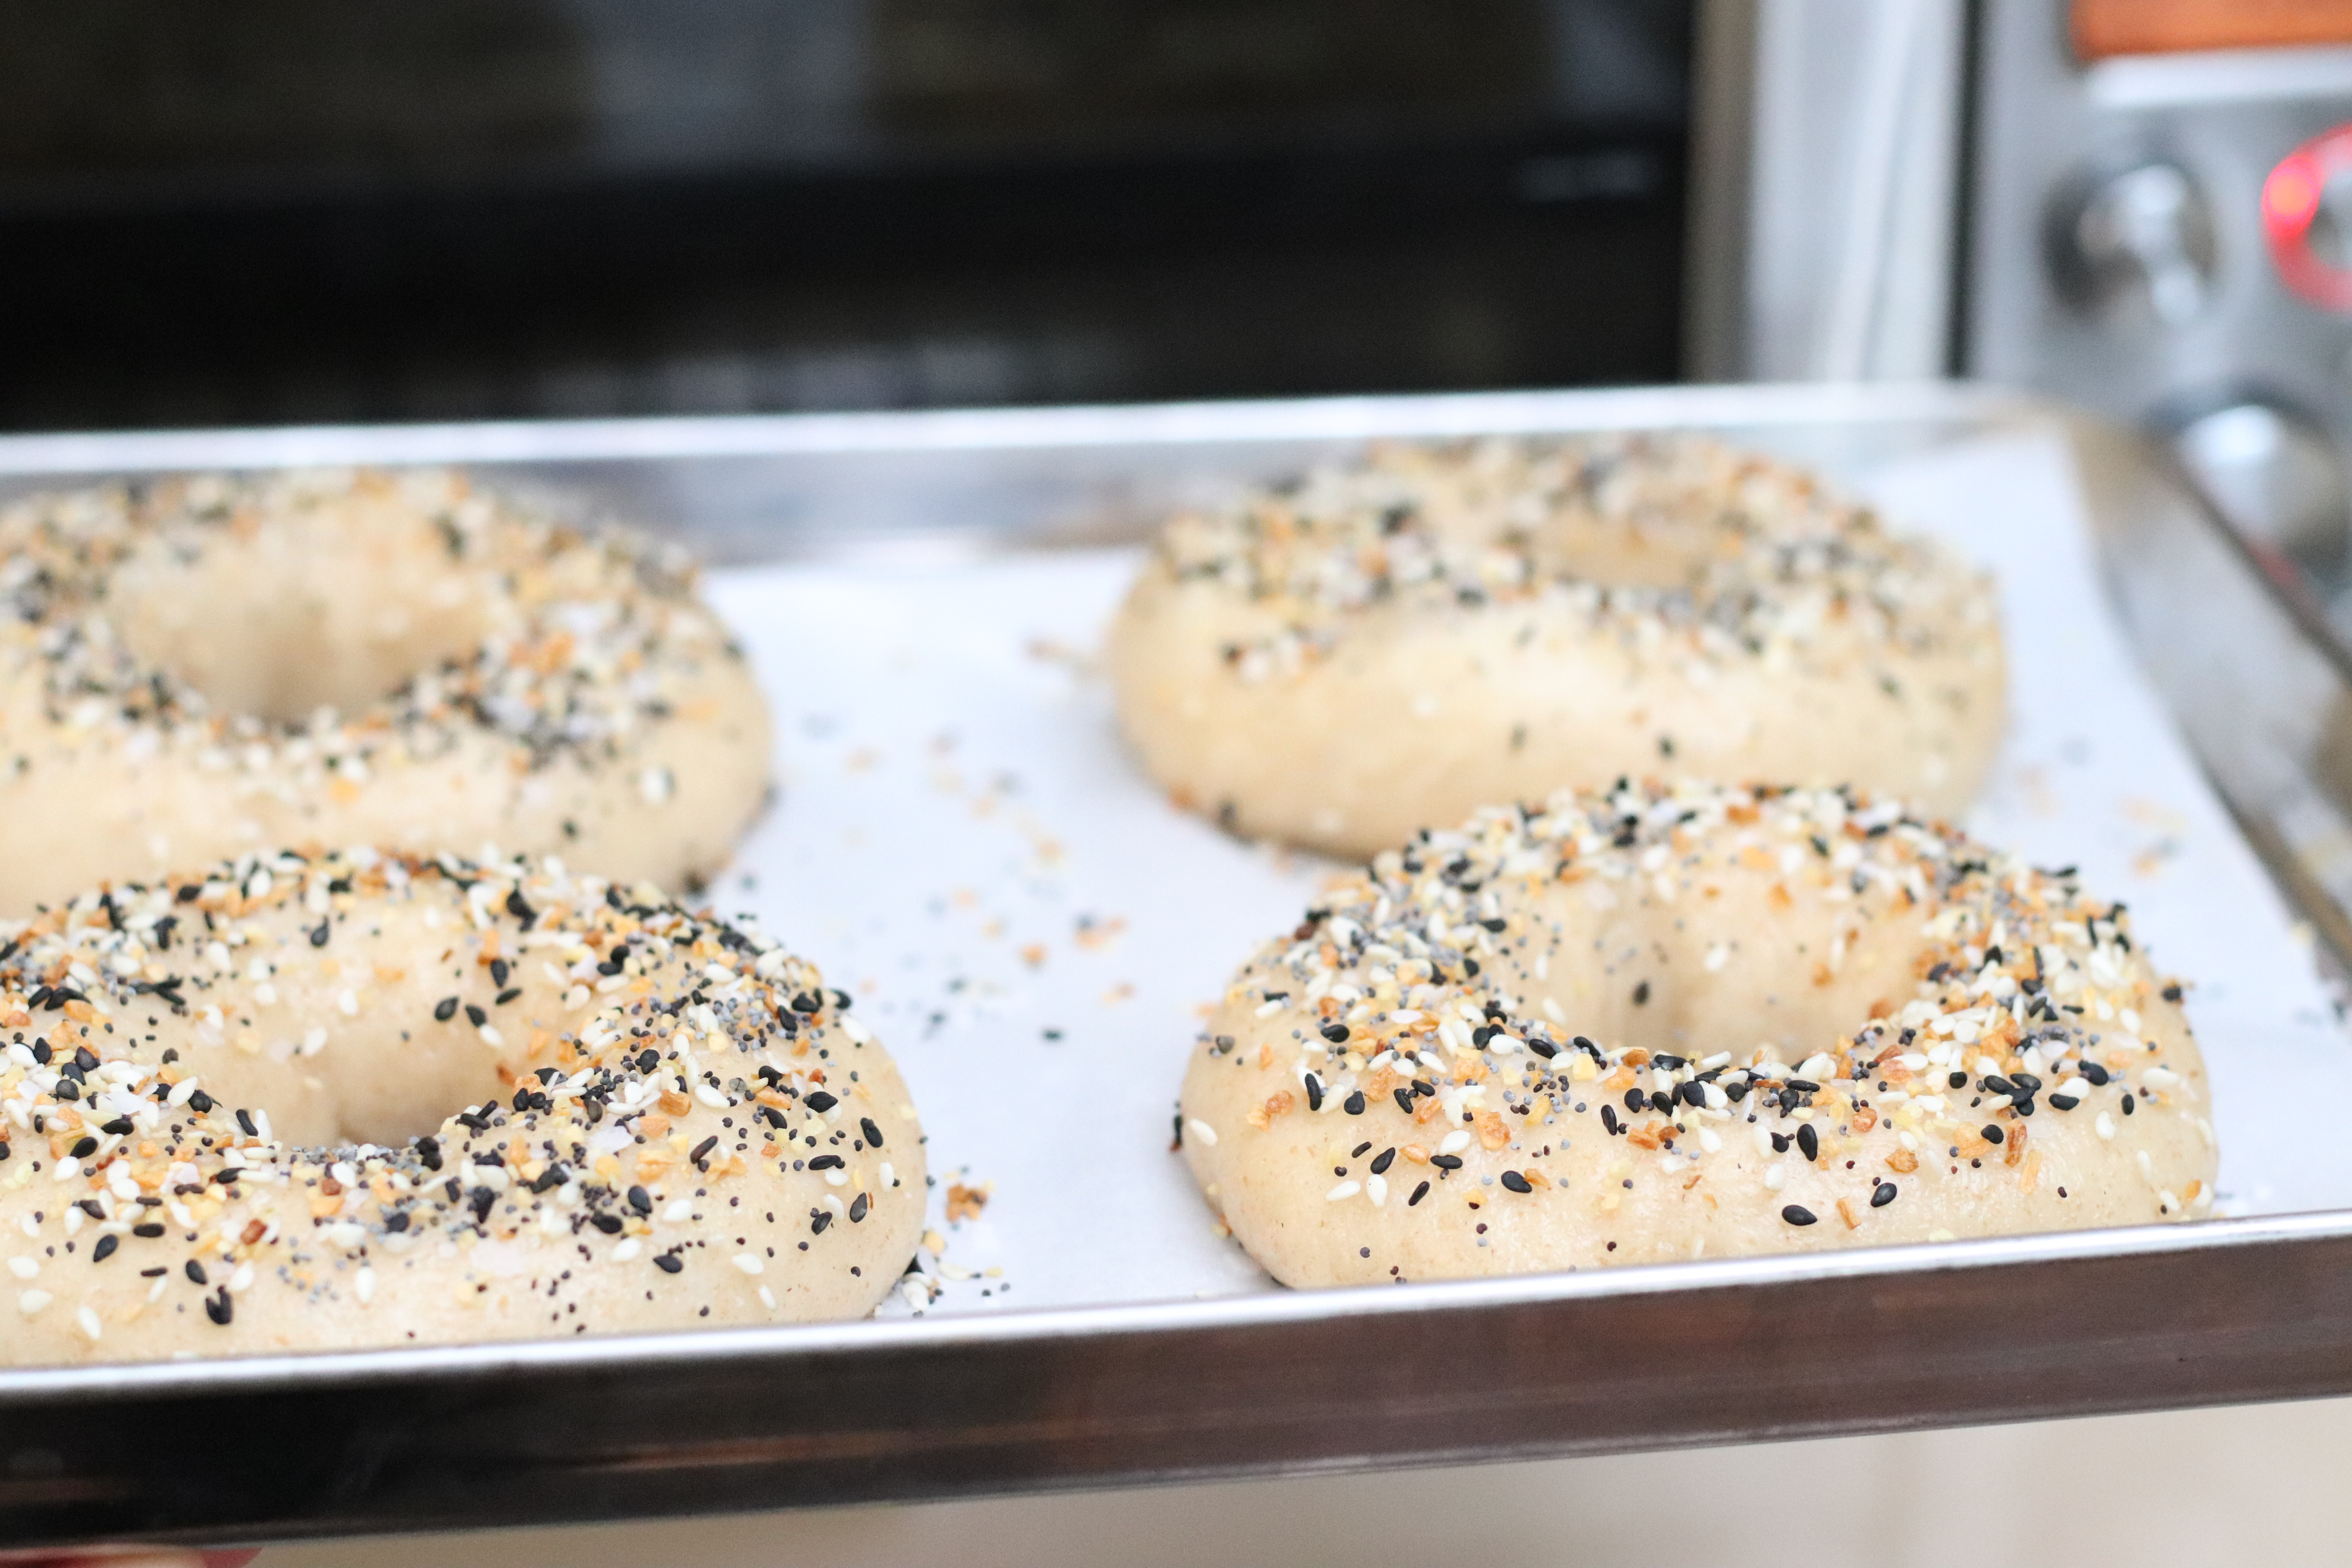
Sprinkle on your desired seasoning and bake at 425 F for around 25 mins.
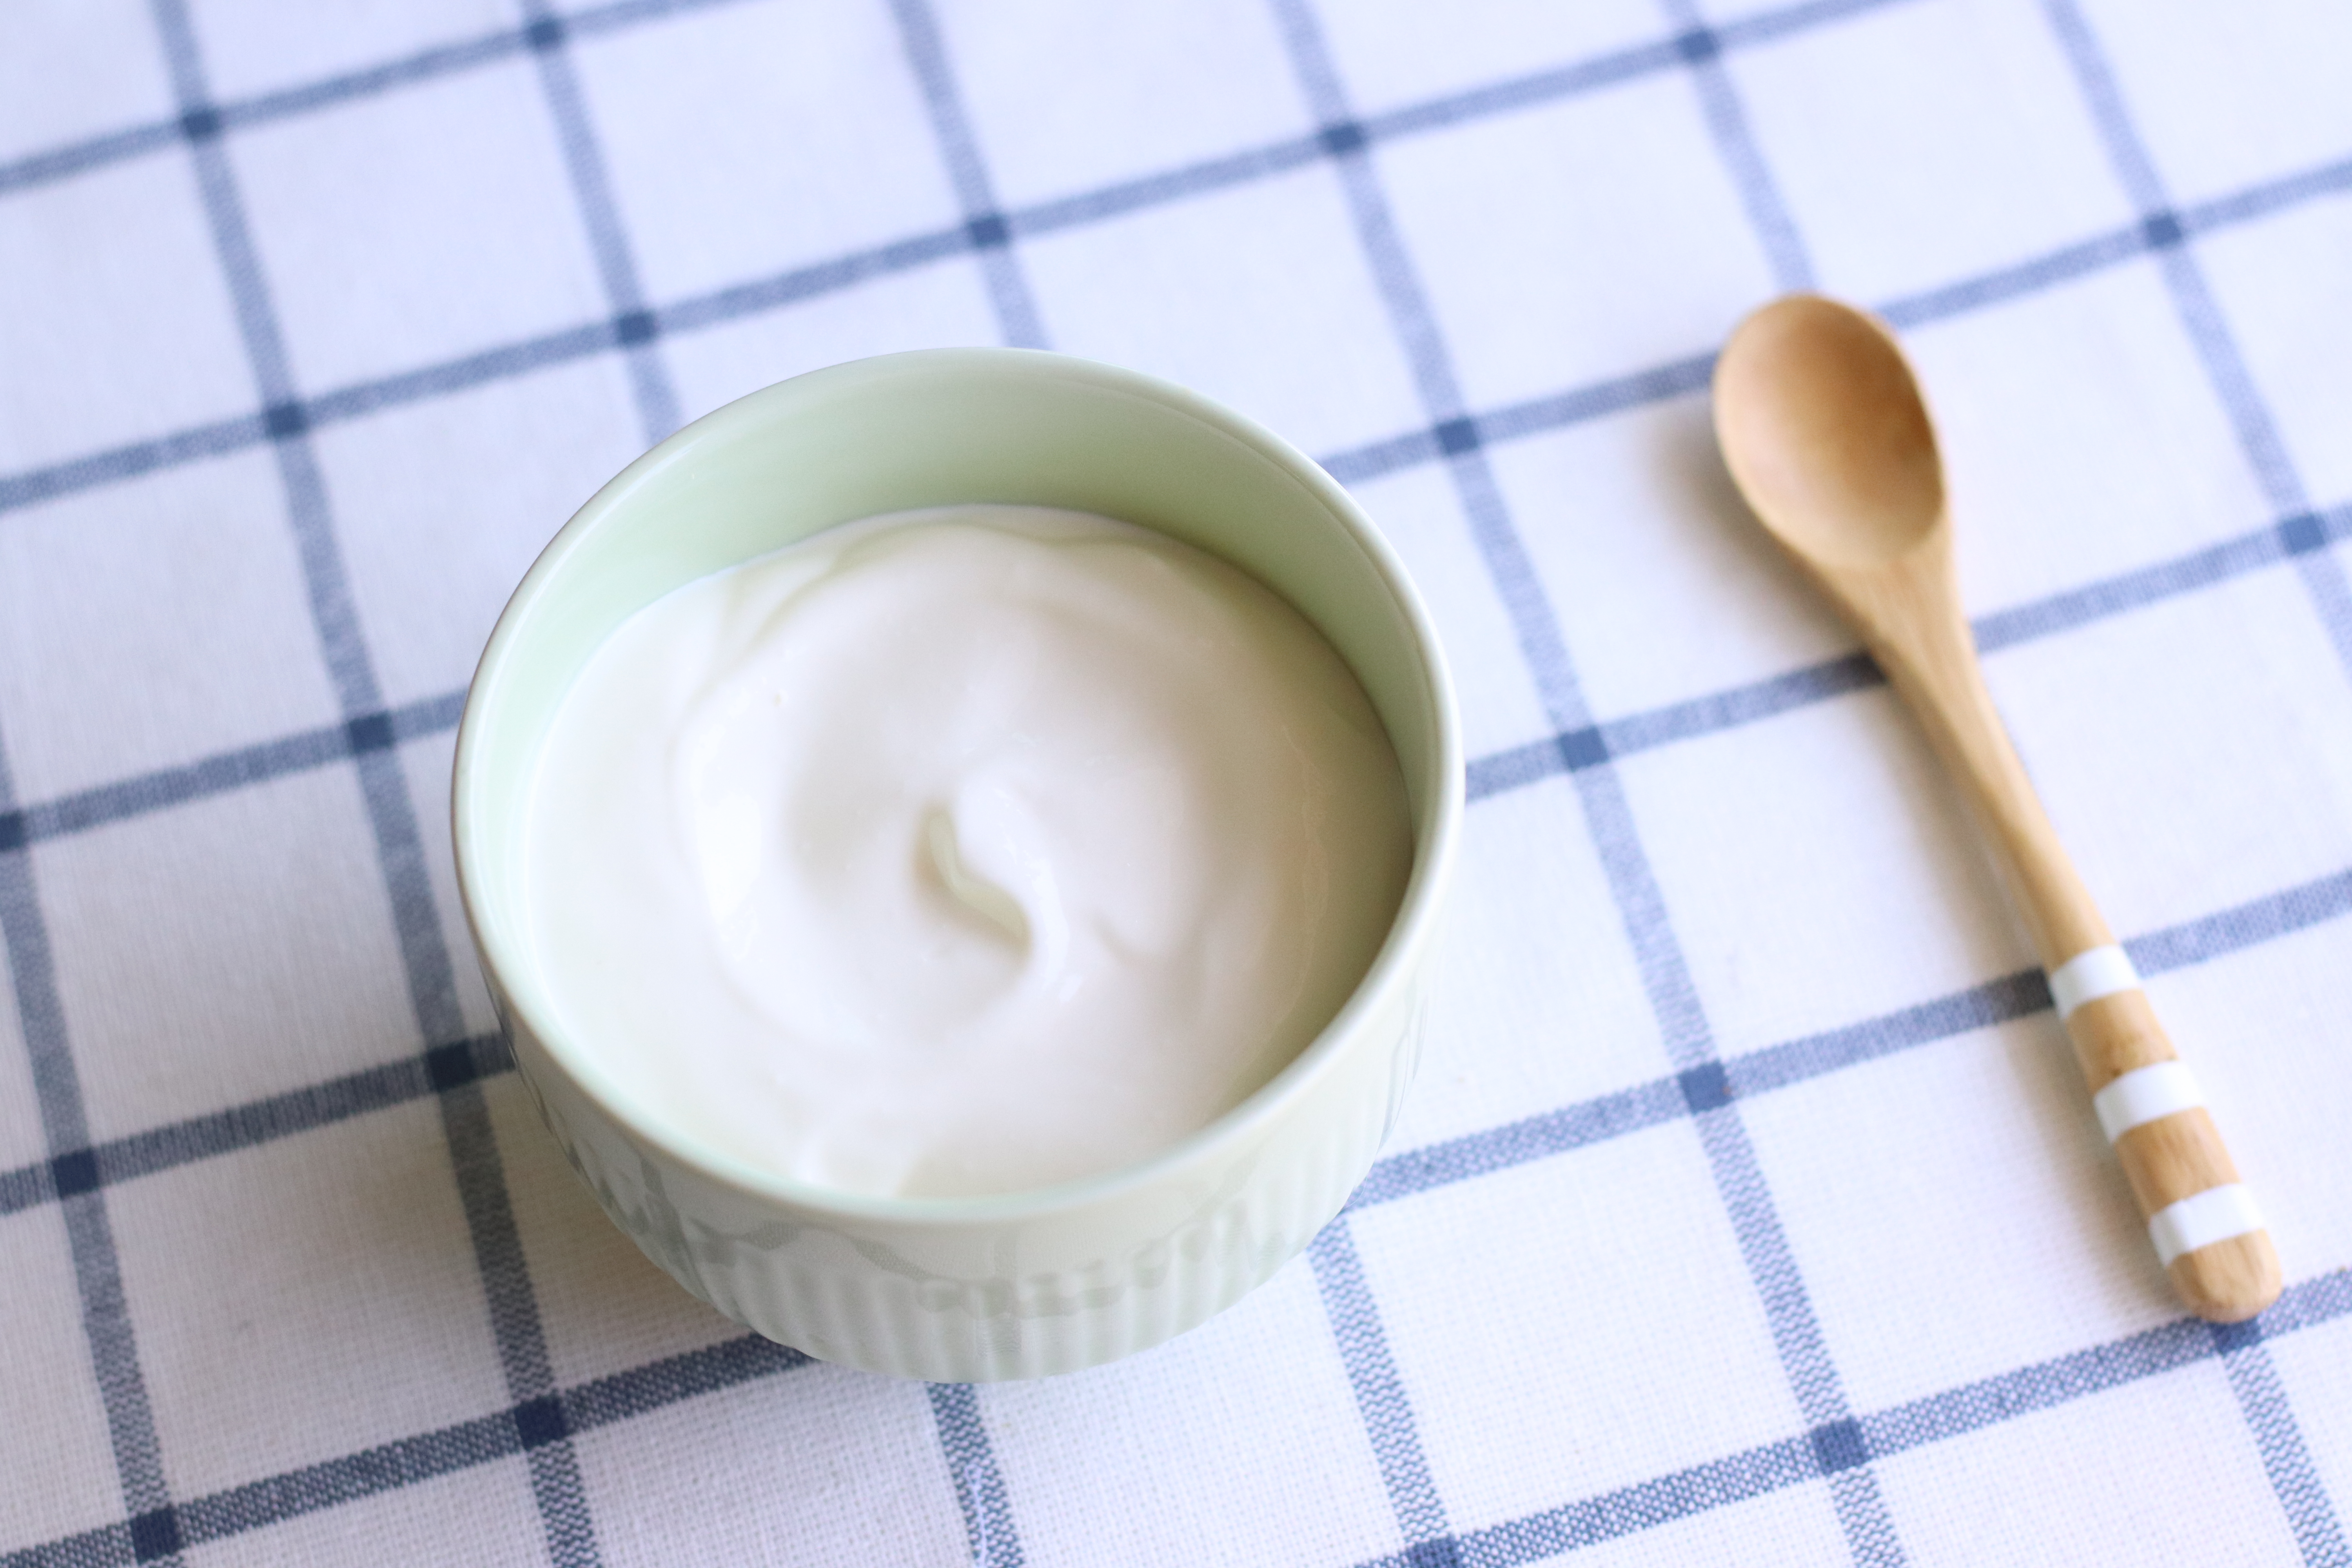
Yogurt making is an art. Although it is simply combining heated milk with bacterial cultures and letting them ferment, with the wrong technique, one can easily end up with a watery and grainy mess that refuses to set. Here are some tips to ensure your yogurt comes out creamy and smooth.
Heat milk up to boil
This is to encourage the bonding of proteins in the milk as well as to reduce the milk a bit, leading to a thicker yogurt
However, don’t cook it too long or else it will lose the taste of fresh milk
Use whole milk
Sorry low fat folks, no matter how good your technique is, low fat milks will result in thinner yogurts. However, if that’s what you like (my mom actually hates thick yogurt) by all means use it.
Add yogurt stater at a low temperature
If you add it at the higher end of the acceptable temperature range ( around 115F), your yogurt has a higher chance of culturing into a watery mess. Add your culture when it is around body temperature or ever so slightly warmer (around 105F)
DON’T ADD THE YOGURT STARTER WHEN IT IS STILL HOT IT WILL KILL THE CULTURES
Culture at a low temperature
Same reason as above, when culturing at a high temperature, the yogurt will come out grainy and easier to separate (body temperature is the ideal temperature)
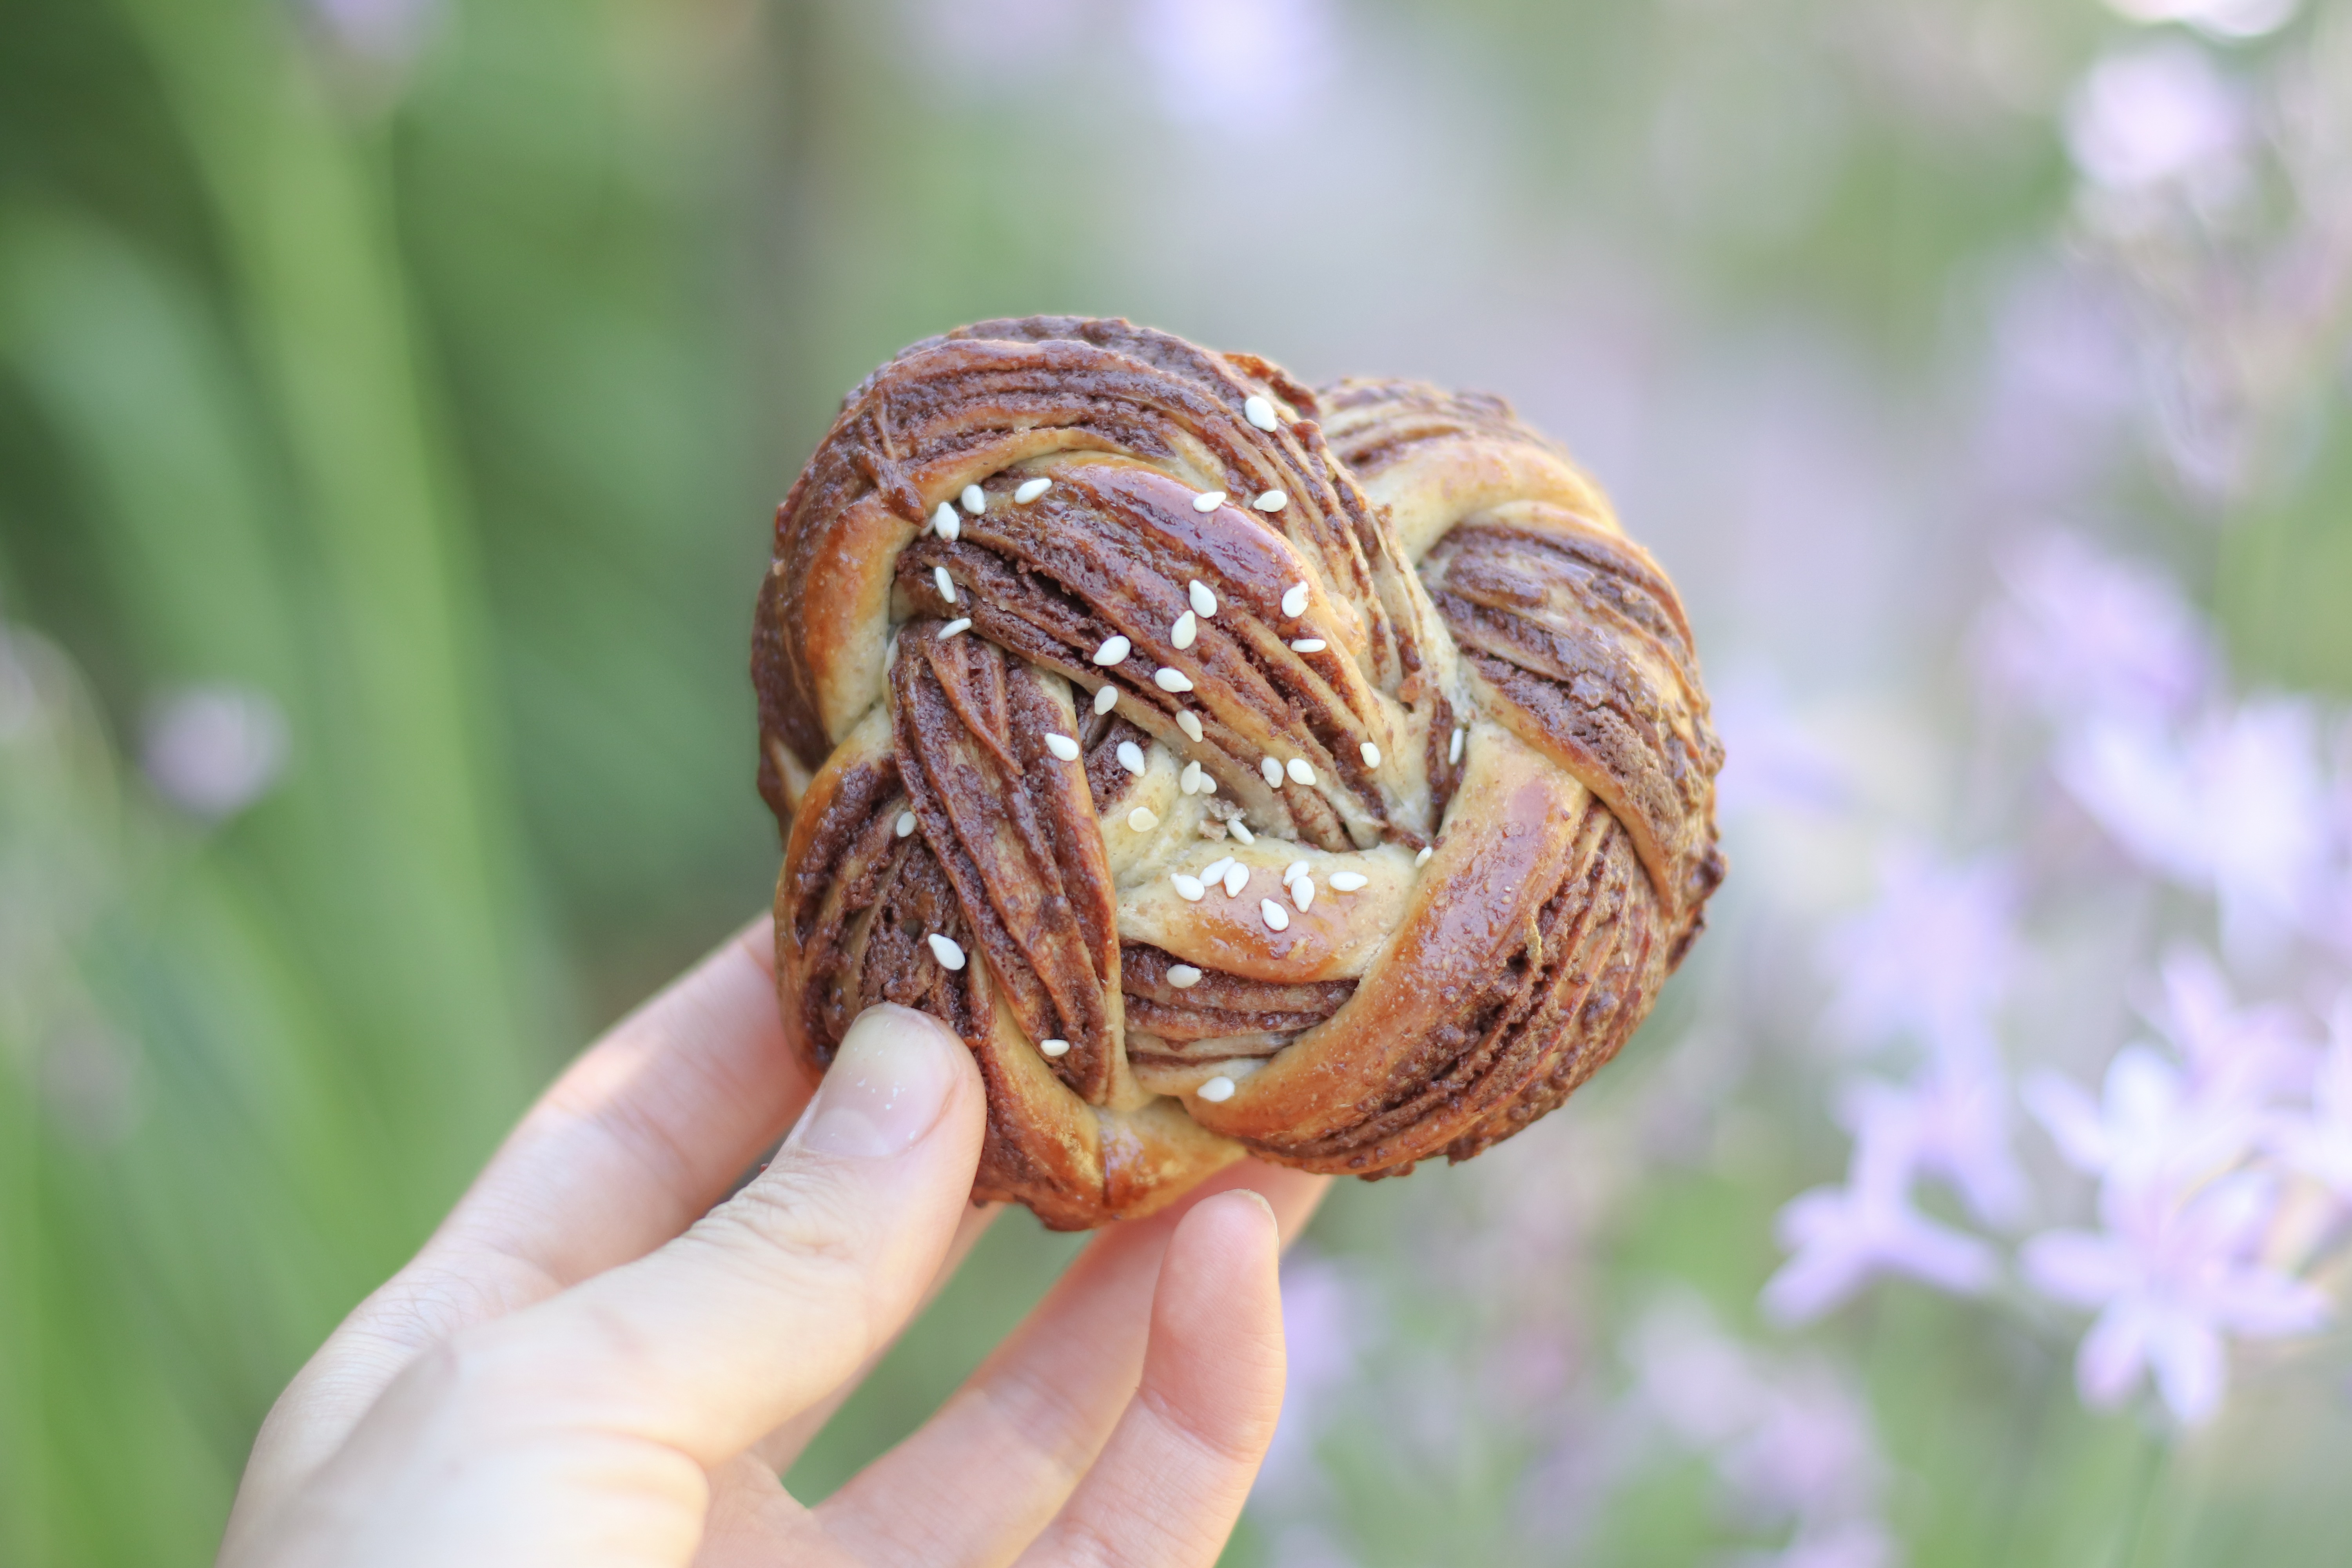
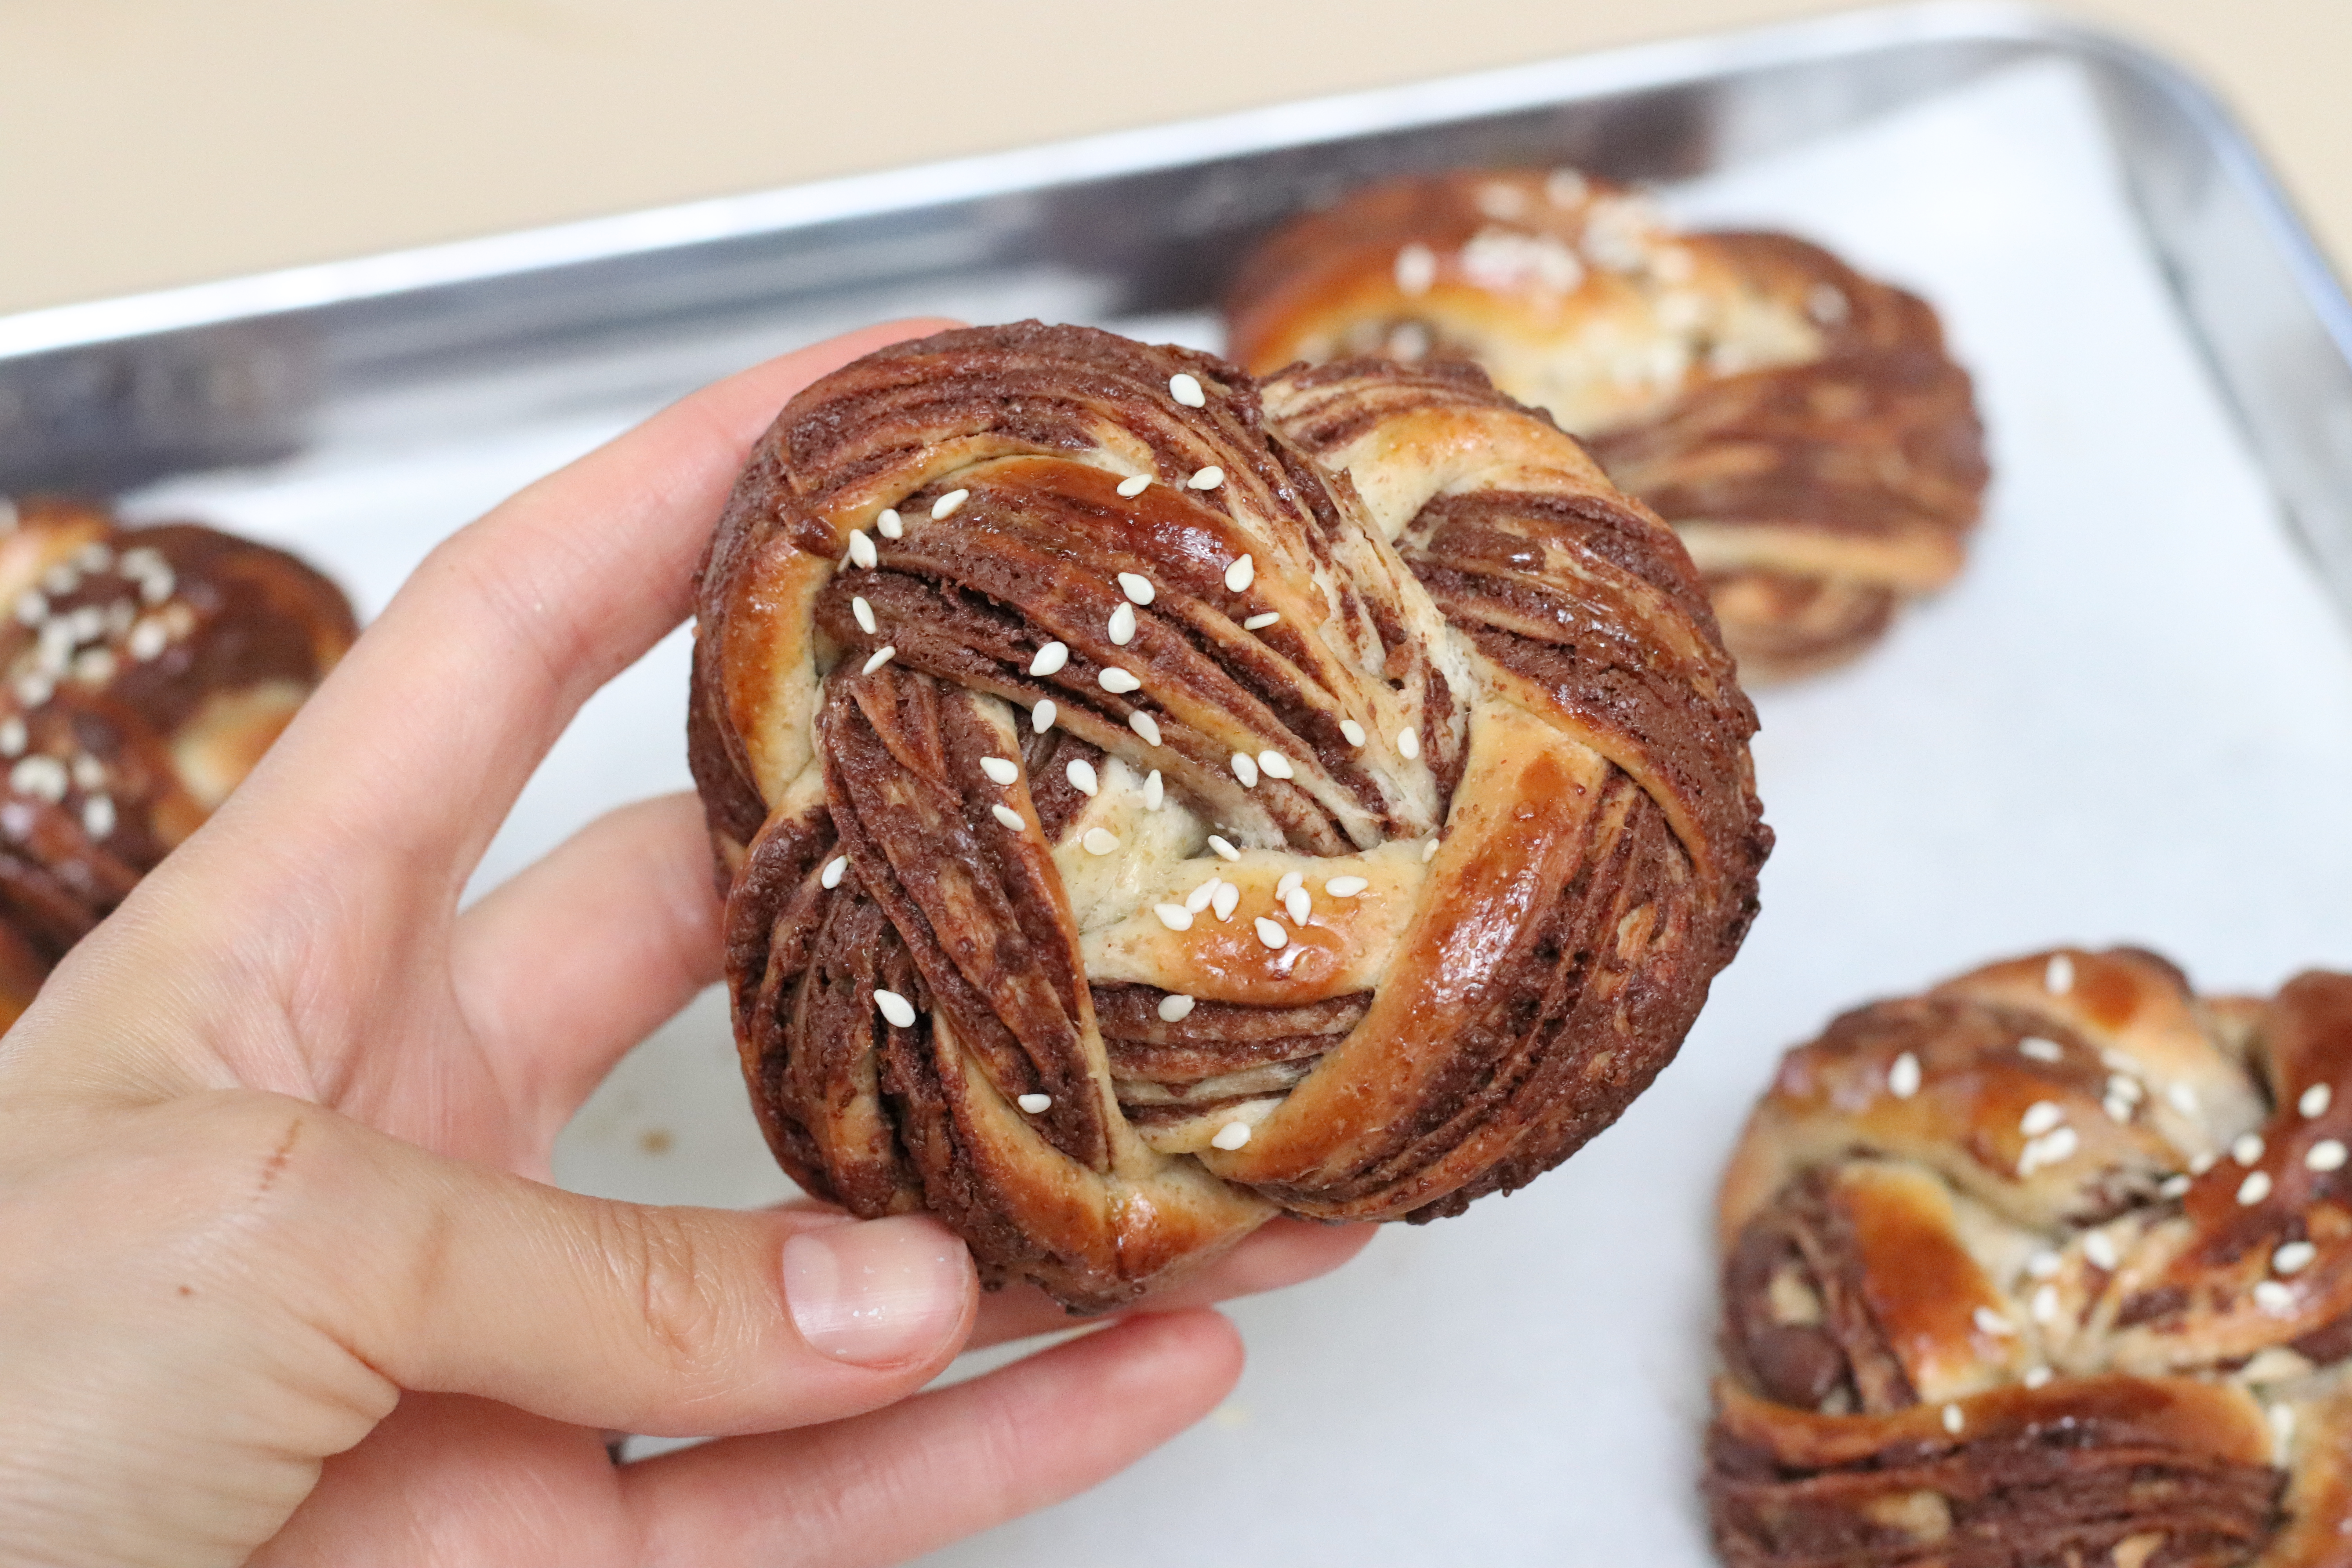
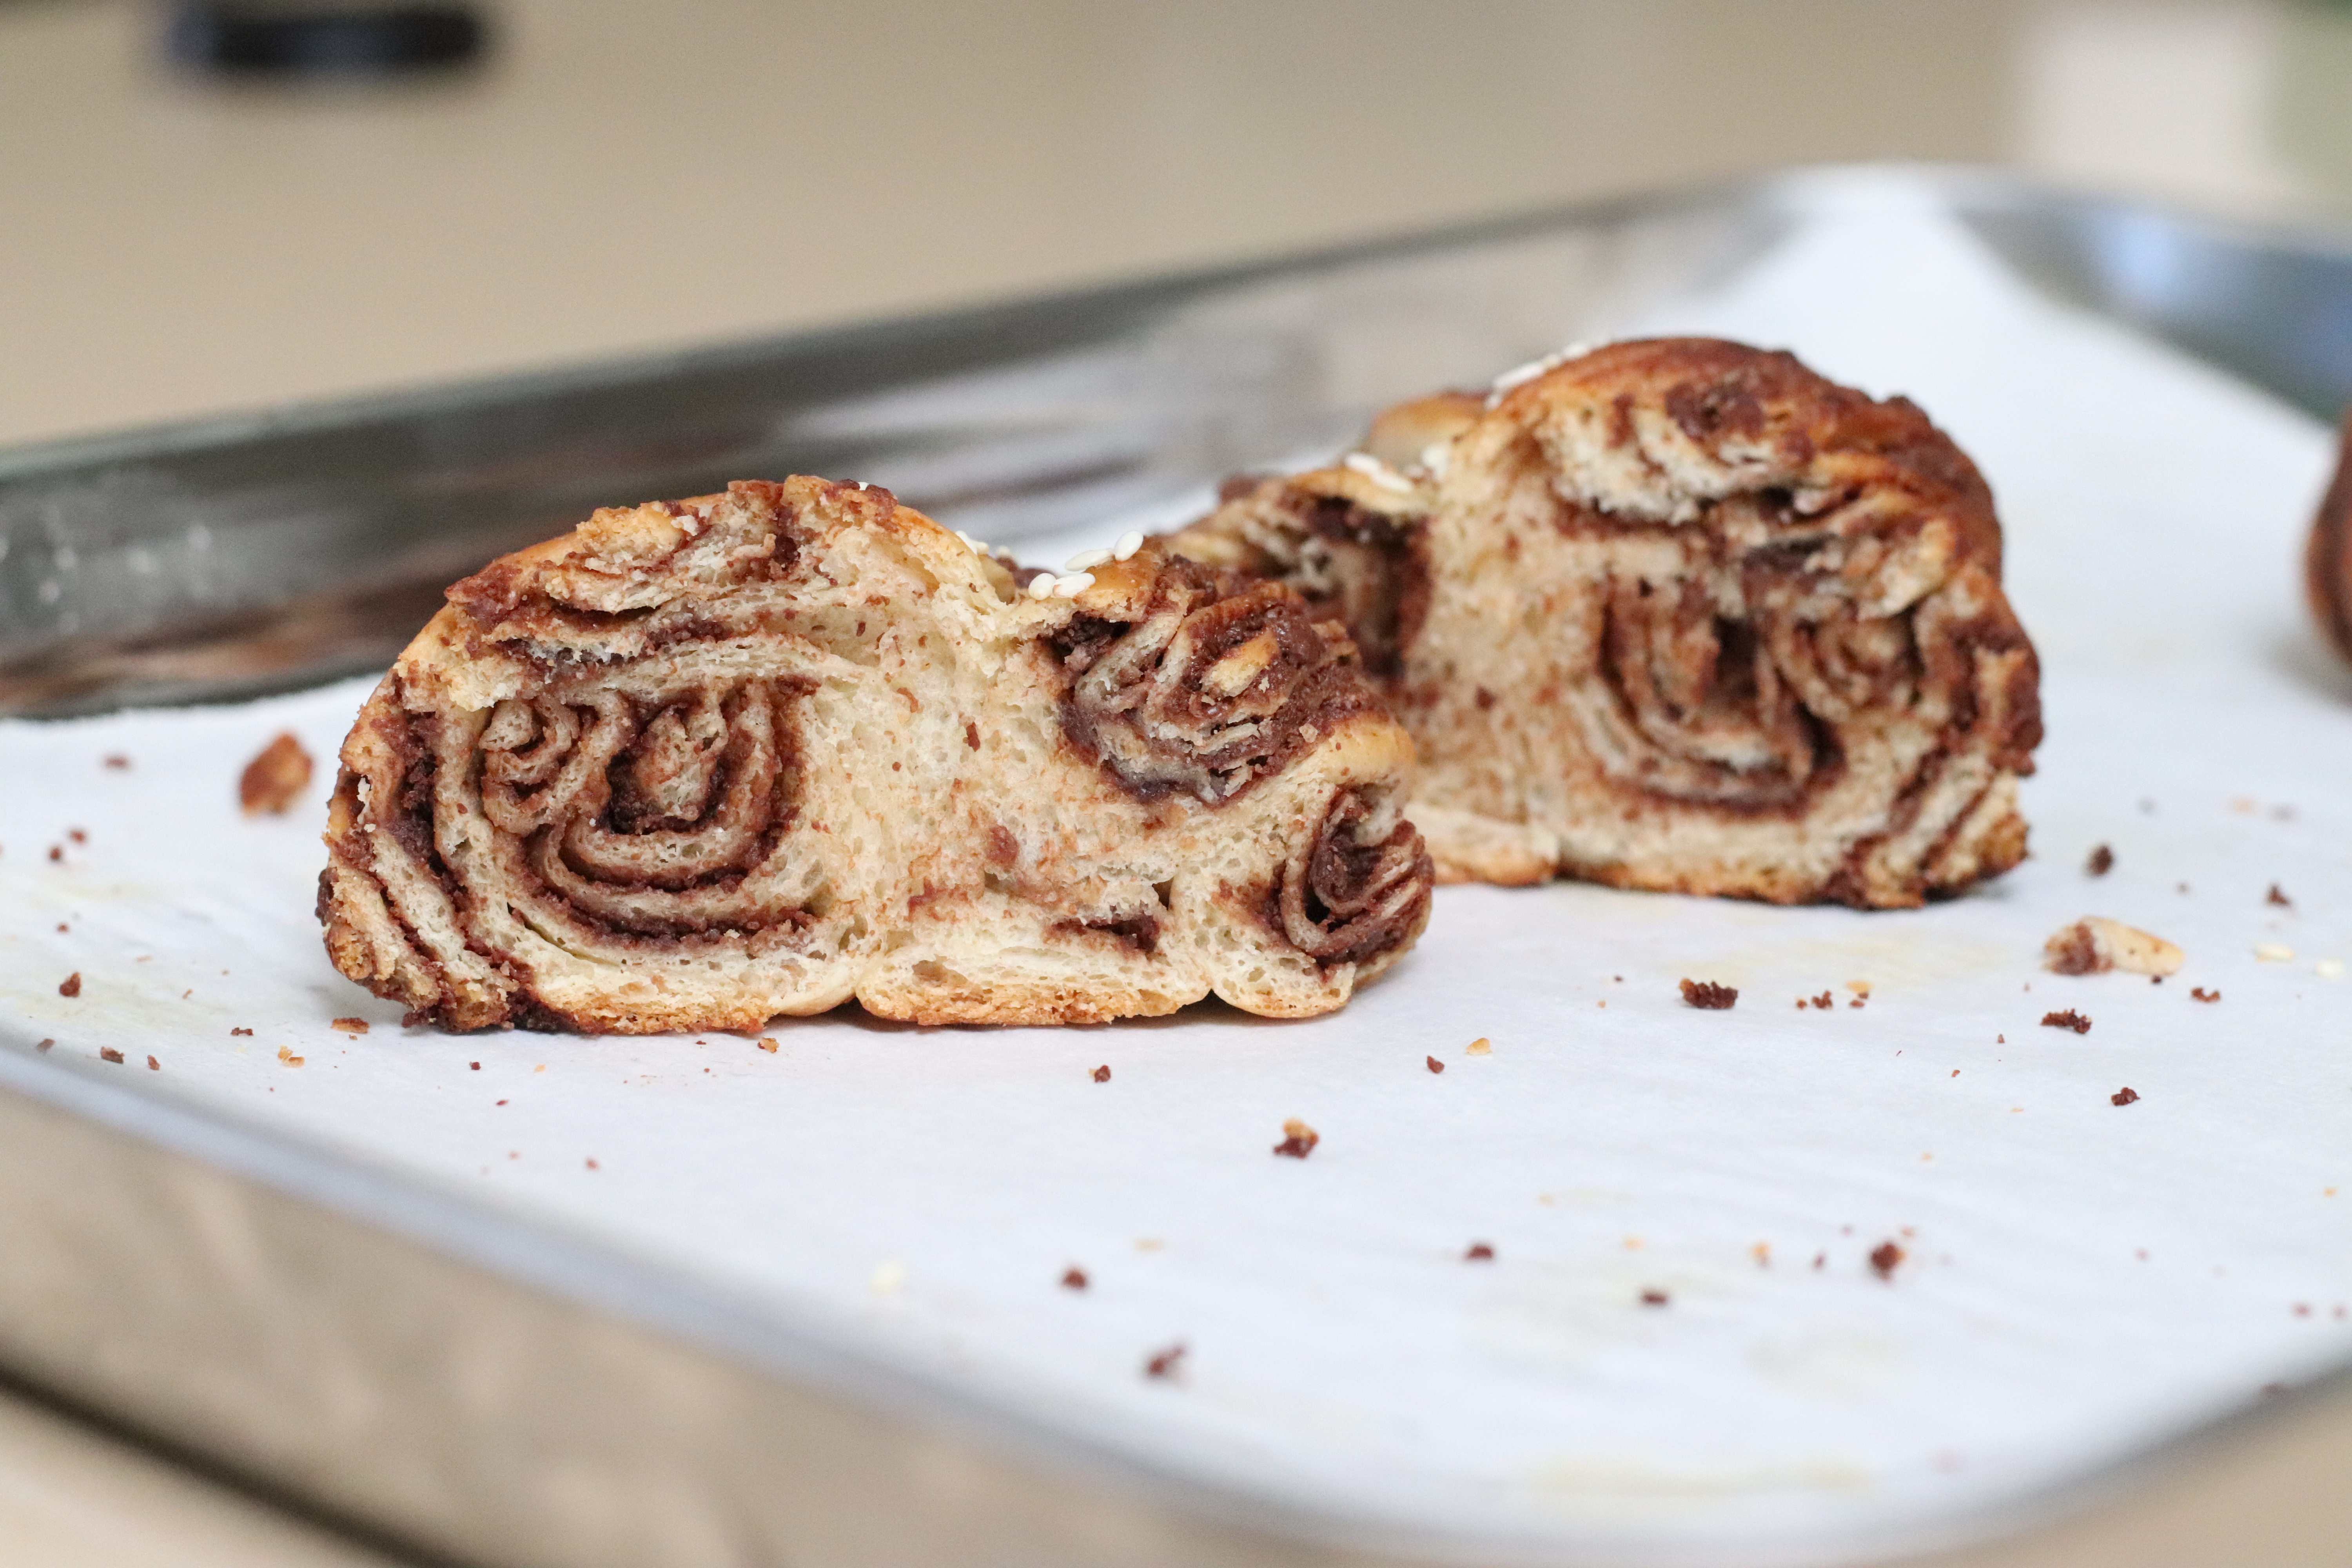
I was surprised that the bun still came out nice and soft with the amount of rye I put in. Rye flour is quite different than regular bread flour: its coarse bran seems to inhibit gluten production, leading to a bun that does not rise as high. I used this recipe to use up all my rye flour ( I had exactly 85 grams left) but feel free to sub some rye flour with some more bread flour for a truly soft babka bun. This is not a perfect recipe so feel free to adjust to your preferences.
I also made a few with homemade dulce de leche and cookie crumb filling which tasted really good as well. Highly recommend if making to try this variation out!
Ingredients
Bread Dough
115 grams (1/2 cup) whole milk
1 teaspoon instant yeast
117 grams ( 1 cup) bread flour
85 grams (3/4 cup) rye flour
123 grams (1 cup 2 tbs) pastry flour
1 large egg
55 grams (1/4 cup) granulated white sugar
1/4 teaspoon vanilla extract
1/4 teaspoon kosher salt
60 grams (4 1/4 tablespoons) unsalted butter, at room temperature, cut into cubes
Spread
100 grams milk chocolate
75 grams (1/3 cup) tahini
powdered sugar to taste
pinch of salt
Procedure
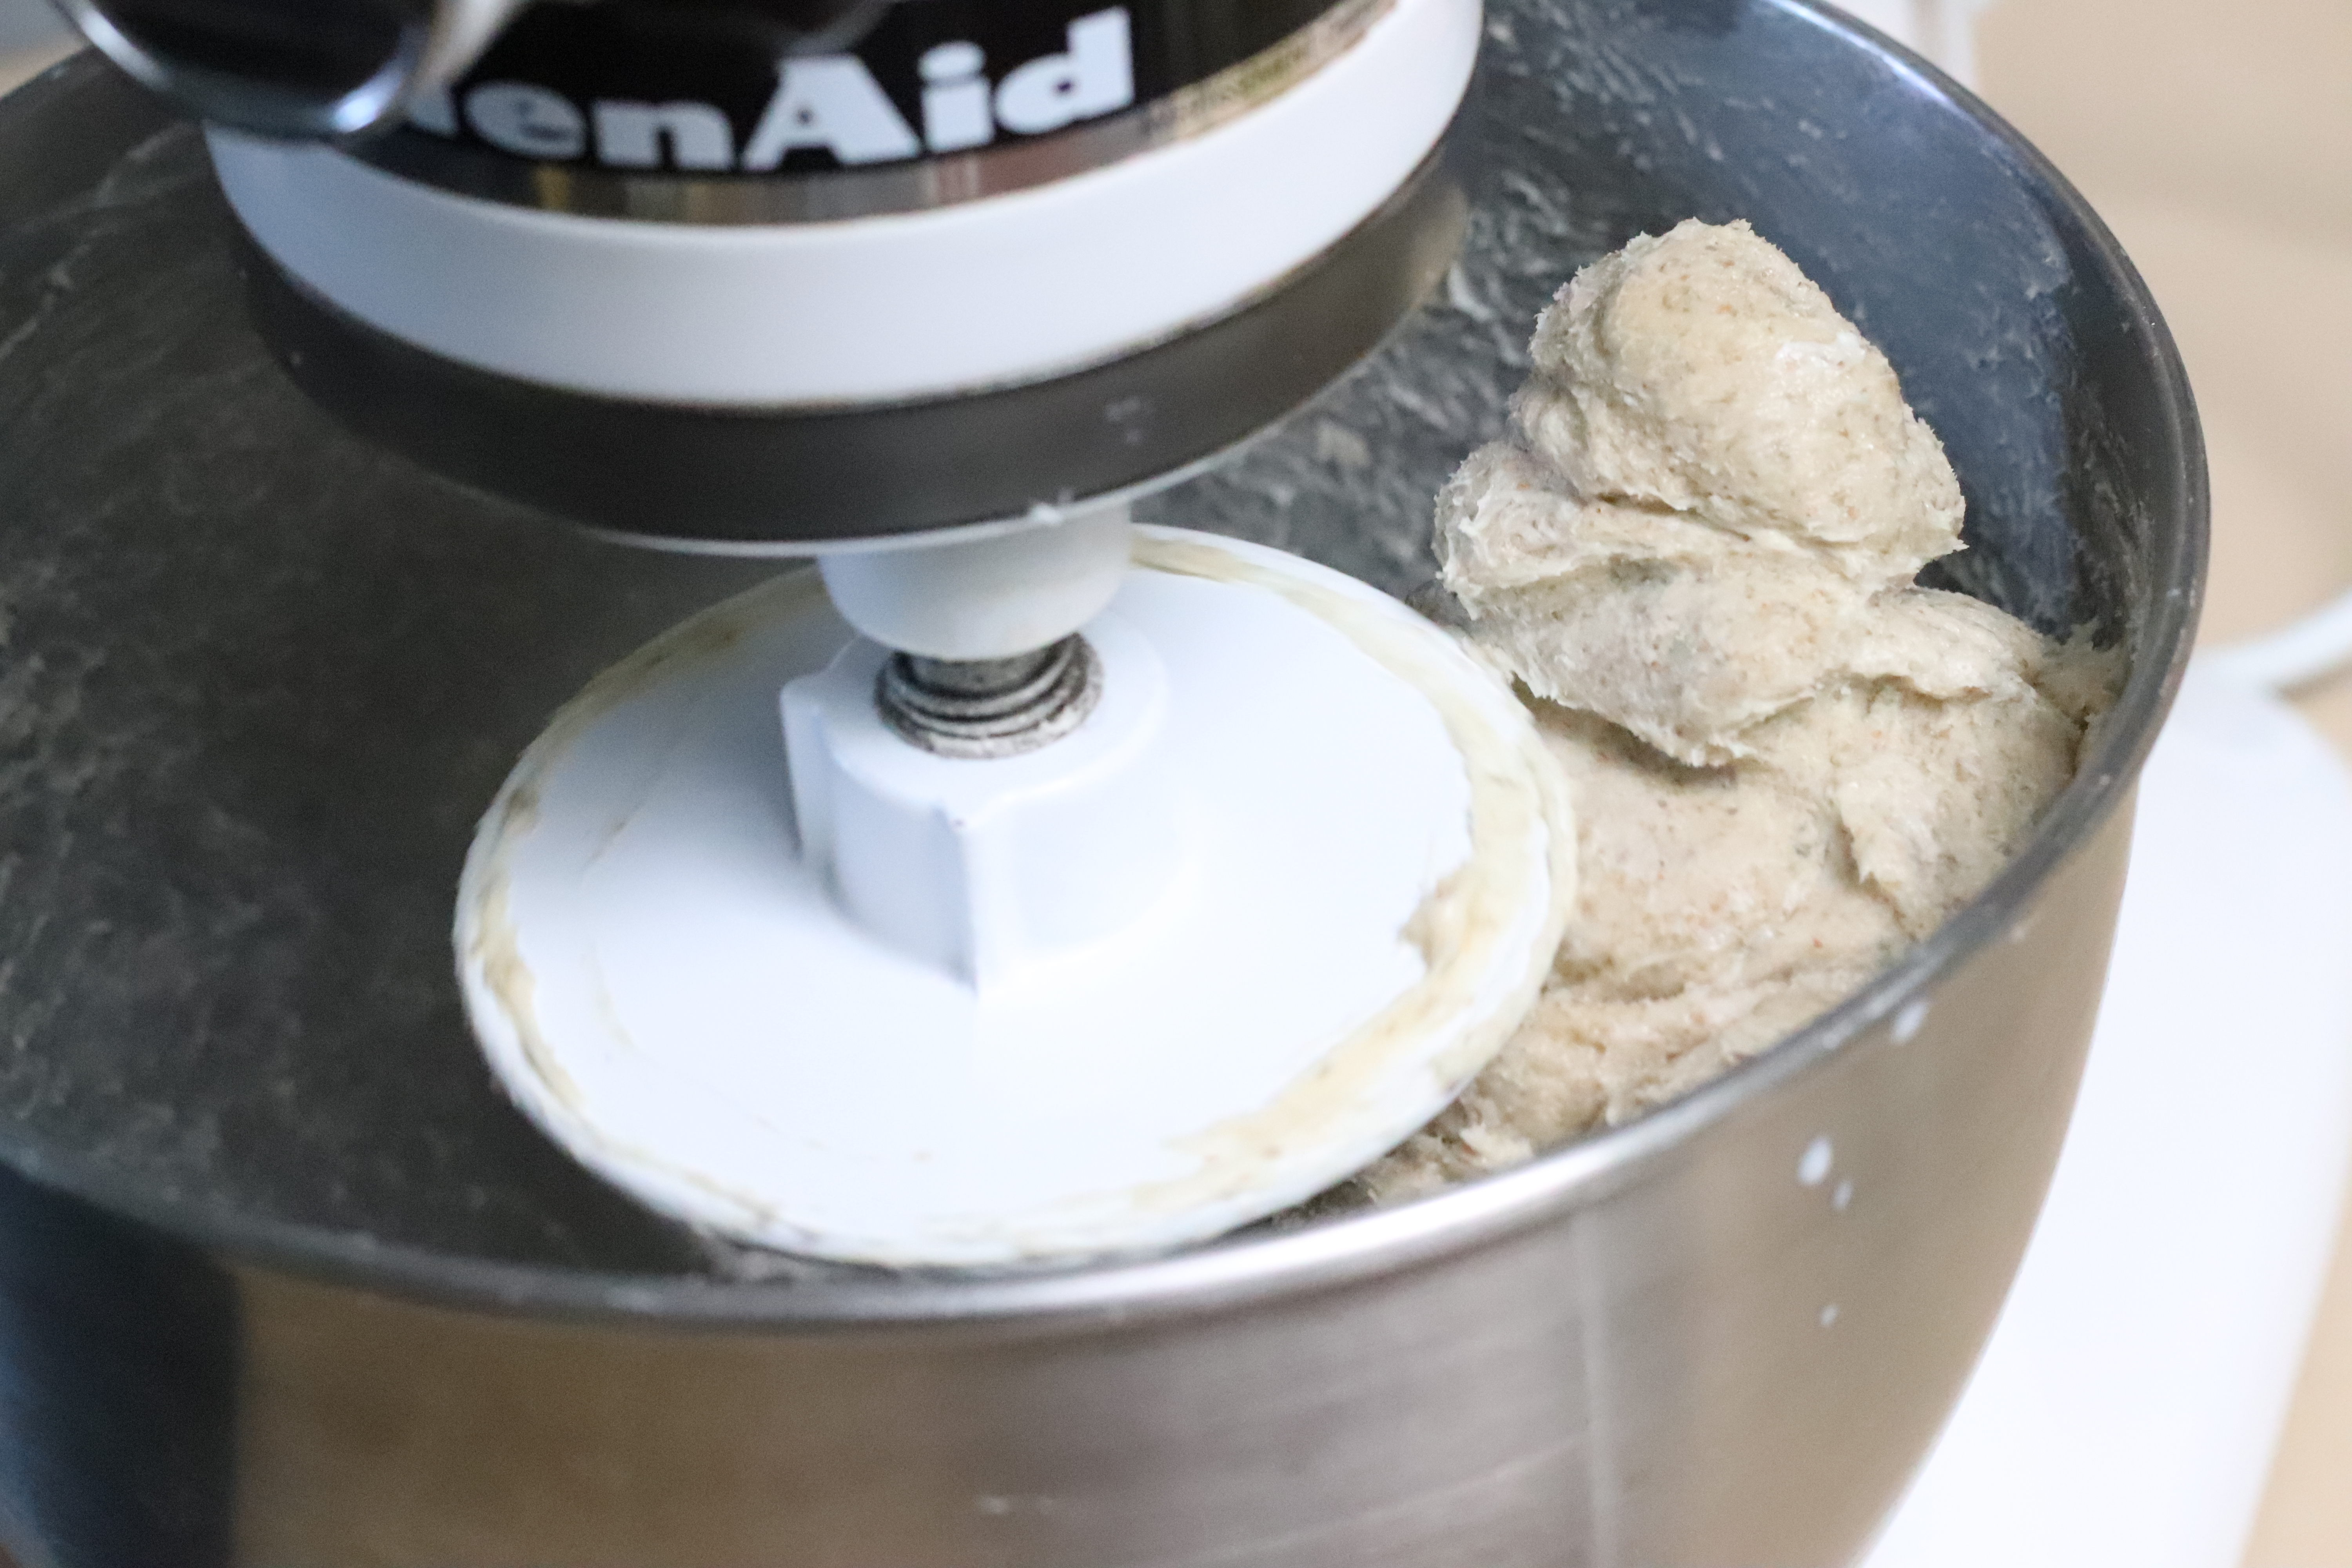
Put flours, yeast, sugar, salt in the bowl of a stand mixer and mix well. Add the egg and milk and knead until a dough forms.
Slowly add in the cubed butter and knead until a shiny and elastic dough forms (around 7 mins). Cover and rise at room temperature for an hour. Then place in the fridge overnight.
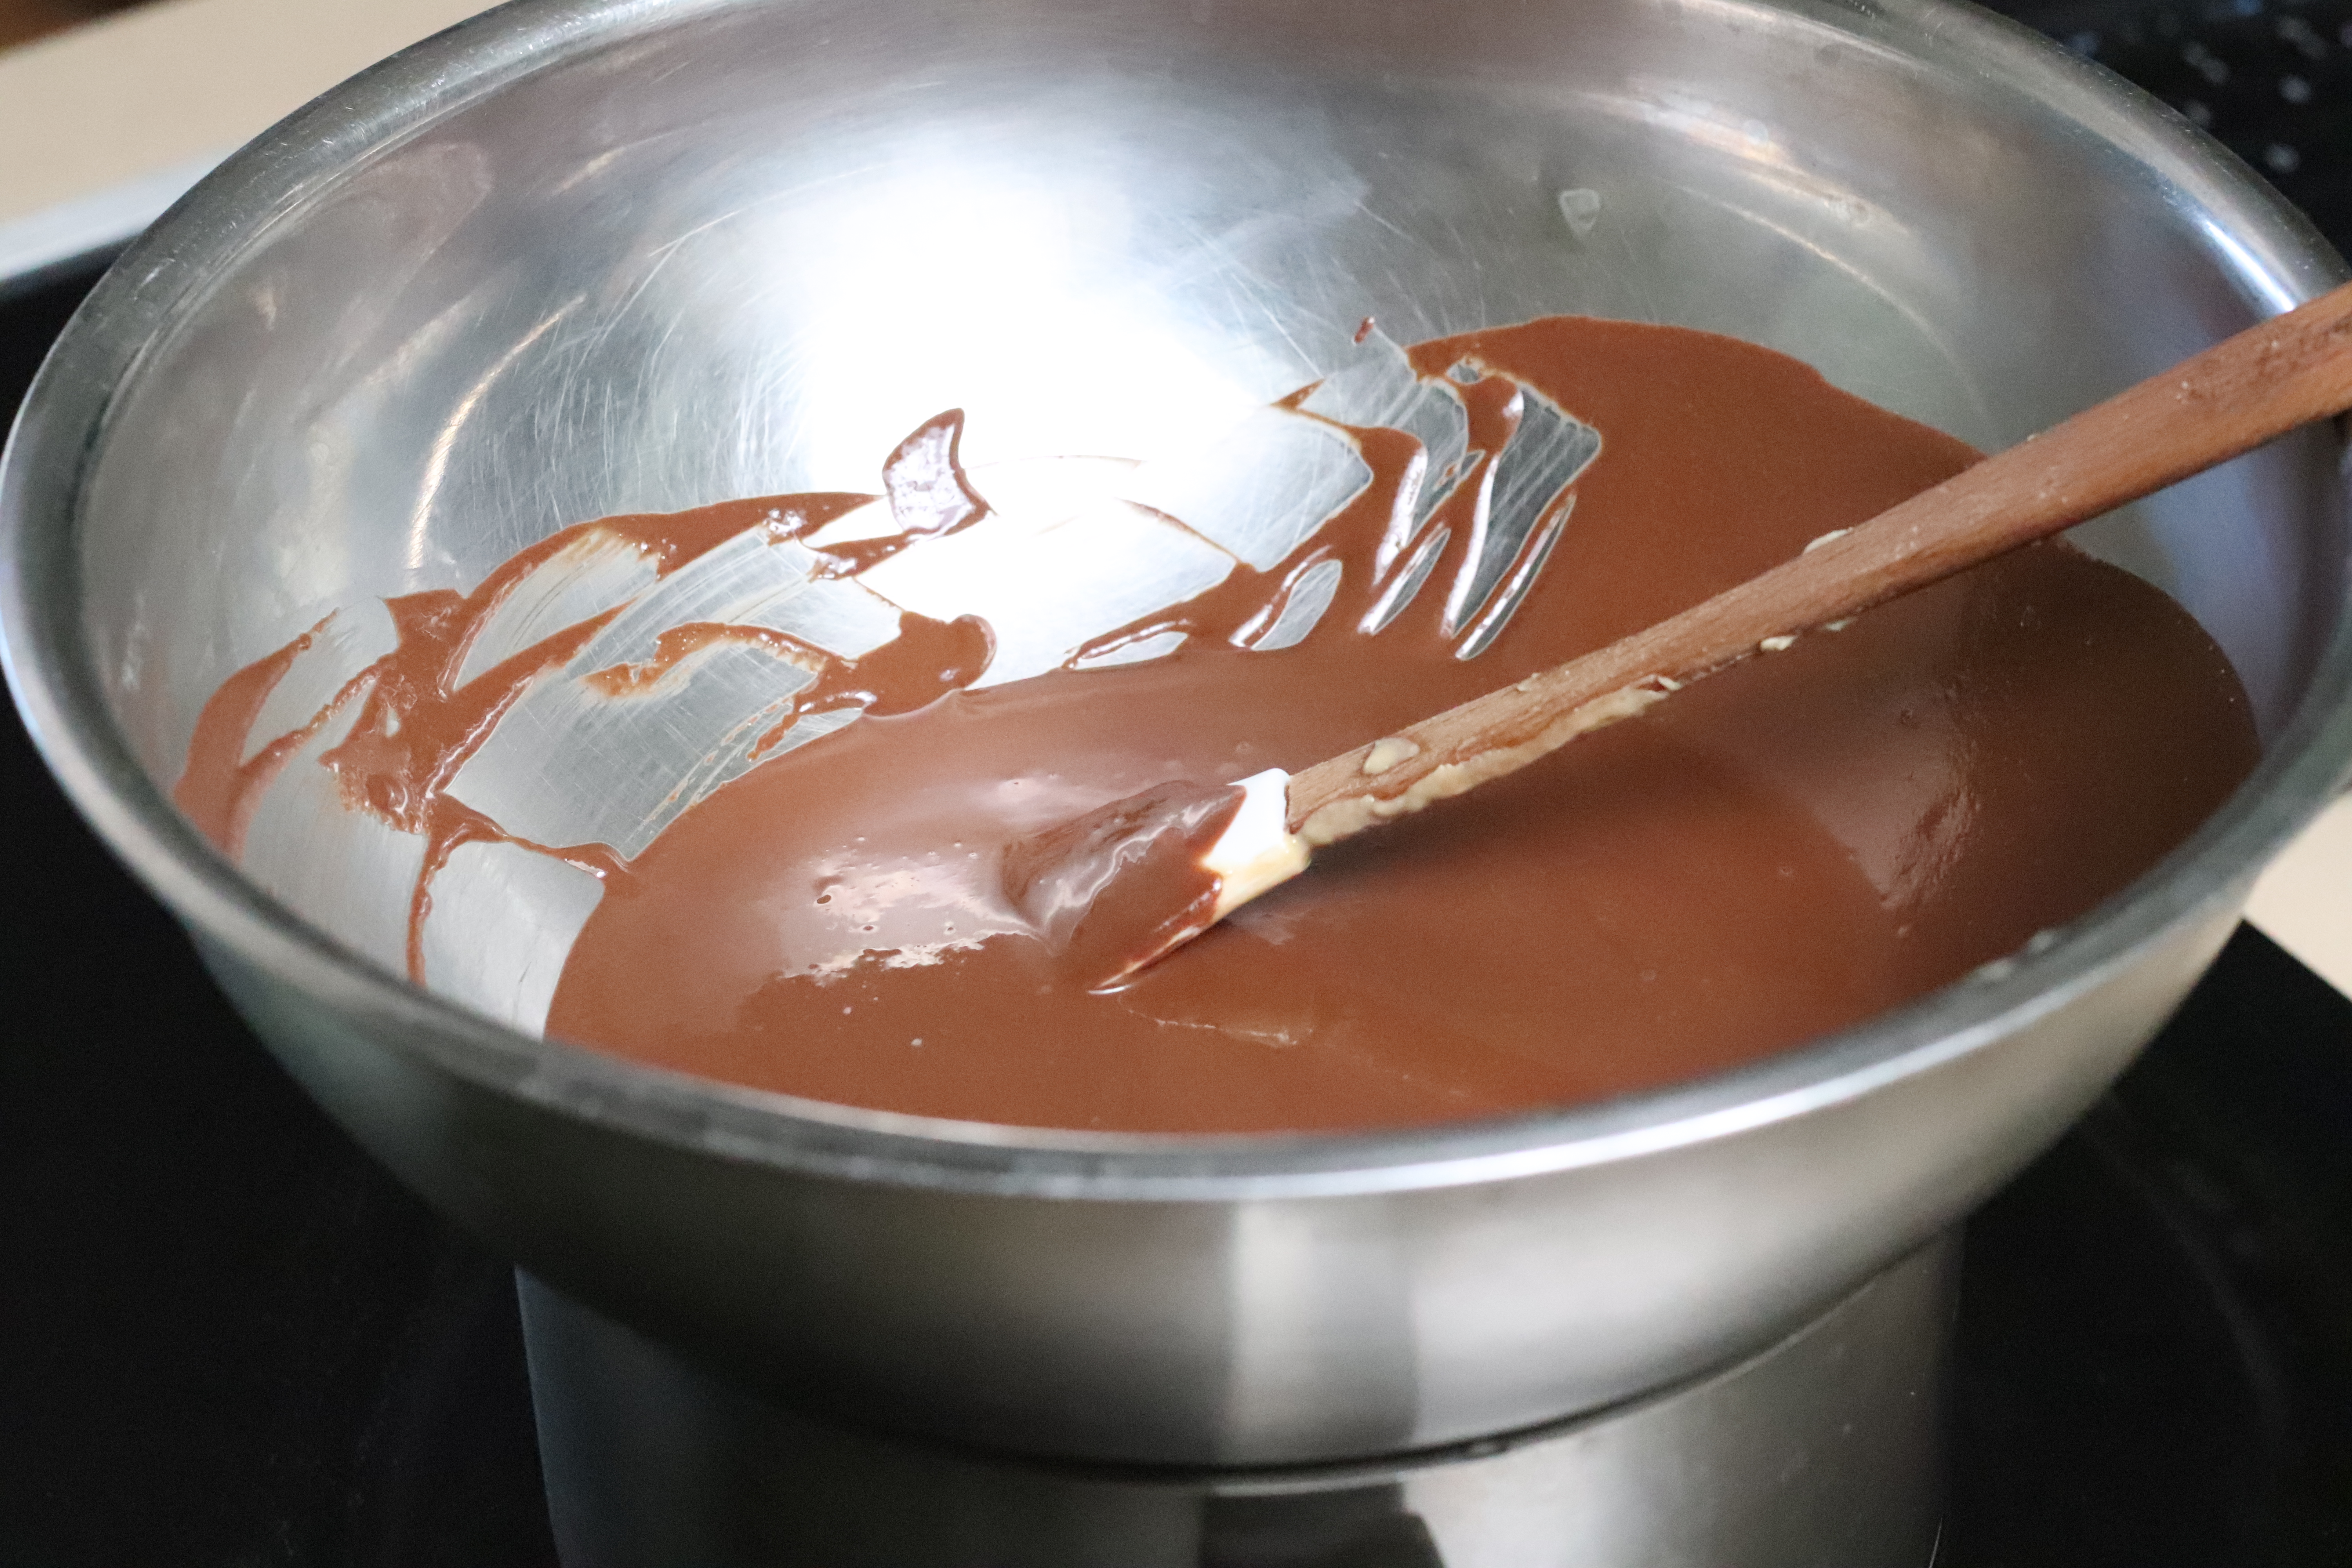
Meanwhile melt the chocolate in a bain-marie and add the tahini. Mix until a smooth mixture is achieved and add in your desired amount of powdered sugar (I added 3 tbs).
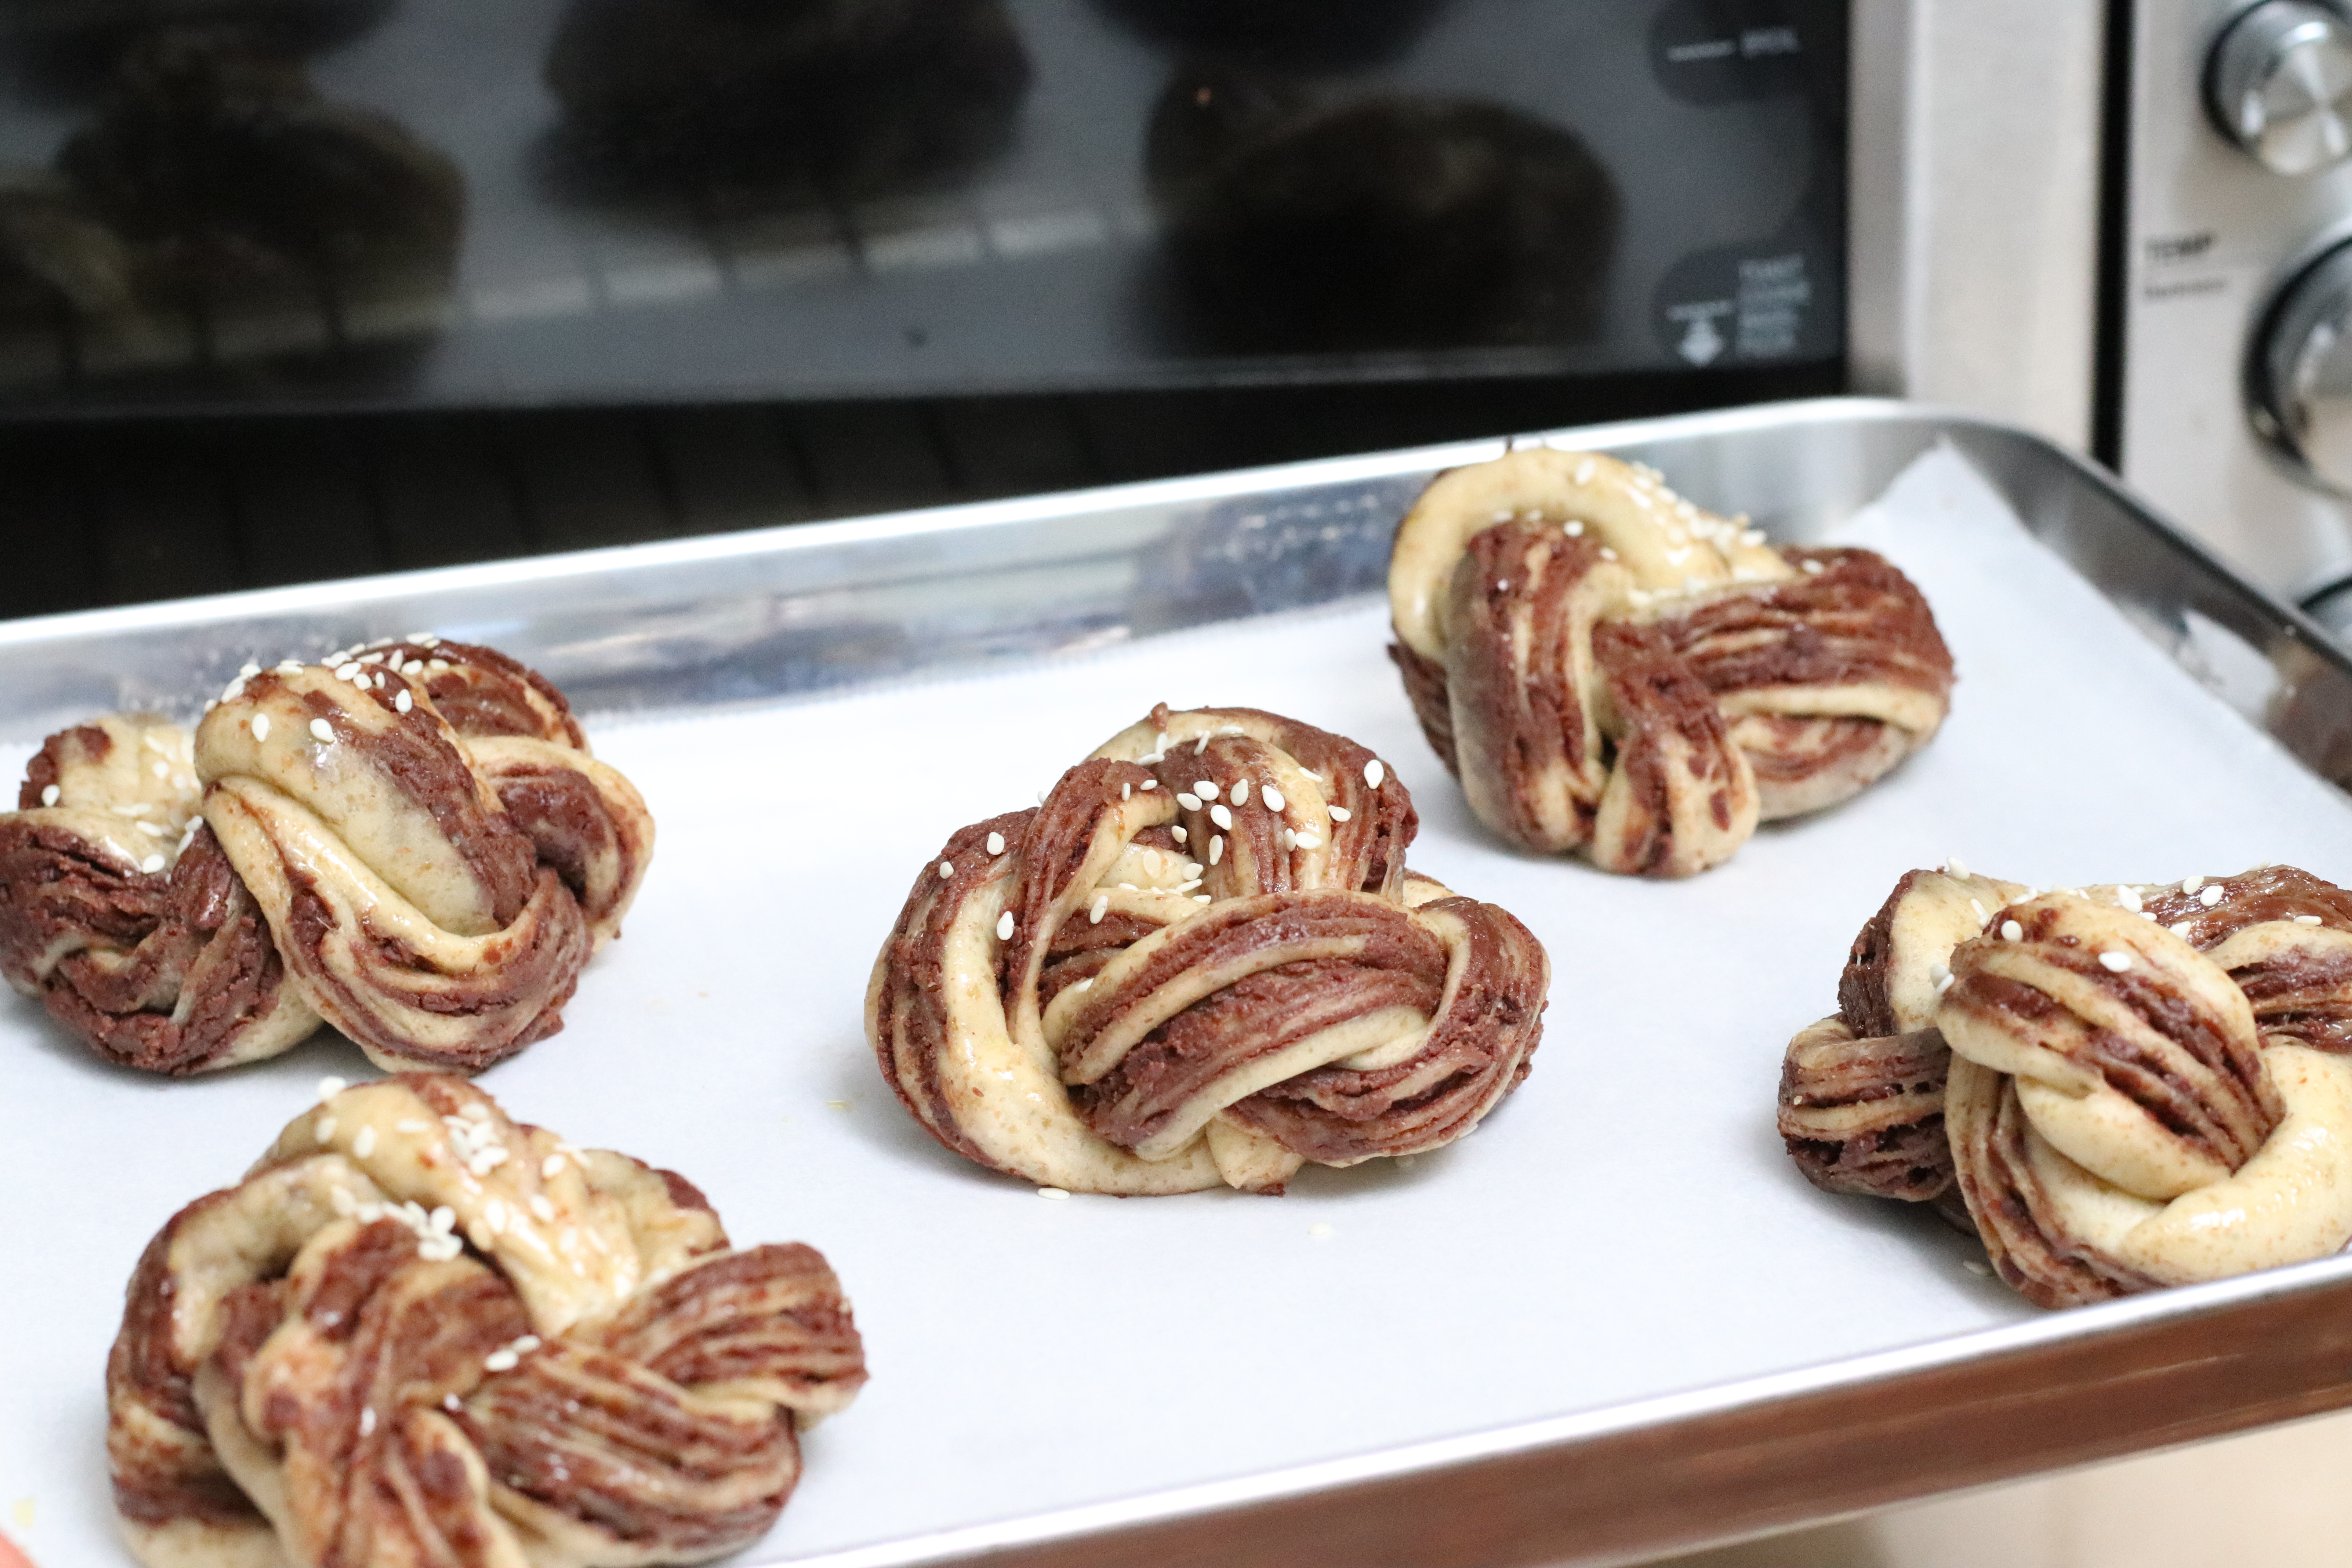
The next day take the dough out of the fridge and cut into 12 even pieces. Roll each piece into a rectangle and spread your filling evenly on top. Roll into a tube and cut lengthwise. Then twist and shape into babka buns. Add some toasted sesame on top and leave to rise for another hour at room temp.
Bake at 350F for around 20 minutes until buns are nice and brown. Let cool and enjoy!
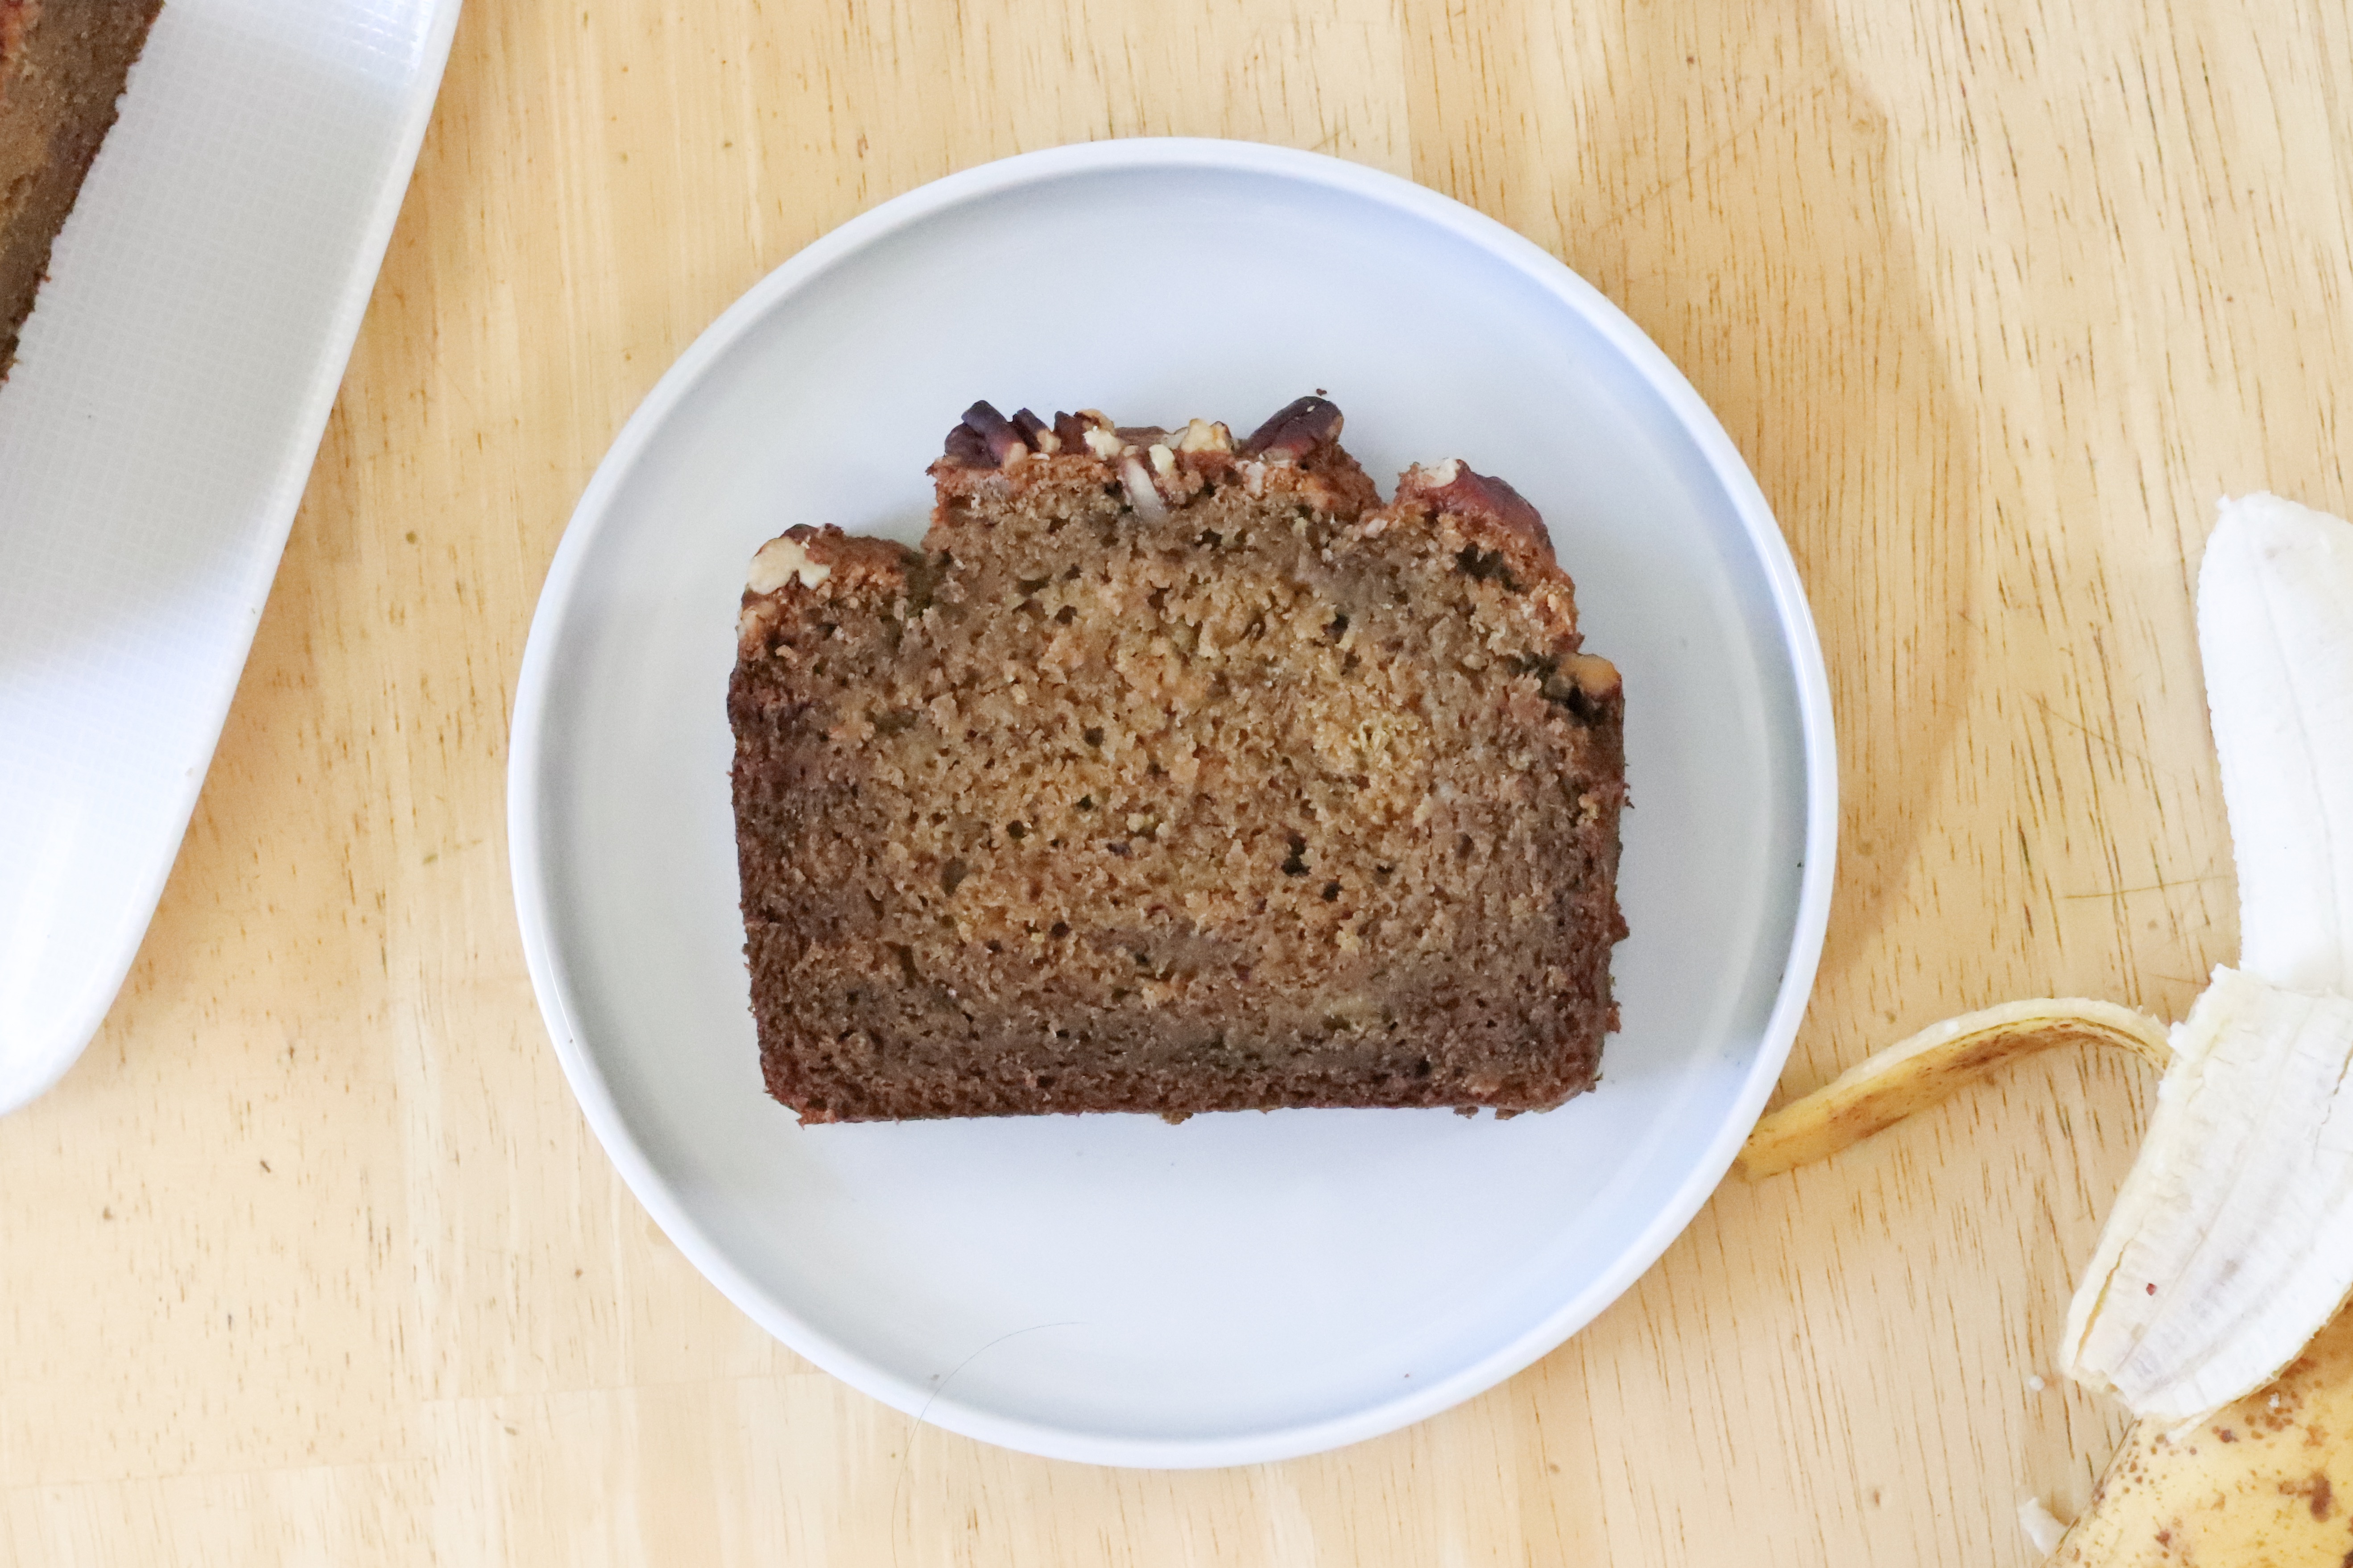
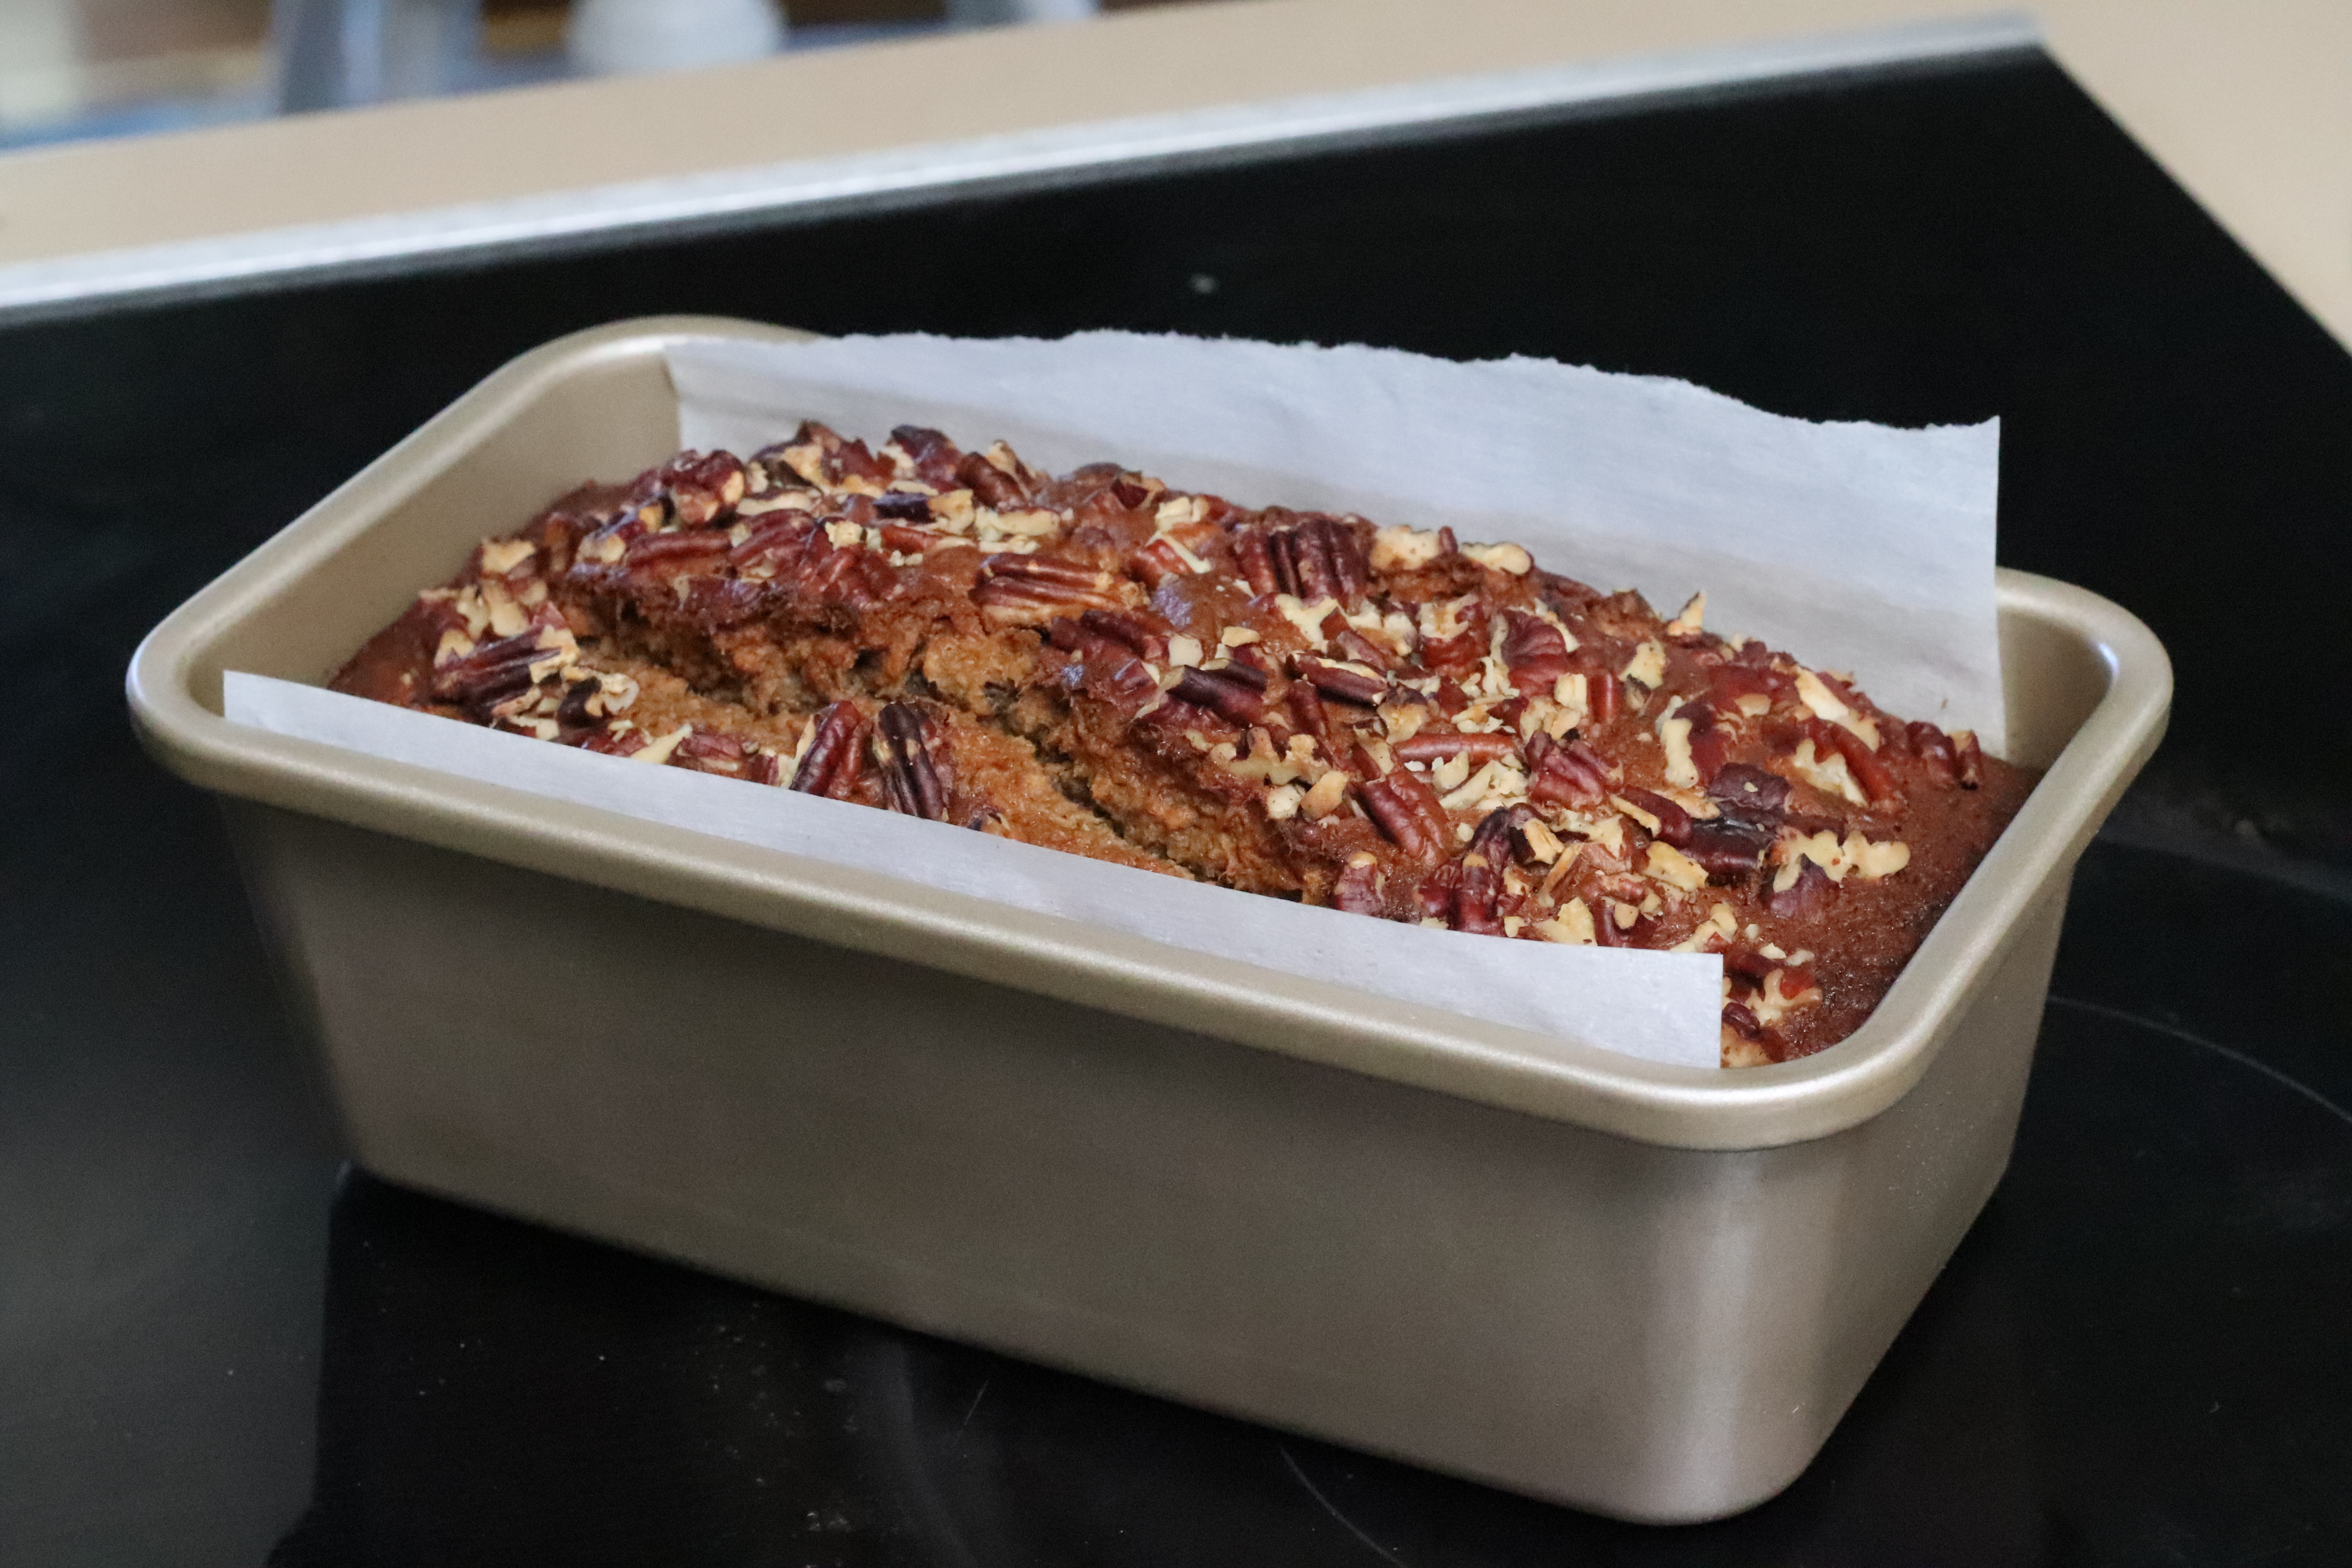
Rich but not greasy, sweet but not cloying, and packed full of whole wheat flavor, this banana bread is definitely one of the best I’ve made. Be sure to try it out!
I was always (and still am) perplexed with the idea of banana bread. Made well, a banana bread resembles cake: tender, moist, and bursting with banana flavor. What is funny is that a poorly made banana bread actually has bread like characteristics (crunchy crust with spongy interior, dry and chewy). Any carrot cake baked in a loaf pan would still be called carrot cake and not carrot bread. Perhaps people just want an excuse to eat cake for breakfast. I don’t blame them.
So here is my recipe for banana bread (cake).
Ingredients
310 grams mashed bananas (around 3 bananas)
130 grams (a bit less than 2/3 cup) vegetable oil
150 grams dark brown sugar
1 teaspoon vanilla extract
2 eggs
75 grams (1/3 cup) buttermilk
210 grams (1 1/2 cups) whole wheat pastry flour
1 teaspoon baking powder
1 teaspoon baking soda
3/4 teaspoon ground cinnamon
1/2 teaspoon ground cloves
1/4 teaspoon ground nutmeg
1/2 teaspoon kosher salt
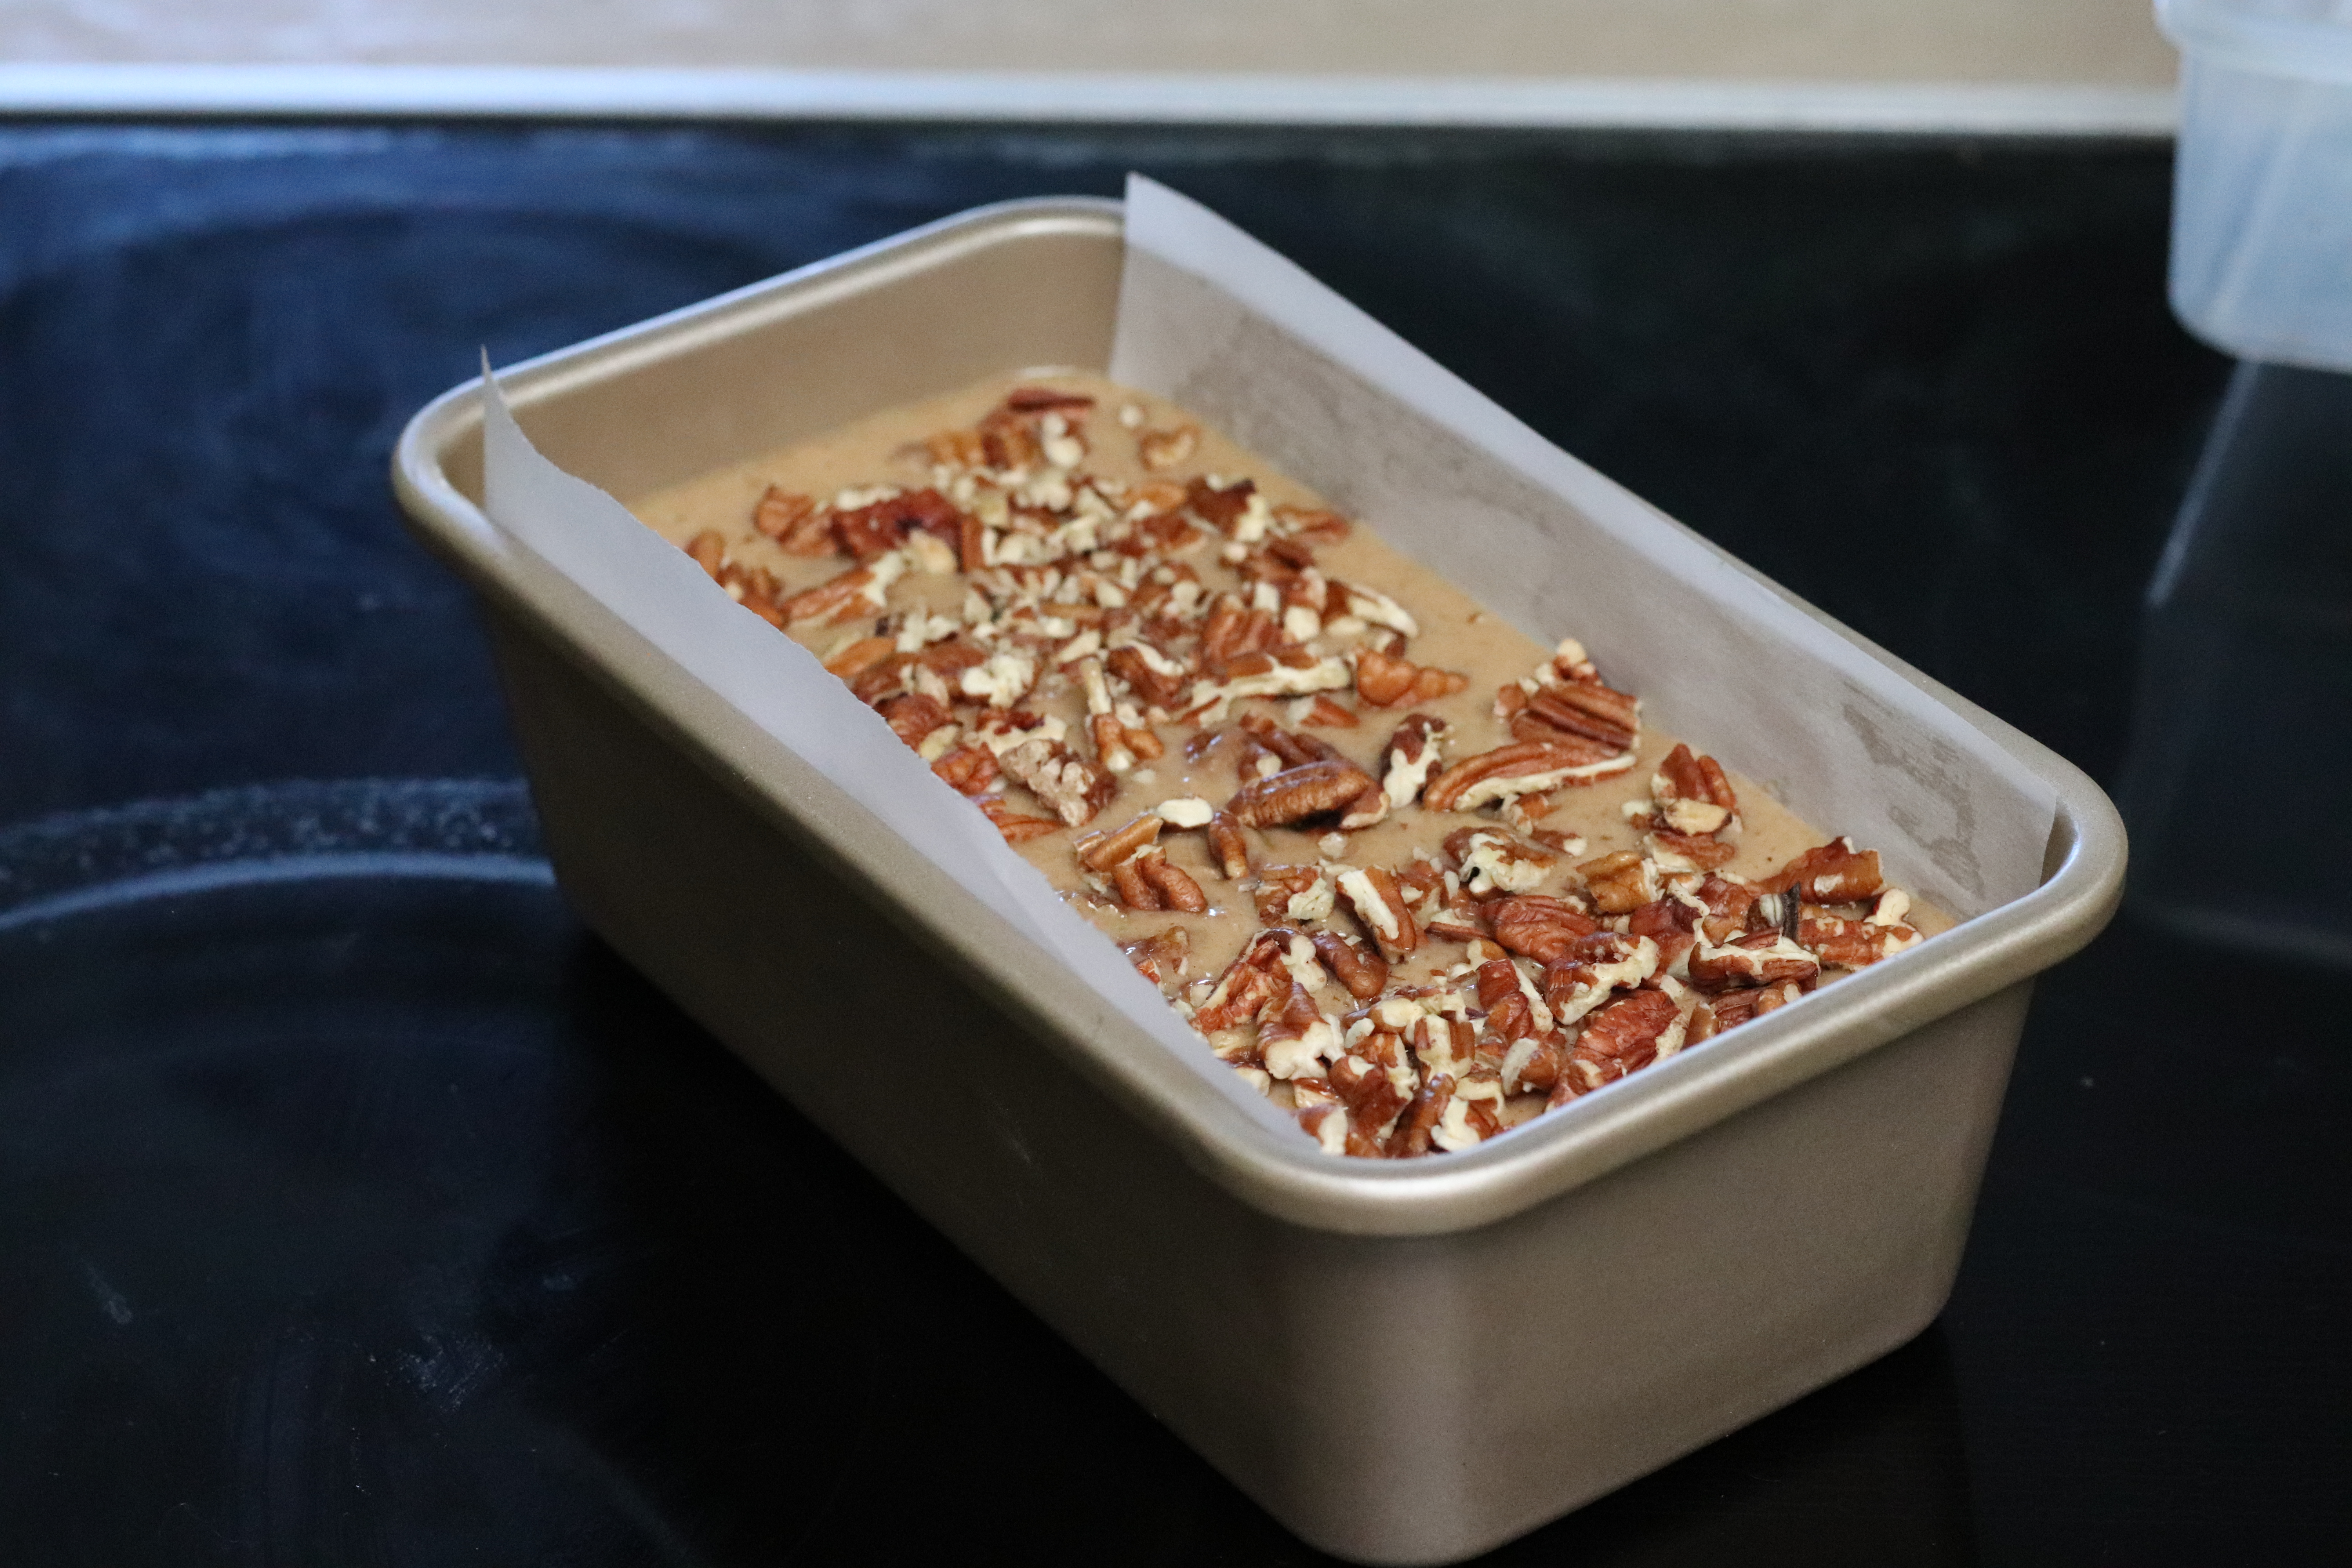
a couple handfuls of chopped pecans or nuts of your choice for topping
Procedure
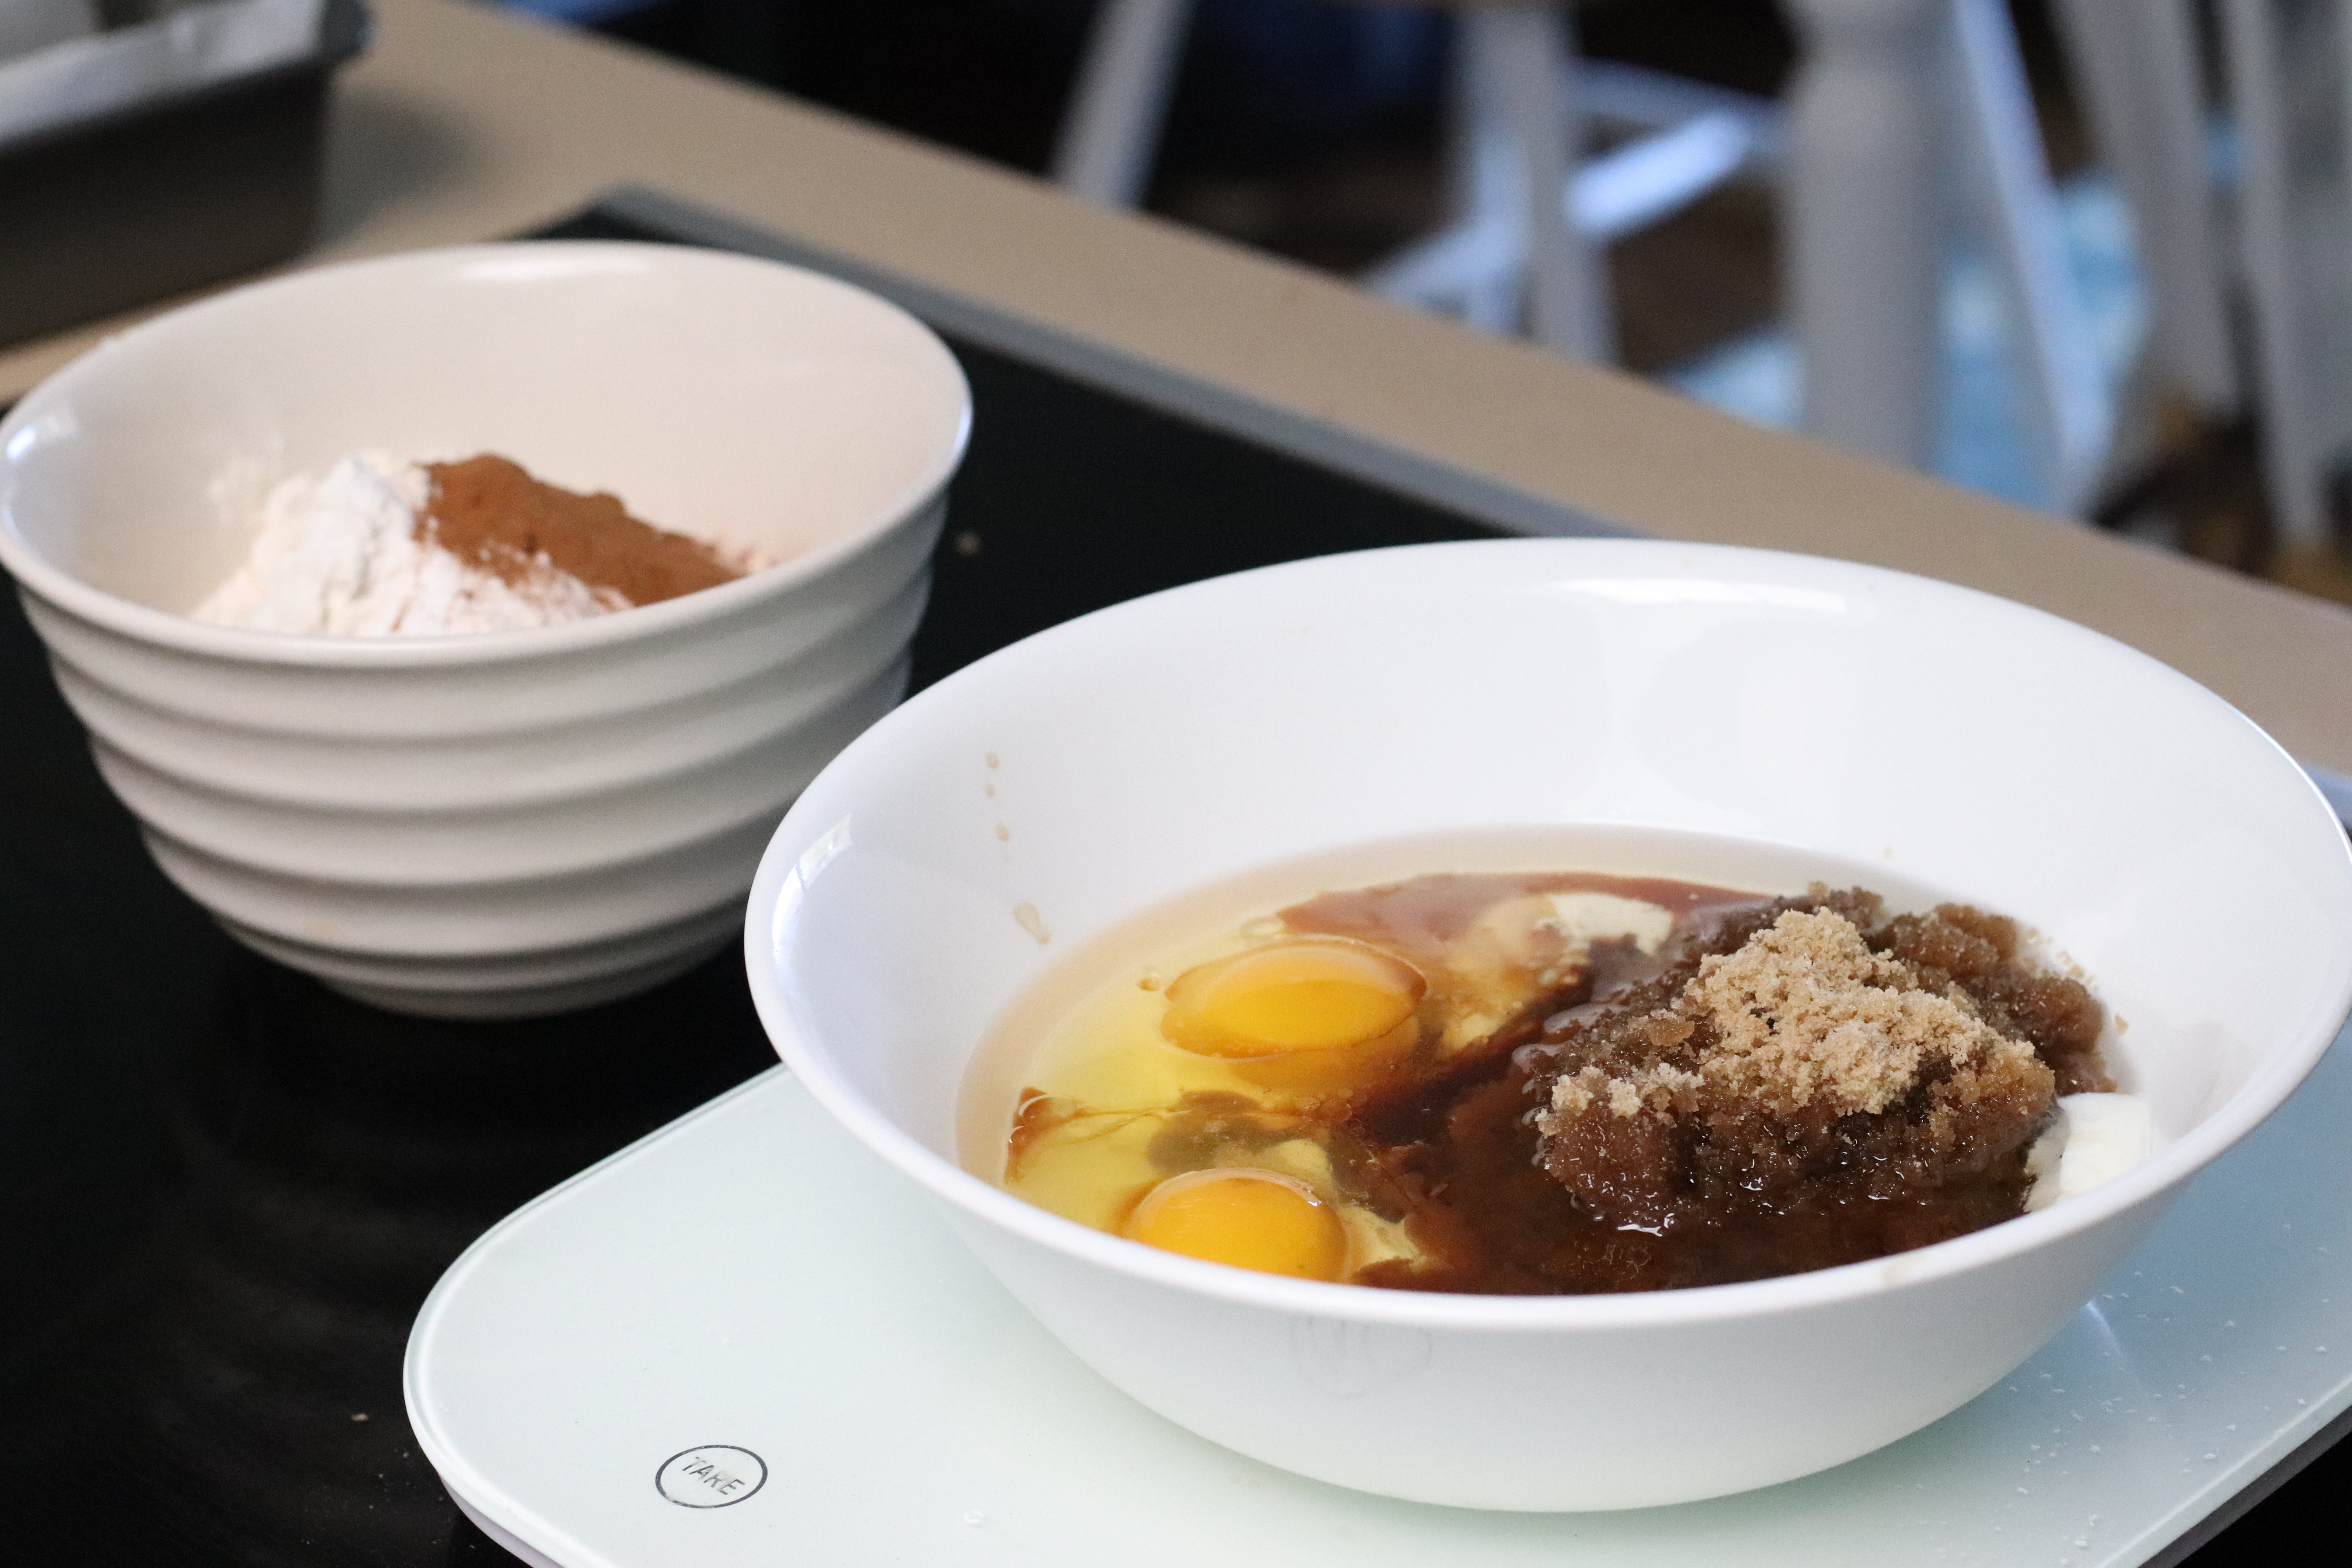
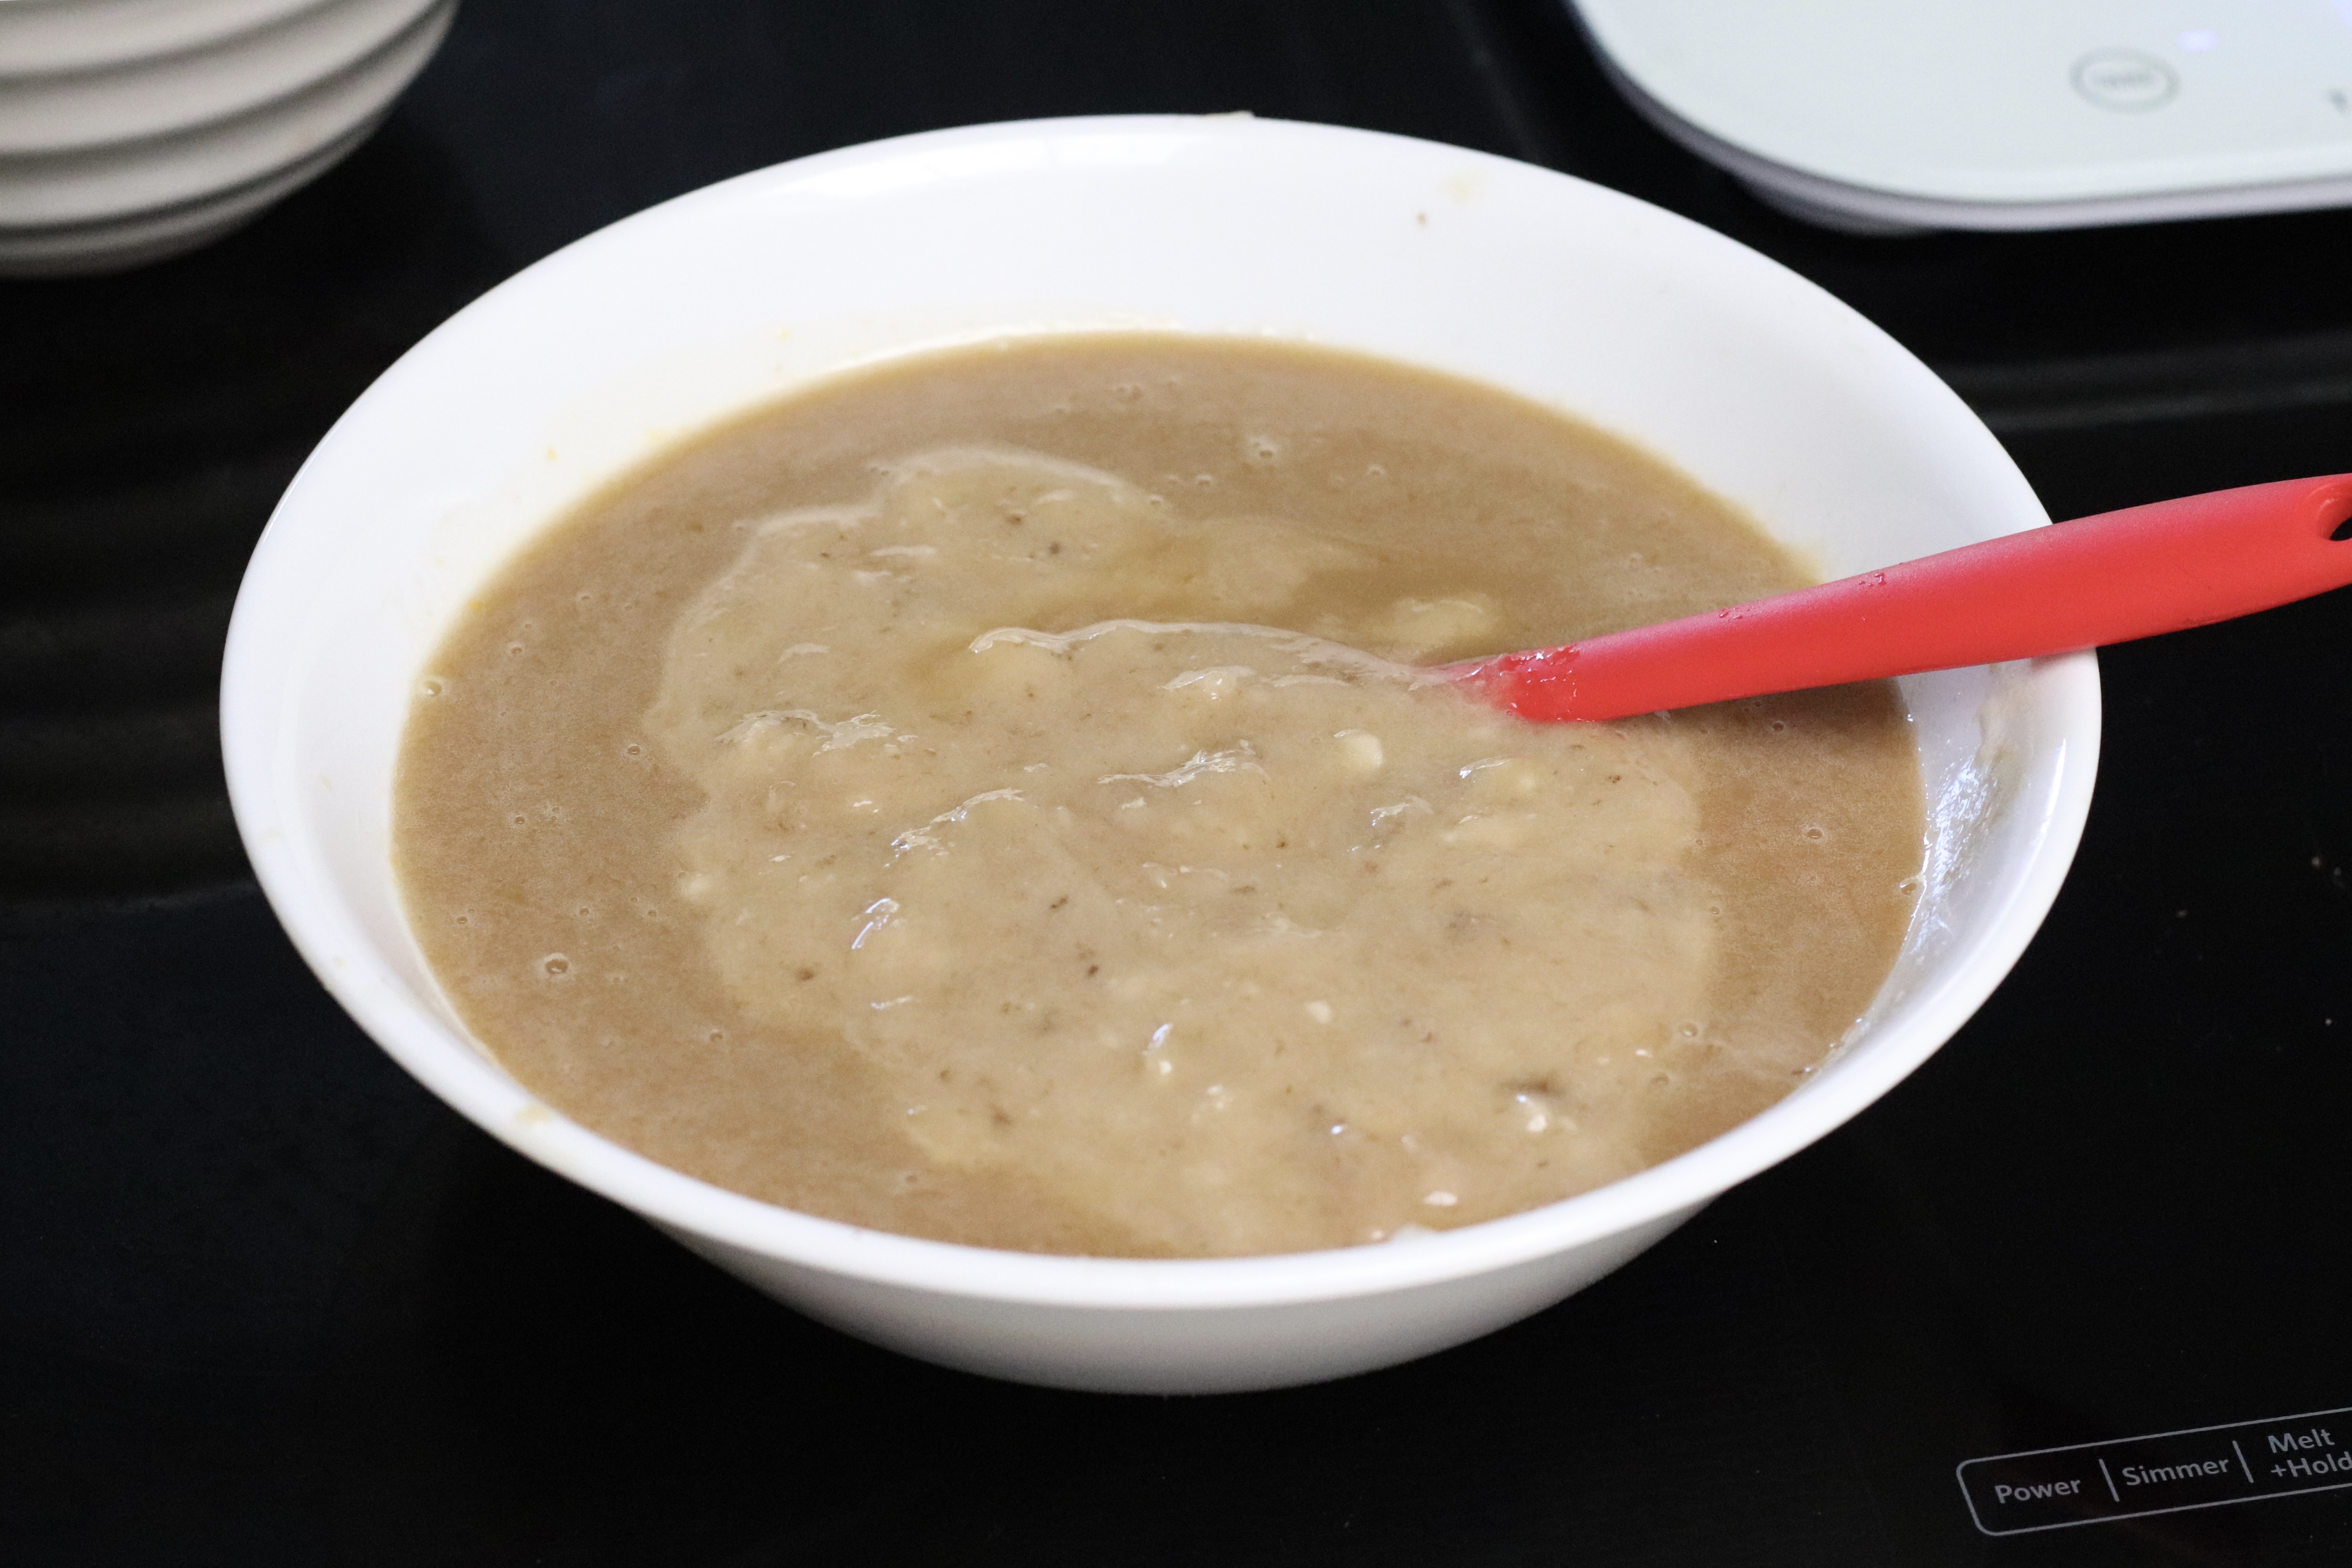
Mash the bananas in a bowl. Whisk all dry ingredients together in a bowl. Whisk together all wet ingredients in another bowl.
Add the mashed bananas. (If you are super lazy mash the bananas together with the wet ingredients. However, it will lead to bigger banana chunks that might sink to the bottom while baking. )
Fold the wet ingredients into the dry ingredients being careful not to overwork the batter.
Dump into loaf pan and sprinkle with chopped nuts (I used pecans)
Bake in a preheated 350F oven until top is a deep golden brown and a toothpick inserted comes out clean, around 45 mins.
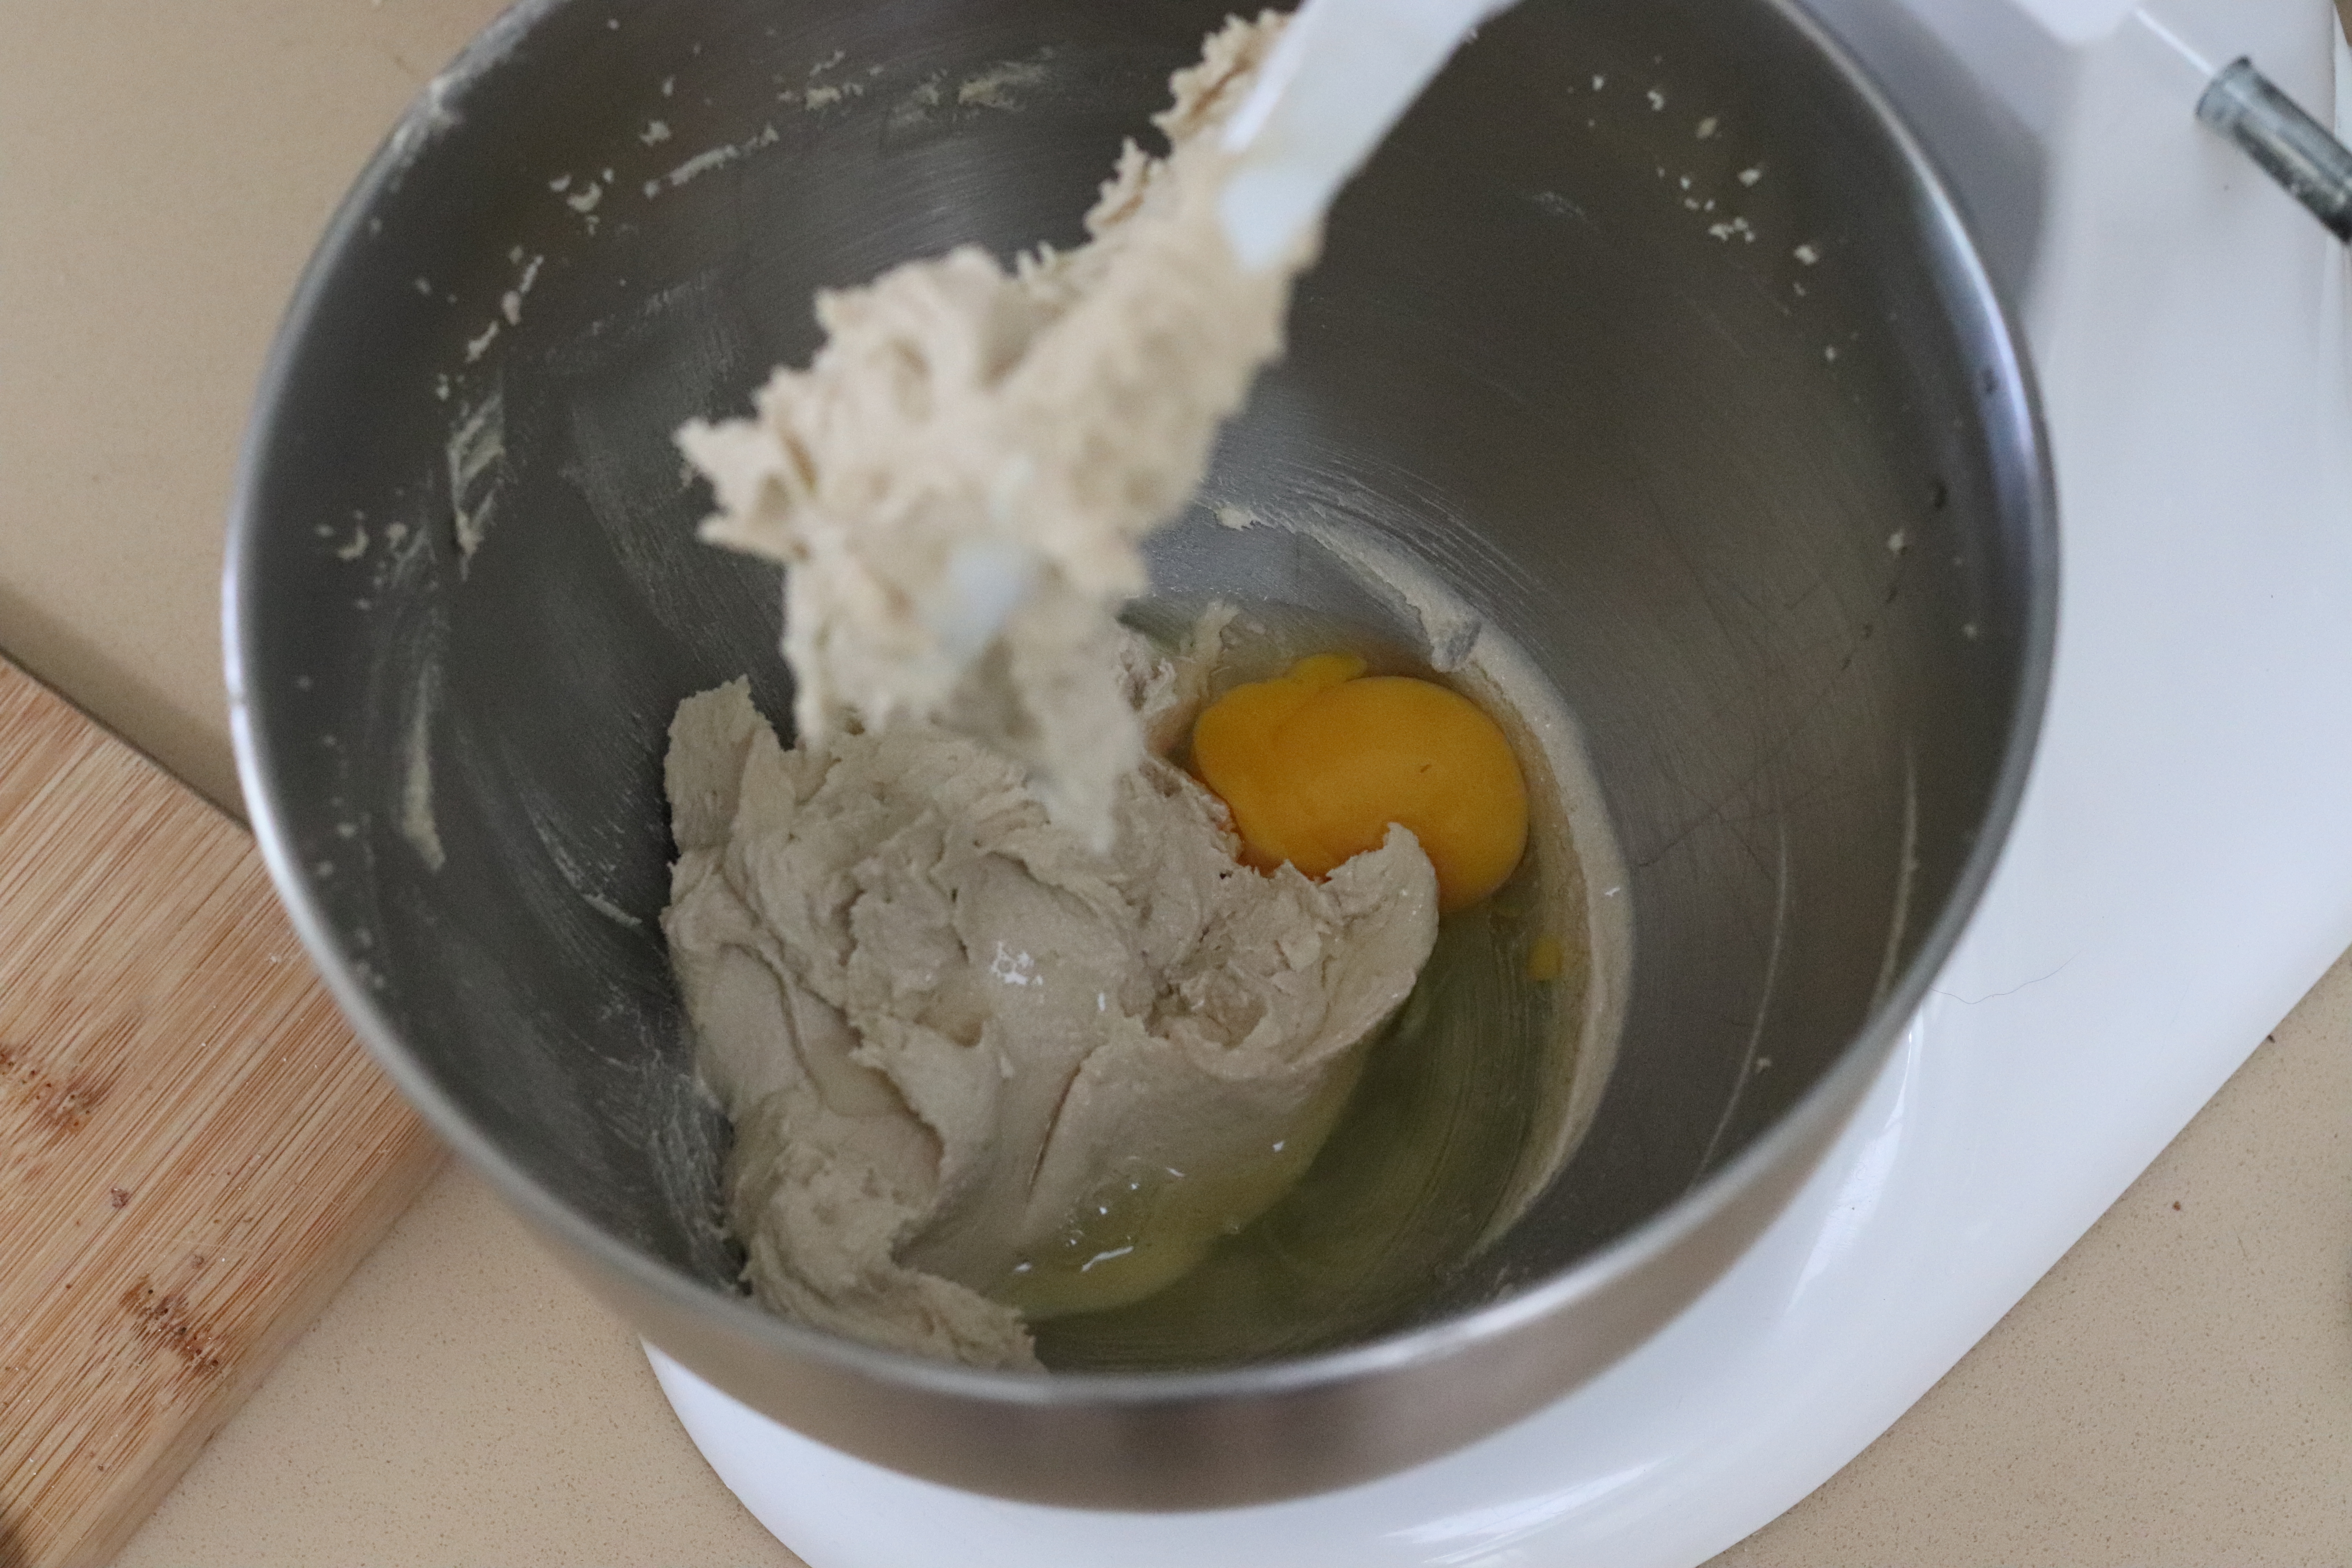
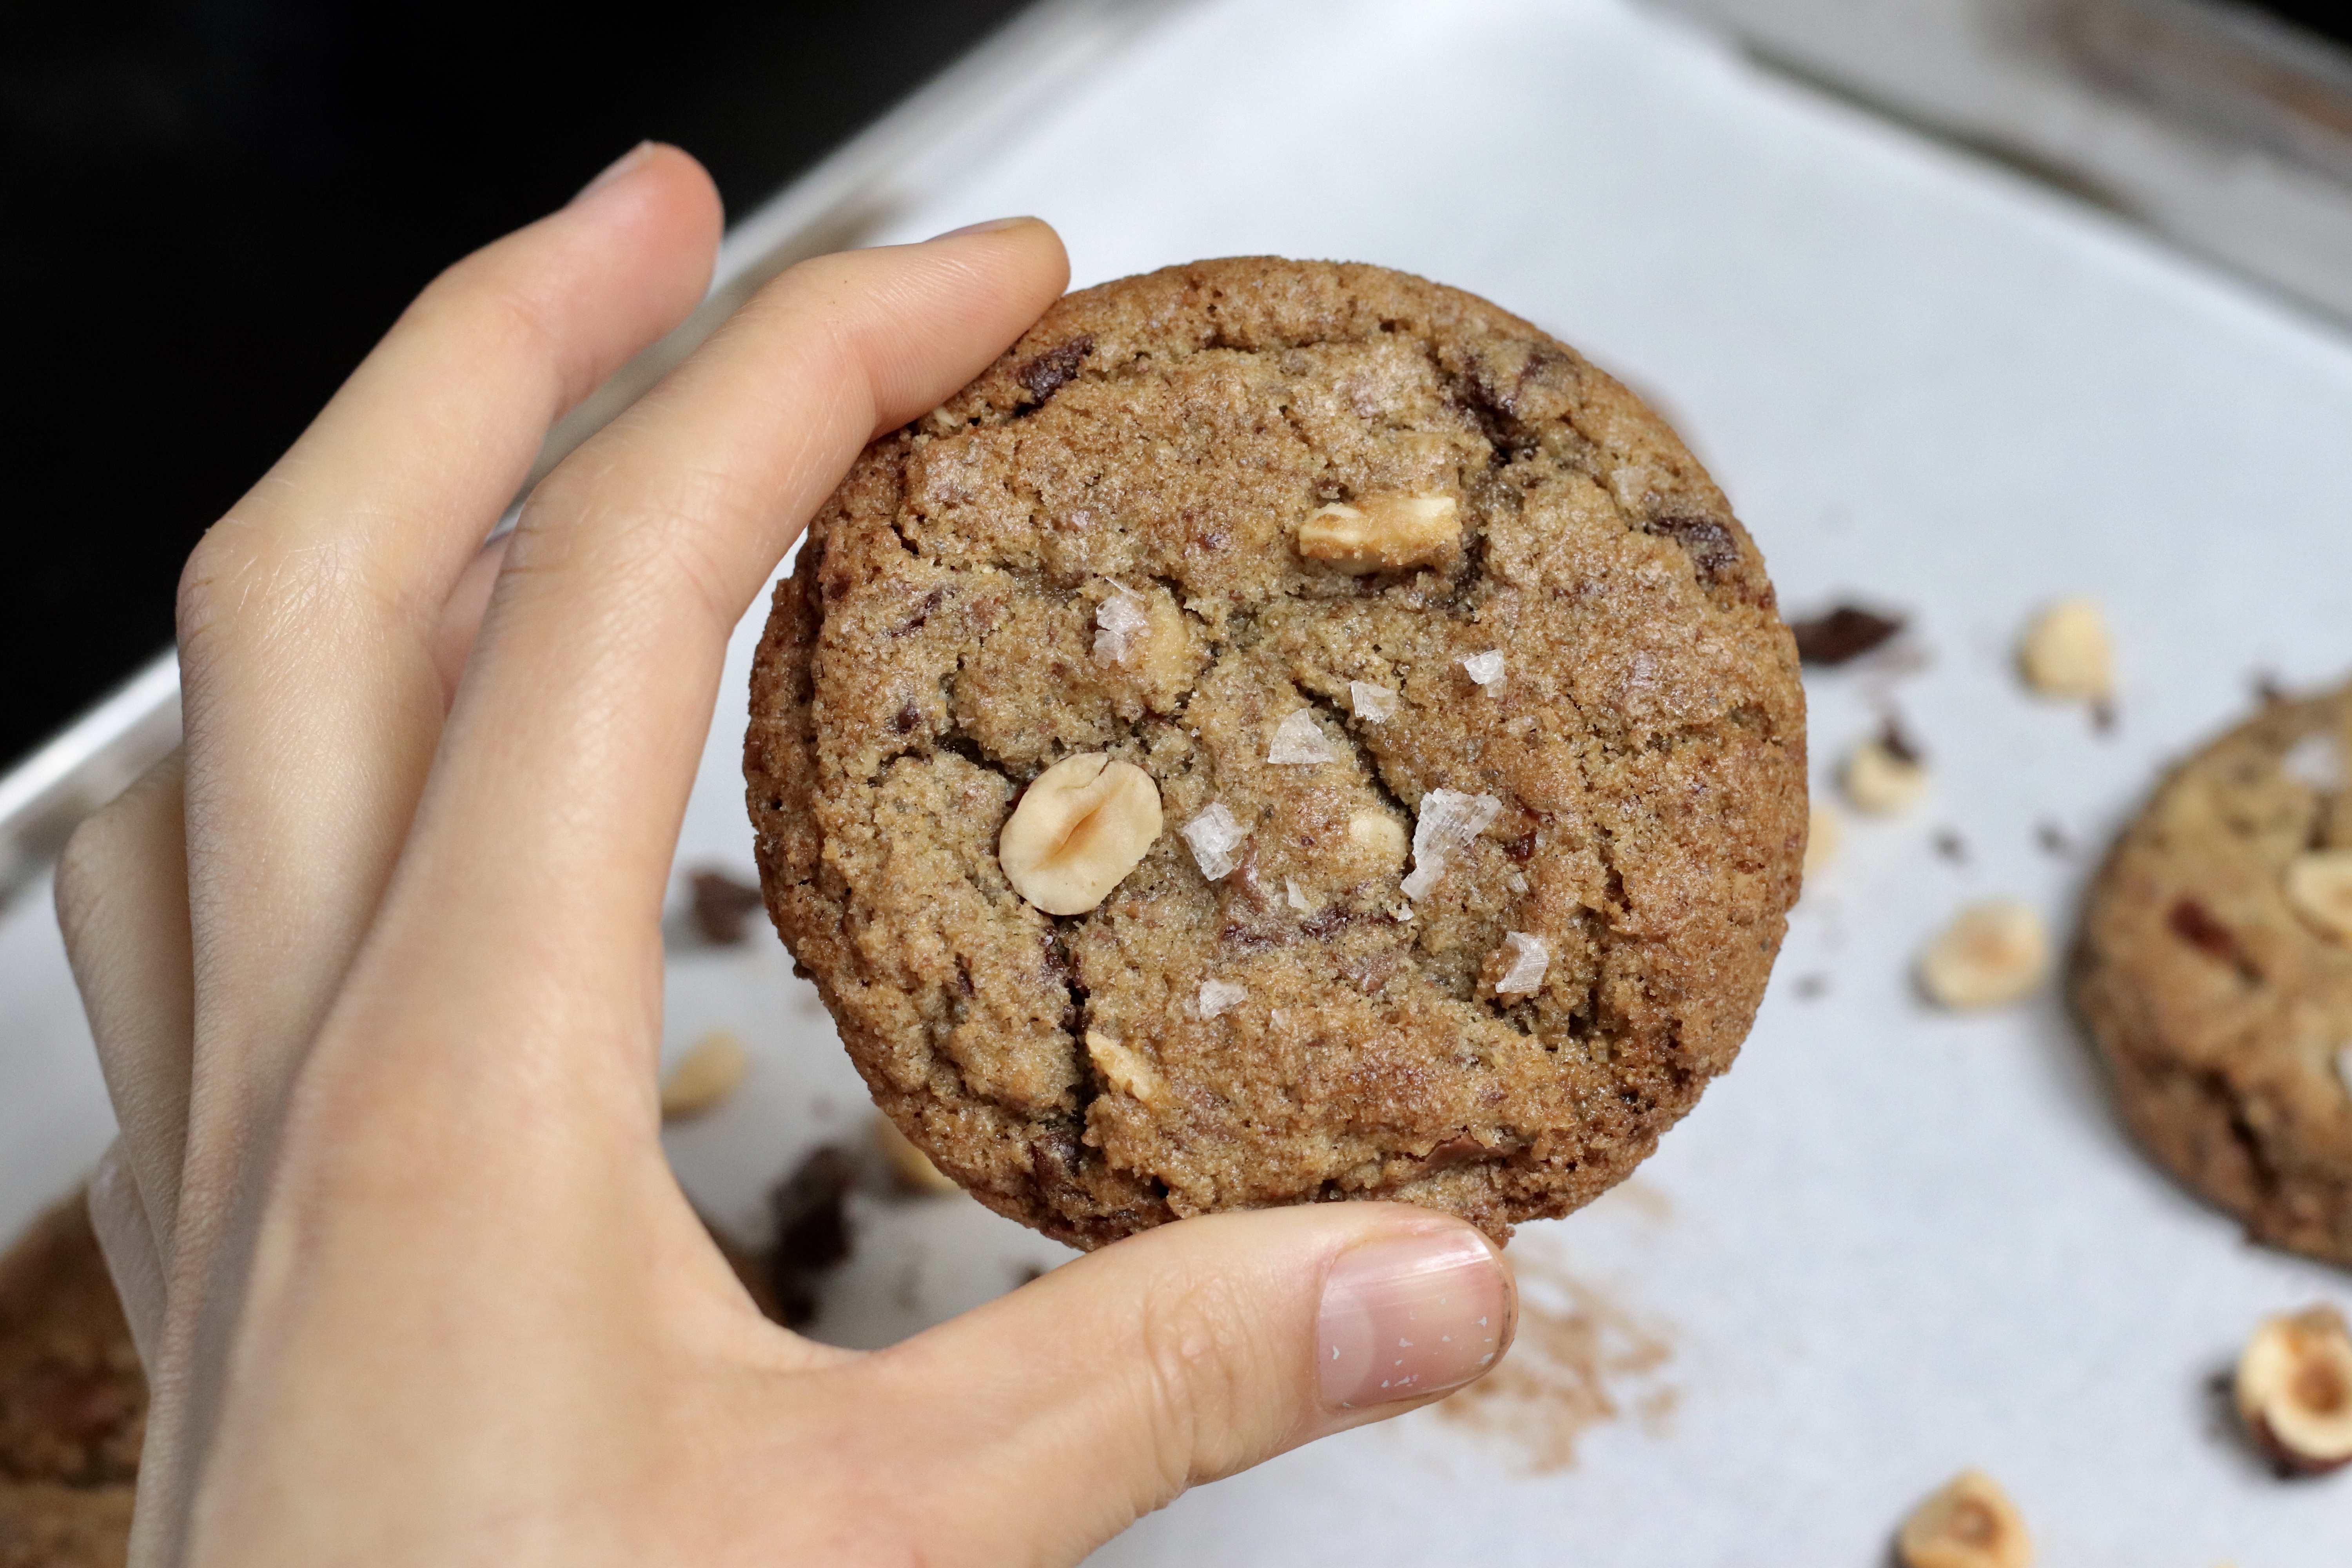
Due to the rye flour used, these cookies are perfectly crisp on the outside and chewy on the inside. A mixture of chocolates and toasty flavor of added hazelnuts perfectly complement the rye flour’s hearty texture and flavor. One of my favorite cookies to make!
These cookies were created from my desire to use up a forgotten bag of rye flour that was starting to house those annoying little pantry bugs. Through testing these, I realized that rye flour is far superior compared to all purpose flour when used in chocolate chip cookies. My reasons: 1. Rye flour adds a hearty texture that perfectly compliments the caramelized flavor desired in chocolate chip cookies. 2. It yields a cookie that is perfectly crisp on the outside and chewy on the inside. 3. Its nutty flavor adds to the deep toasted flavor of the cookie, while also flawlessly pairing with the chocolate.
Hope you guys give them a try!
Ingredients
100g (1/2 cup) dark brown sugar
75g (7 tablespoons) white sugar
1 stick (112g) butter
1 teaspoon vanilla extract
1/2 teaspoon kosher salt
1/2 teaspoon baking soda
3/4 teaspoon baking powder
195g rye flour
70g chopped dark chocolate
50g chopped milk chocolate
50g chopped toasted hazelnuts
1 egg
sprinkle of flaky sea salt (optional)
Procedure
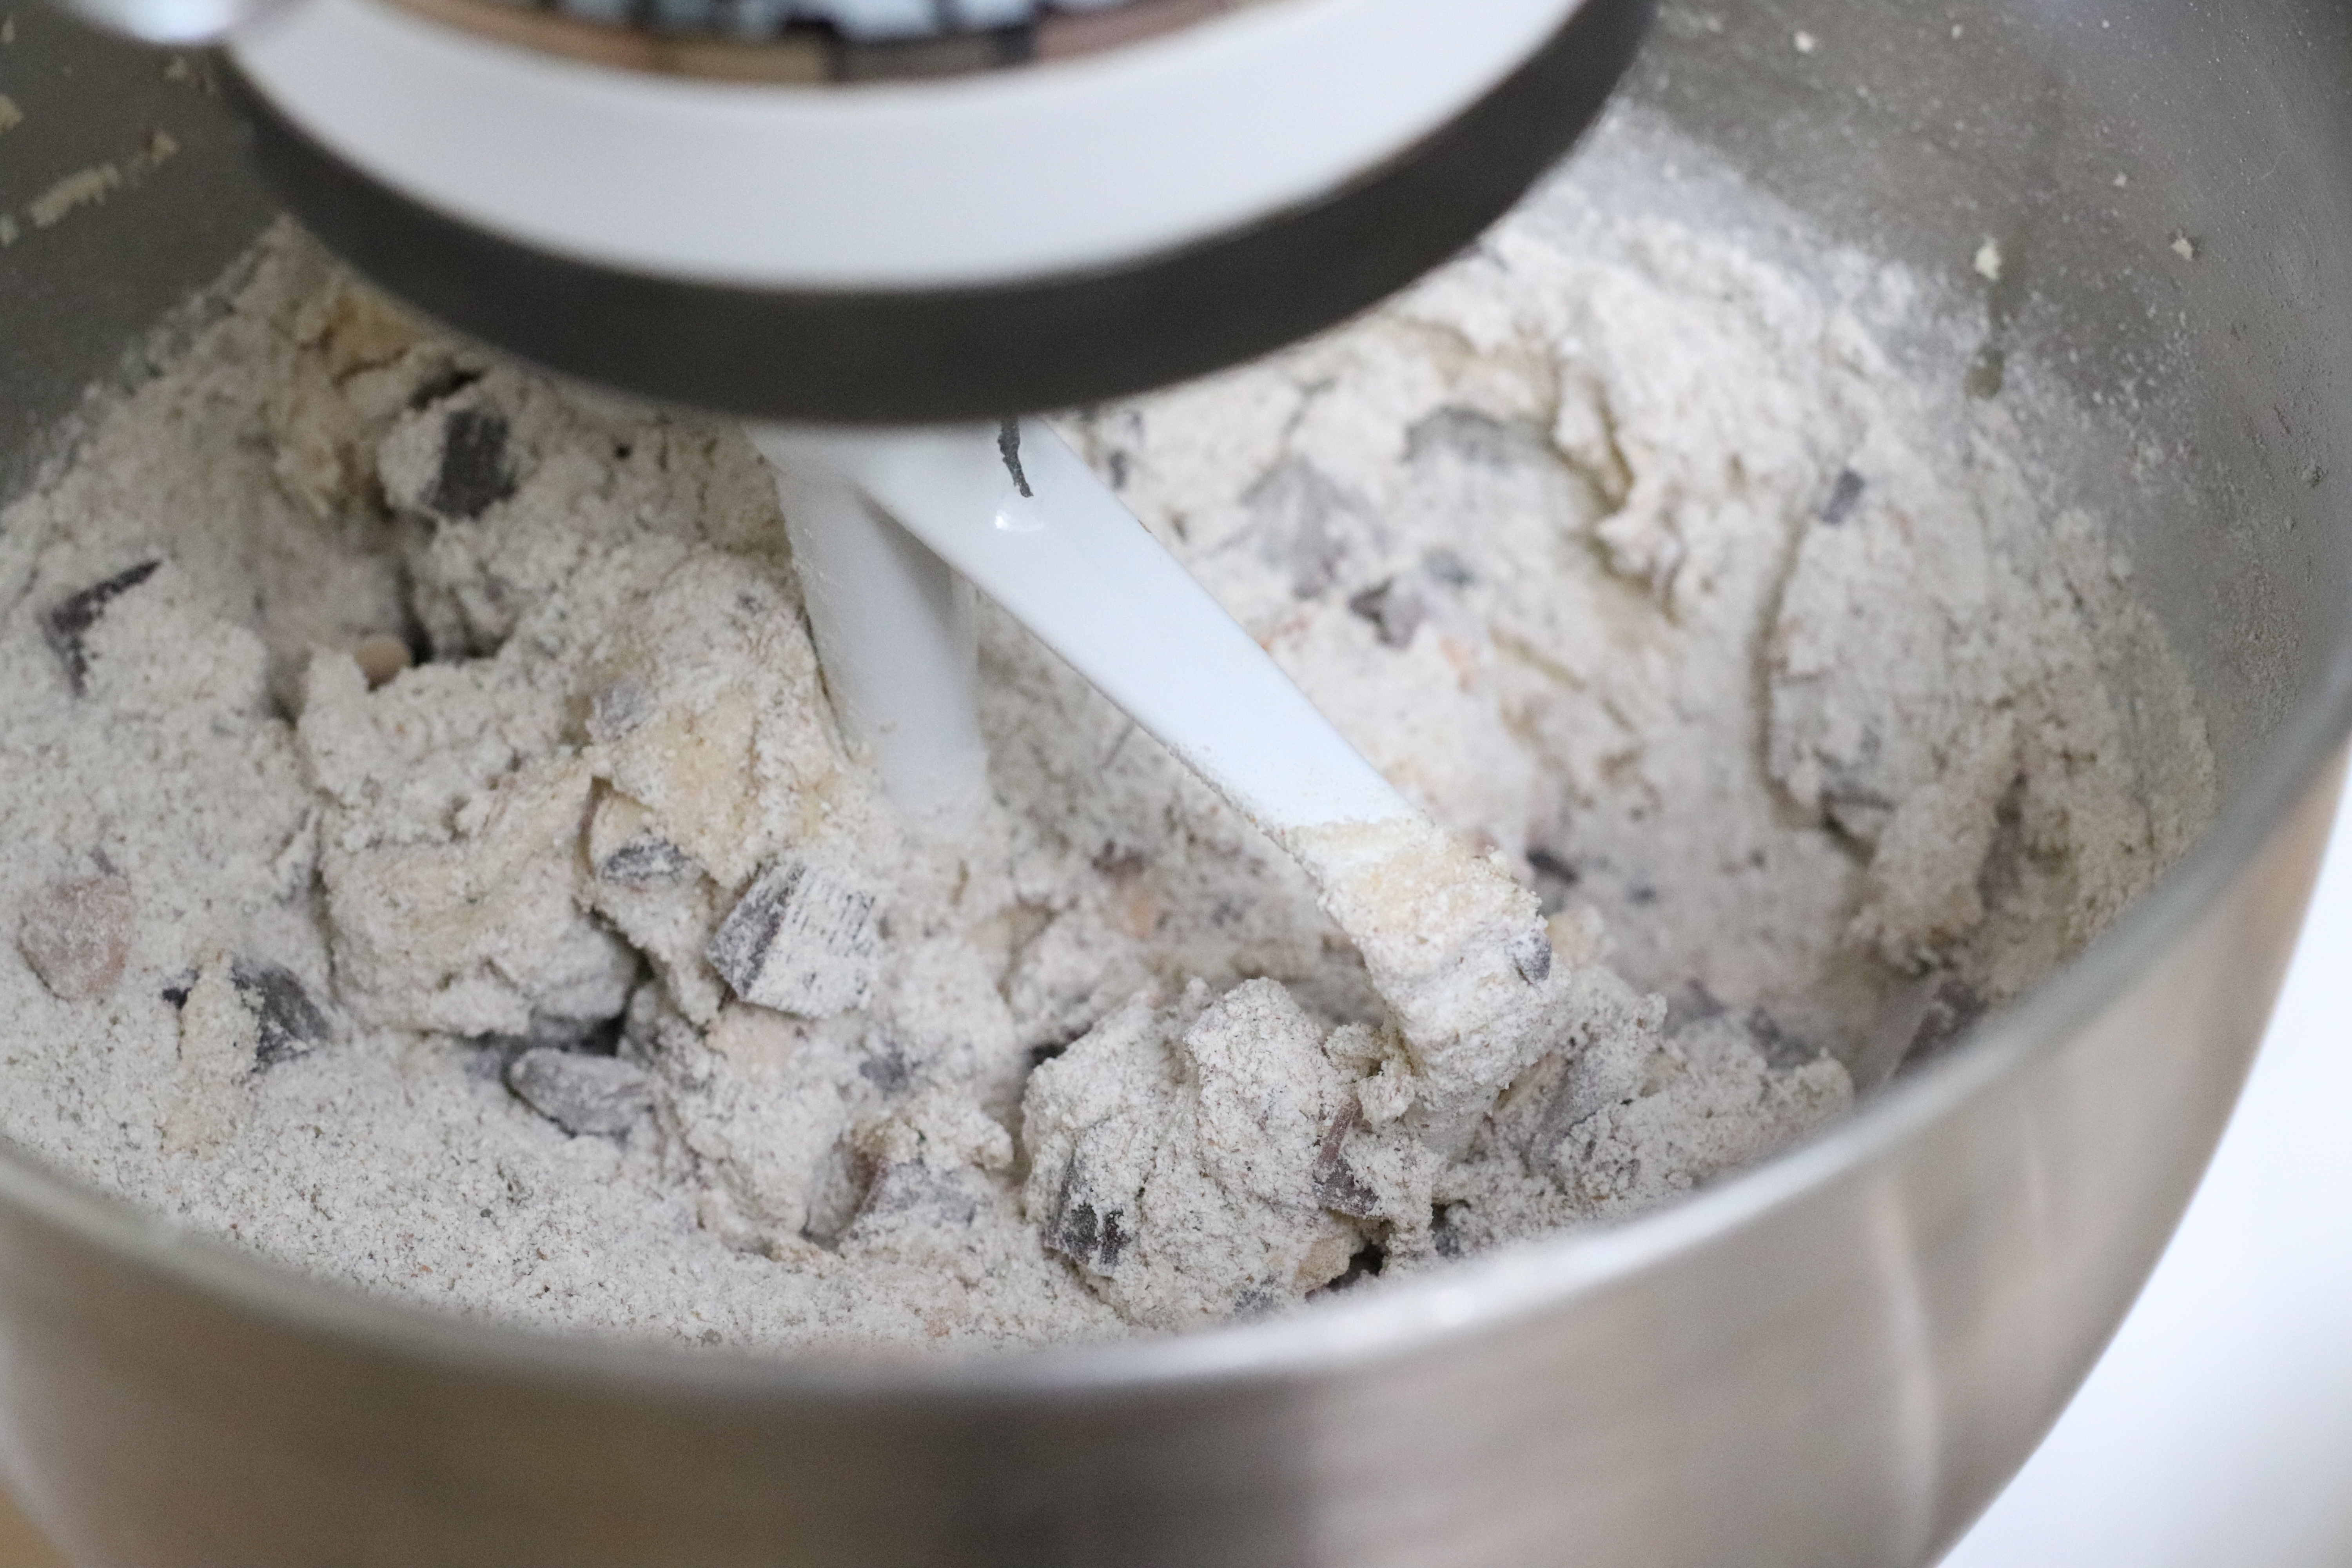
Beat butter, sugars, salt, and vanilla together. Meanwhile mix all the dry ingredients in a bowl.
Add egg
Beat until egg is mixed in and add the dry ingredients
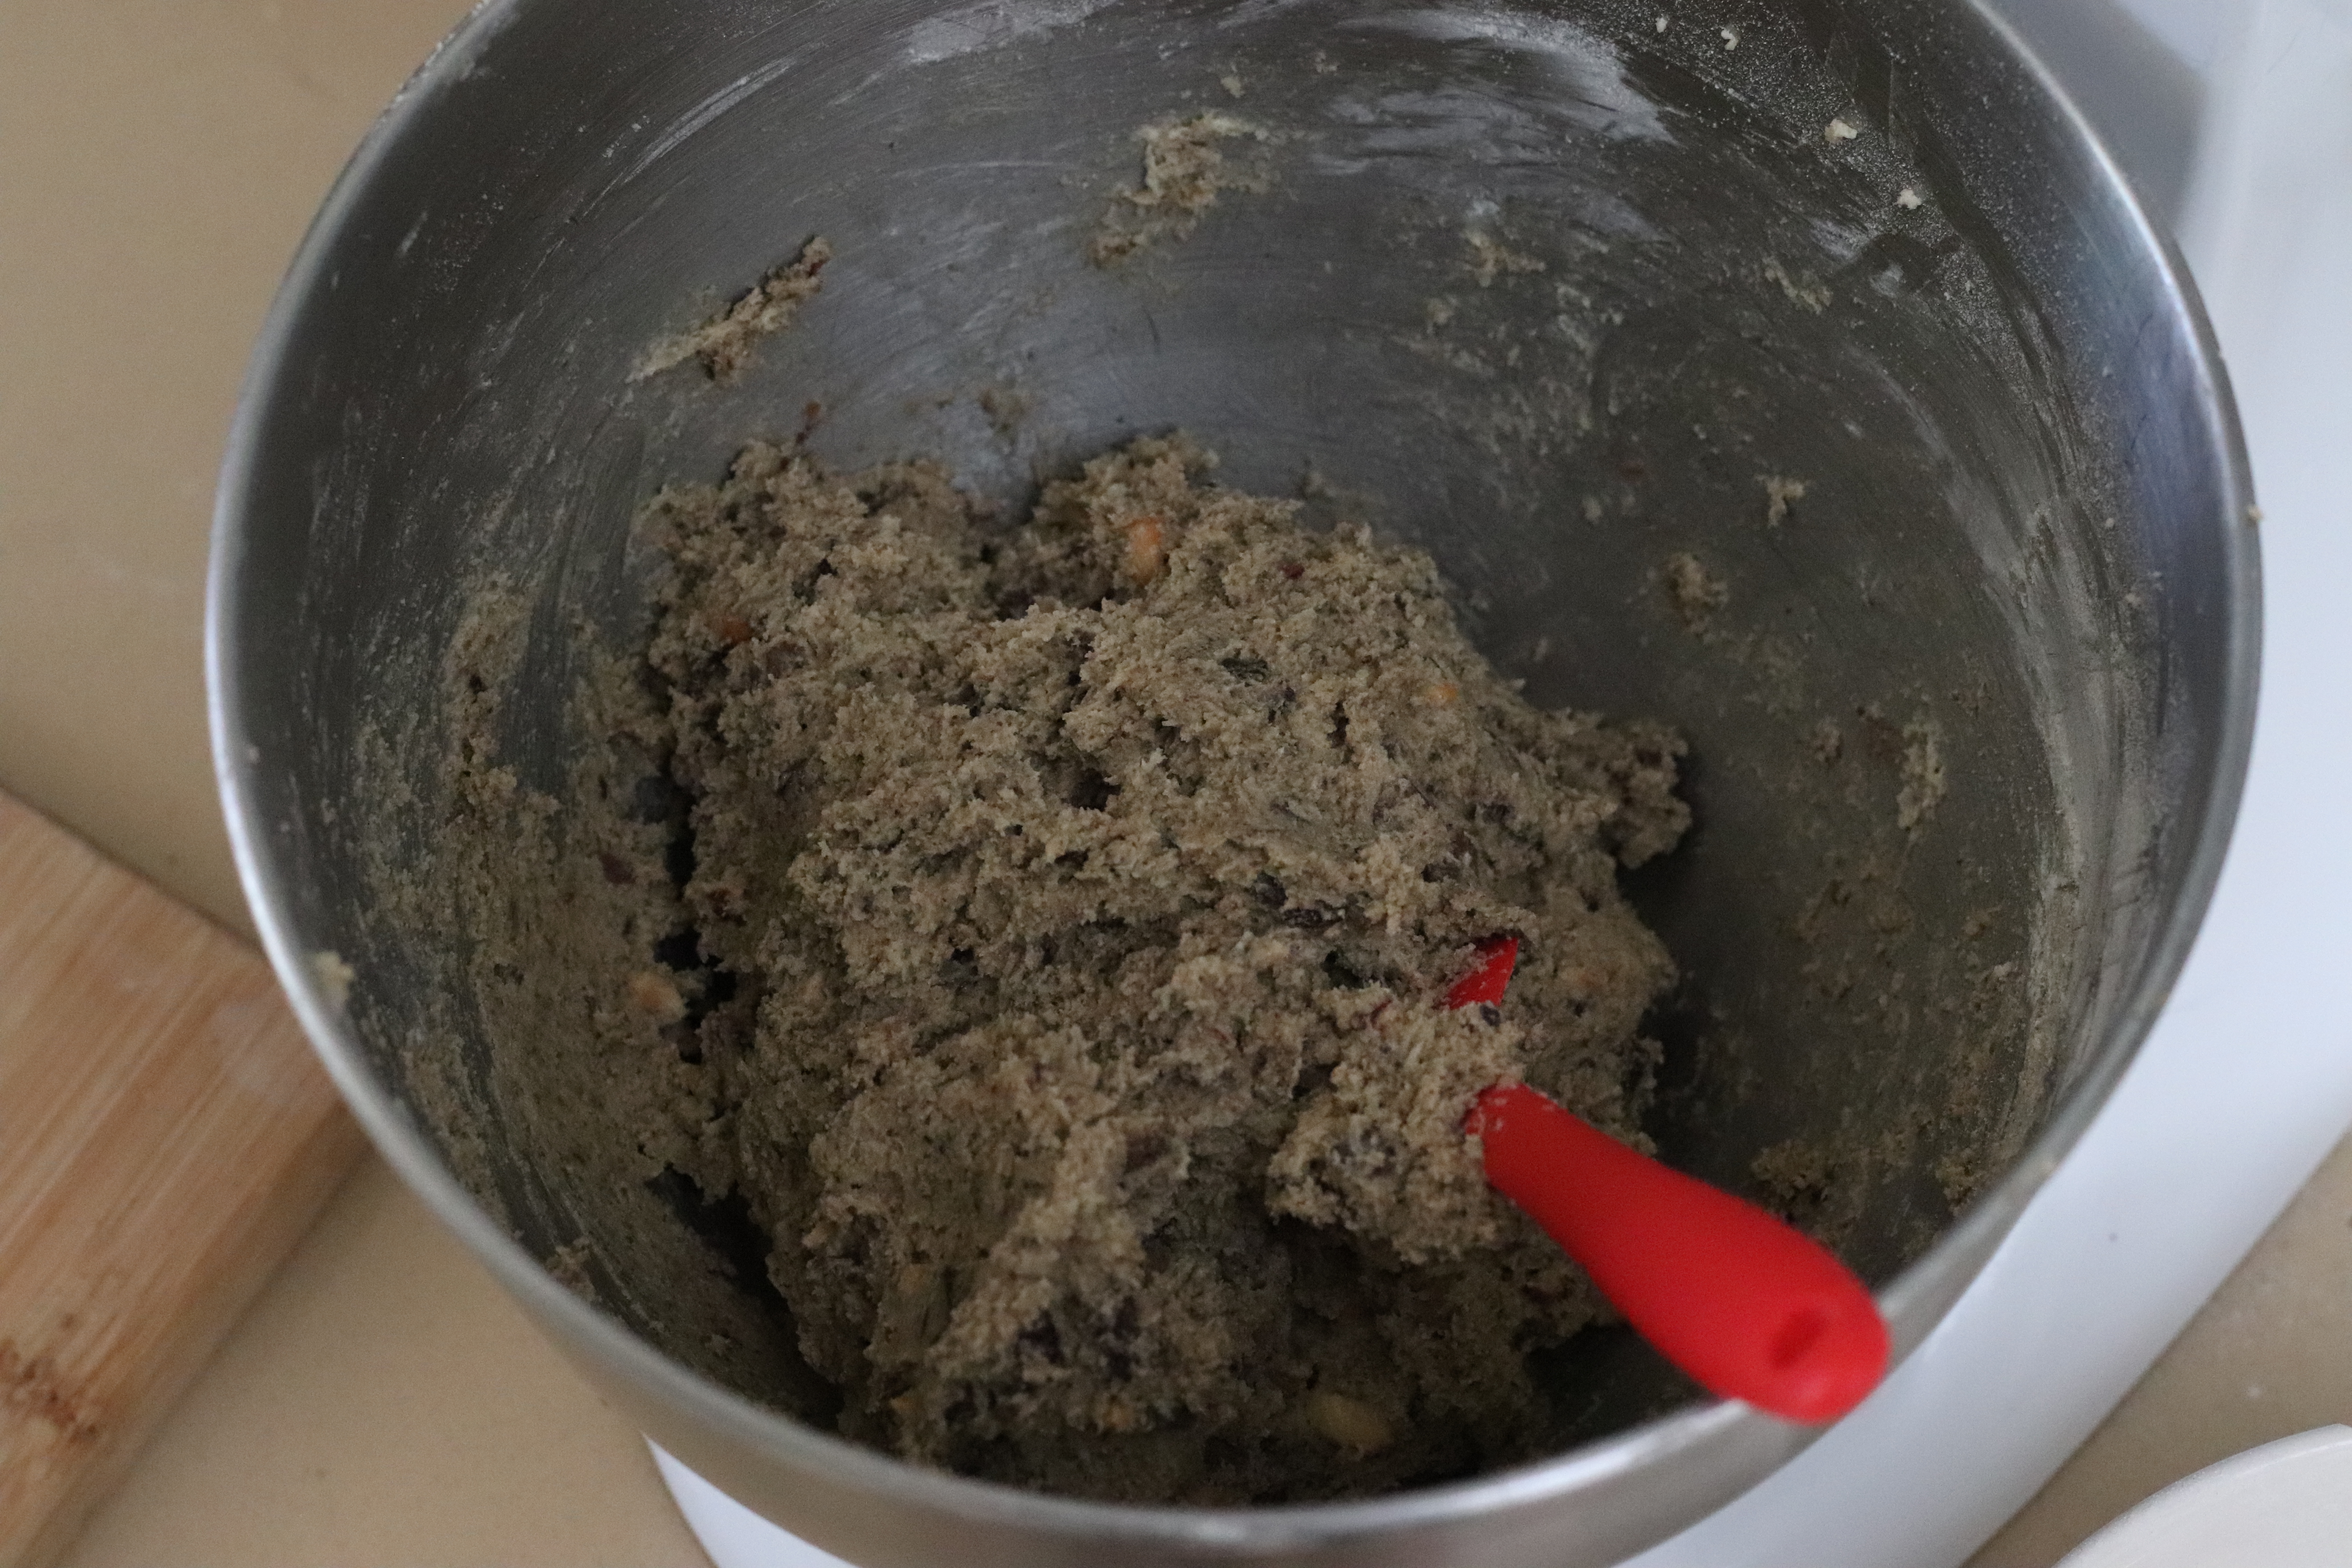
Mix until it just forms a thick dough
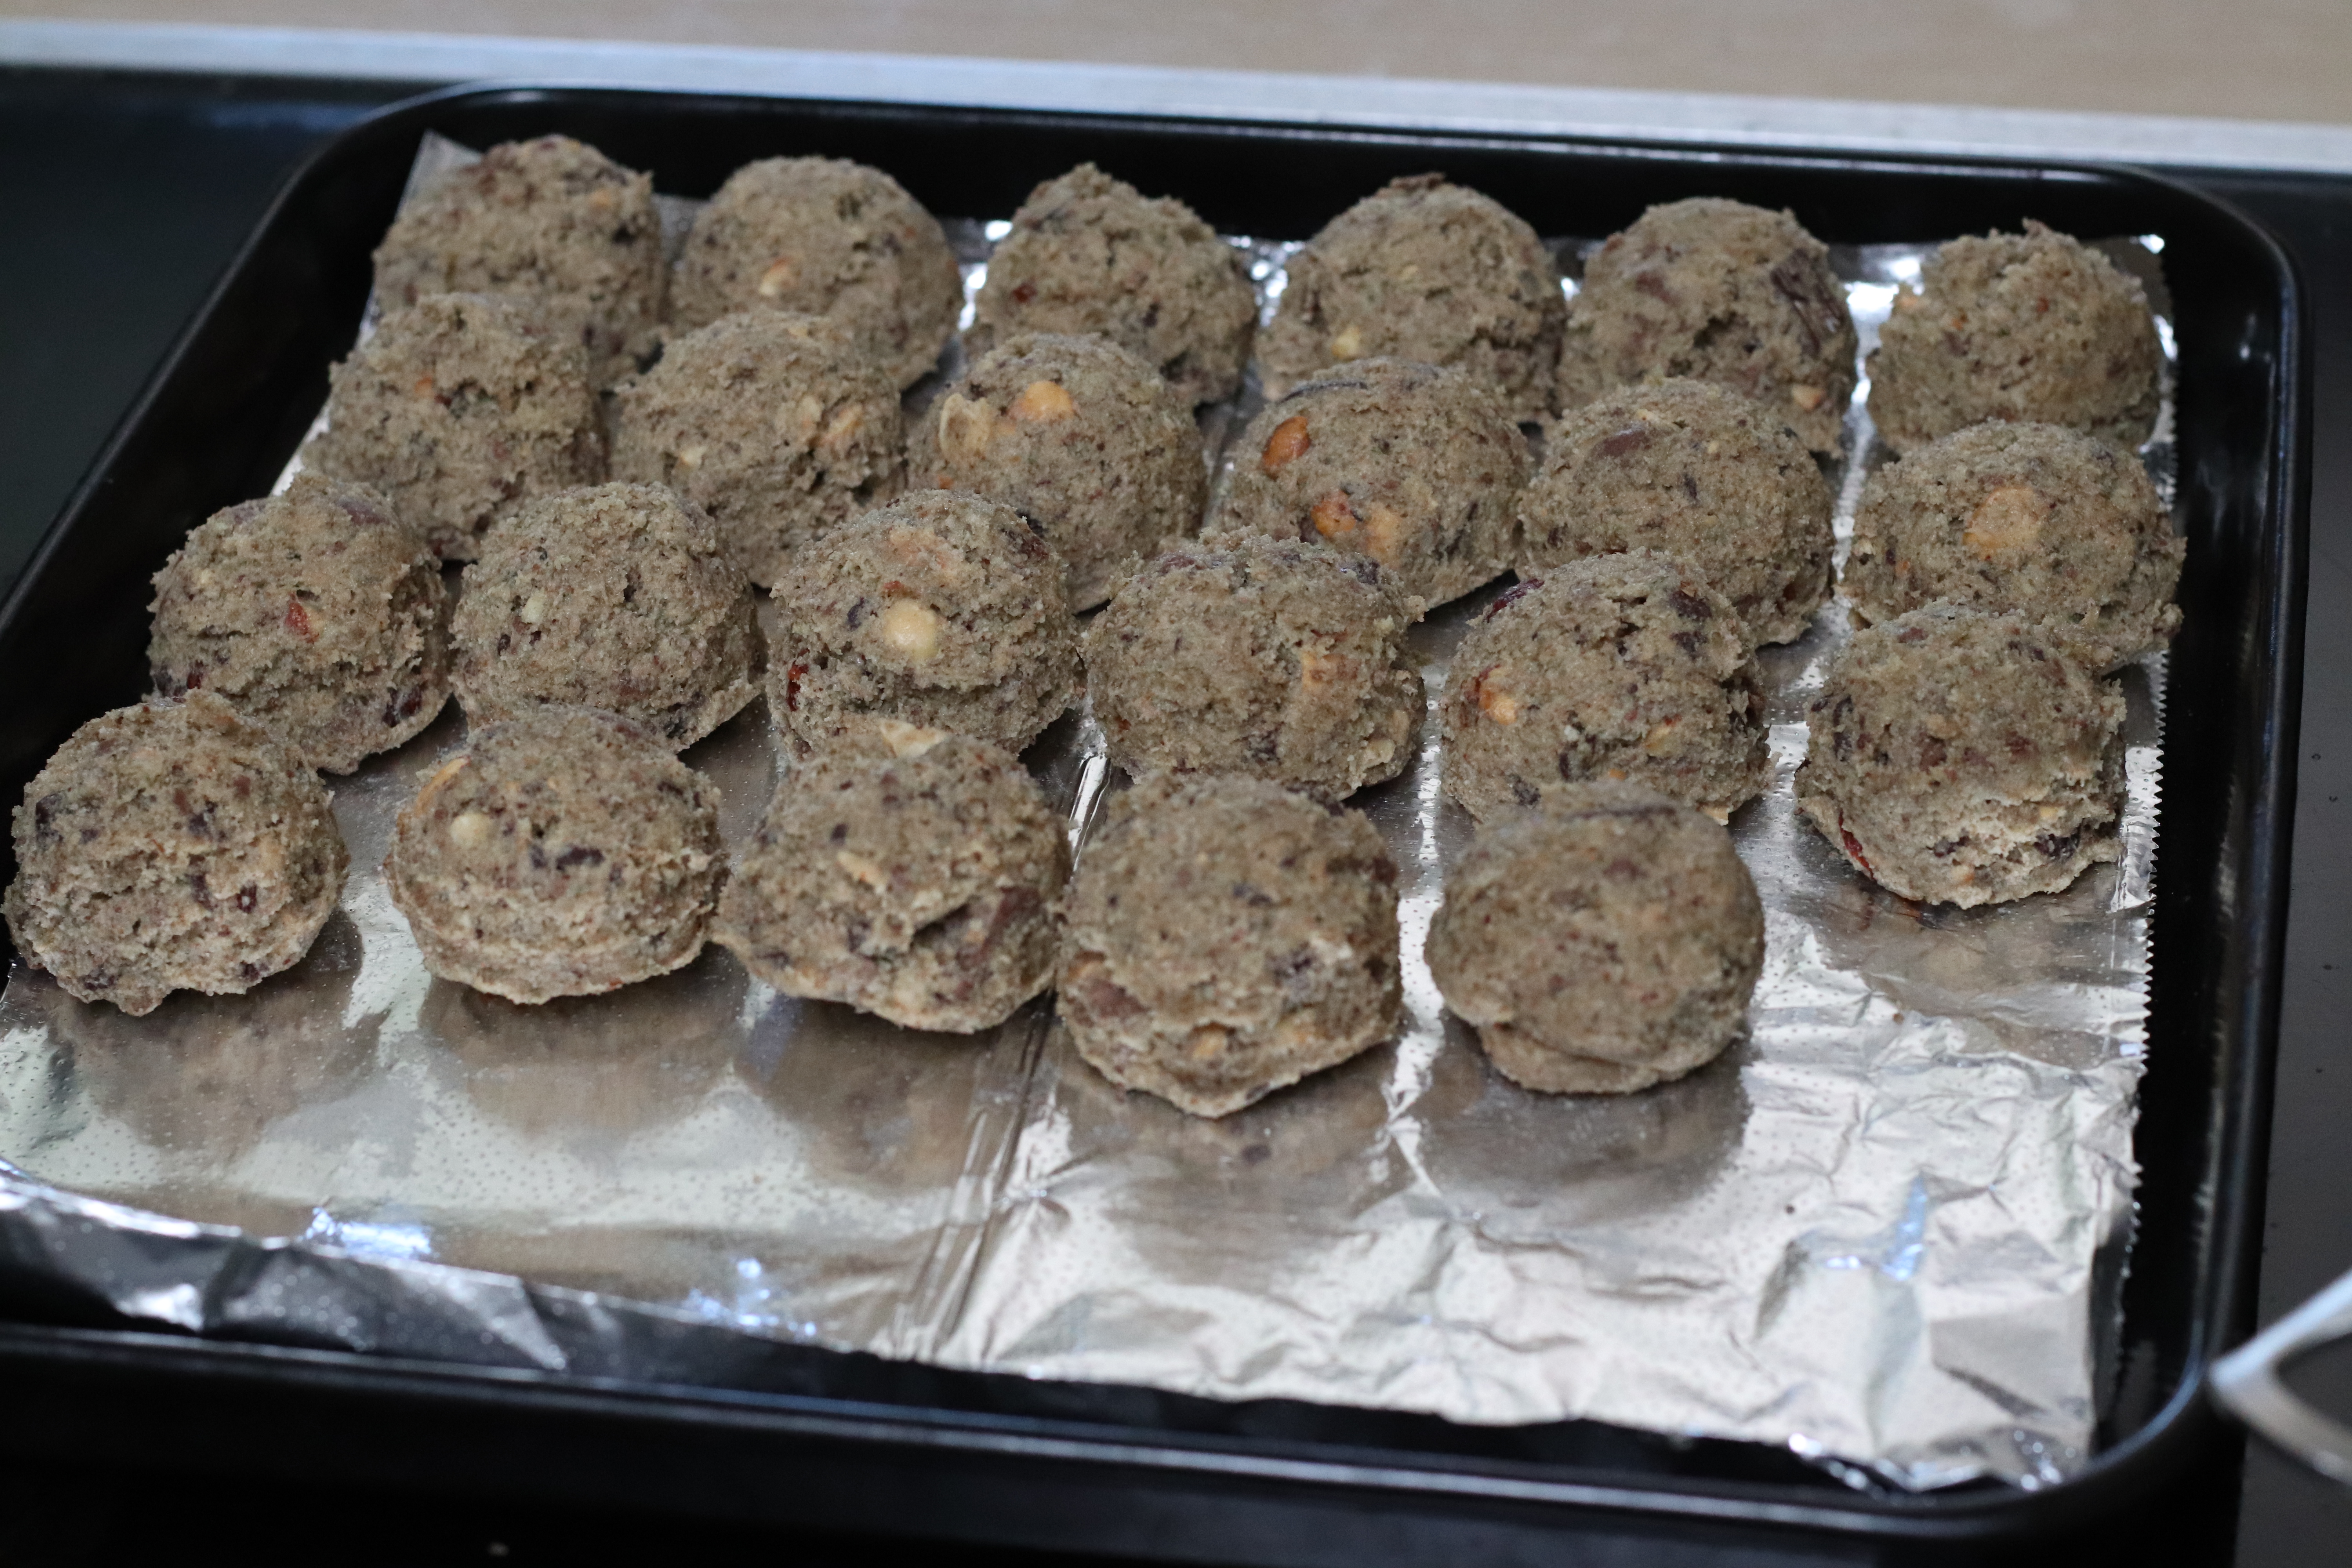
Portion out into balls and refrigerate until ready to use
When ready to use take cookie dough out of fridge, sprinkle with some salt, and bake at a 350 F preheated oven for 13 mins